
As I have made a lot of wintermelon filling, I used them to practice making mooncake with my new toy: first mooncake molddddd~
The procedure to make mooncake does not seem complicated, but inverted sugar syrup preparation is need a night before; lye water also needs substitute by boiling baking soda in water. The art of mooncake, besides the filling, I think lies in making it into mold, brush with egg and bake multiple times to achieve (1) ideal color, (2) clear pattern as first started, and (3) consistent shape without puffing up, which I failed all three this time. I have included detailed “lab report” and troubleshoot discussion for next try with red bean paste!
TAKEAWAYS
- Filling weight (incl. salted egg yolk): ~32-35g
- Mooncake skin weight: 15-17g
- Do NOT brush too much egg, otherwise will lose pattern
- Common mistakes:
- too much oil –> skin cracks (my case?)
- too much sugar –> collapsed mooncake
- lye water too little –> light color; lye water too much –> dark color
- high temperature and long baking time –> skin cracks and puffed up mooncake (seem like both were my case’s explanation!)
- use cake flour for skin; high gluten flour like all-purpose flour and bread flour could lead to cracks
- filling too wet –> puffed up mooncake and crack skins from water evaporating
- another post about common mistakes
- Solutions:
- puffed up mooncake: poke a small whole before baking to let air/water out
- Next Experiment:
- increase total weight of filling to 35g
- dust with flour instead of starch
- spray water instead of brush water after mold
- refrigerate mooncake for 1 hour before baking
- slightly brush with egg yolk
- resolve mooncake puffing up problem which might lead to both skin crack and pattern loss
RECIPE
Mooncake Skin ingredients for 8 mini mooncakes (~40-50g / mooncake)
- 37.5g inverted sugar syrup (recipe included)
- 15g oil
- 5g lye water (recipe included)
- 0.5 – 1g salt
- 75g cake flour
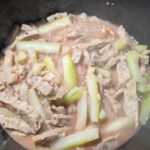
- Medium heat, bring these to boil:
- 300g water
- 45g lemon juice ~ 1 lemon
- 600g sugar
- Turn down to low heat after it started to boil
- 30mins or later, when sugar/water turns into amber color, turn off heat
- Mix 1g baking soda in 60g water, add to sugar to neutralize pH, and sugar will be less dense (bubble will form here, it’s ok)
- Pour sugar into container, rest over night
- If there are still bubbles on sugar, heat it up and add more water to dilute
Lye water substitute recipe:
- 1 cup of water
- 1/4 teaspoon of baking soda
- boil for 5 mins, cool for usage
- this helps change mooncake coloring and prevent loose structure
Filling: I used the same wintermelon filling I used for Cantonese Wife Cake, which is made of wintermelon, sugar, shredded coconut, sesame and mochiko/glutinous flour. Detailed recipe and procedure here.
Step 1: Make mooncake skin dough, rest for 1 hour or more
- Mix 37.5g inverted sugar syrup, 15g oil and 5g lye water well enough before adding in cake flour
- if sugar, oil and lye water are not well-mixed, oil could leak out when baking and after baking
- Note: I added a few grams of cake flour as dough is very wet.
- Recommend use baking spatula to help with mixing instead of hands

Step 2: Cook salted egg yolk (boil, steam or bake)
- method 1: boil salted egg for 8mins after boiling, peal of egg white
- method 2: separate egg white and egg yolk, steam egg yolk
- method 3: separate egg while and egg yolk, spray egg yolk with rice wine or submerge it in rice wine for a few minutes; bake at 300F/150C for 15-20mins, or till there’s bubbles coming out.
Step 3: Divide fillings, wrap salted egg yolk
- Ideal total weight for filling, including egg yolk = 35g
- My filling each weighed around 17g

Step 4: Form mooncake and use mold to shape
- divide mooncake skin dough into 8 pieces after resting, ideal weight is 15-17g per mini mooncake skin
- mine this time was 17.5g
- press the dough into small round piece; might be sticky to use rolling pin
- press the filling in, gradually stretch the skin to wrap the filling; seal completely
- dust the surface with starch/flour
- shape mooncake with mold (press at least 3 seconds)
- spray water to settle the shape
- try to avoid brushing water, would be too wet
- ** NOT IN THIS RECIPE** refrigerate for 1 hour for shaping


clear pattern
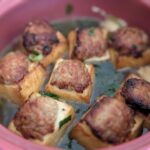
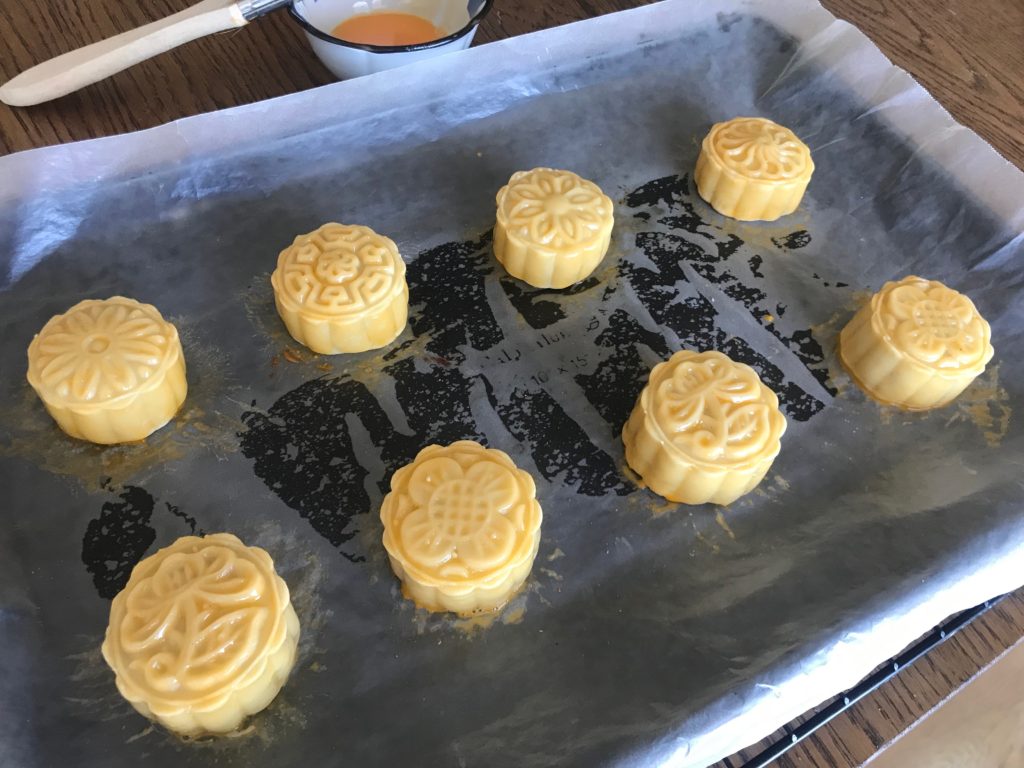
Step 5: Bake 5mins at 400F/200C

before baking w/o egg brush 
after baking 5mins at 400F/200C
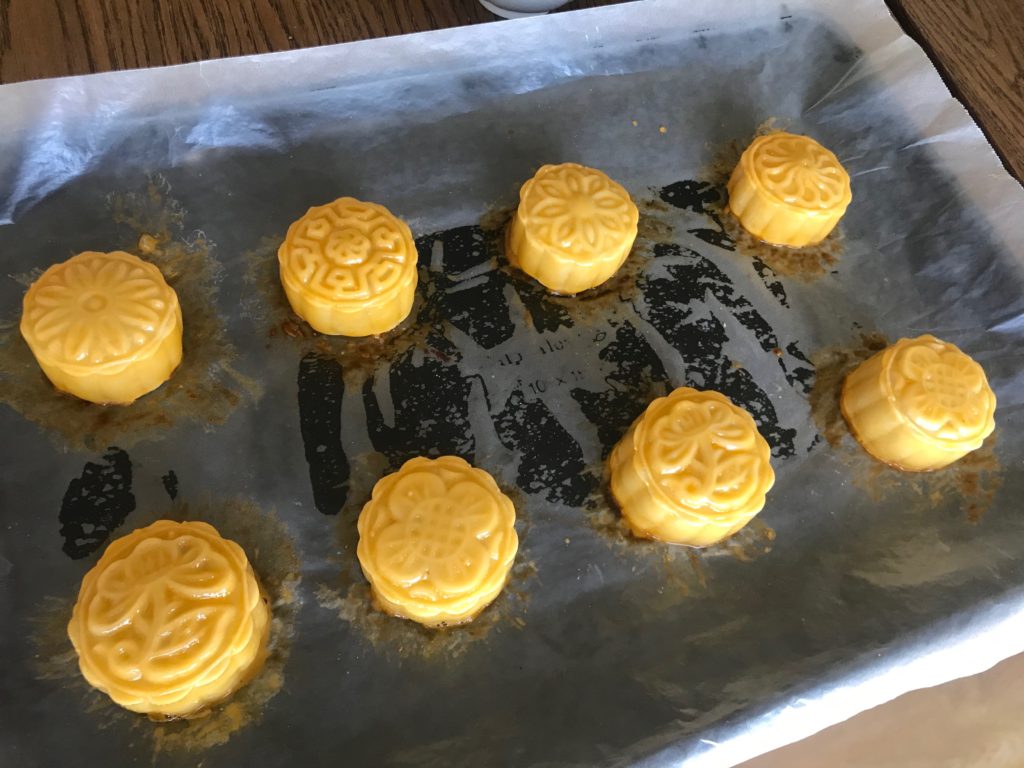
Step 6: Brush gently with egg yolk diluted in 1 tbsp of water, bake 5mins at 325F/160C
- DO NOT brush too much egg yolk, would lead to pattern loss… which was my mistake 🙁
before baking 5 mins at 325F/160C 
pattern was still clear
Step 7: Brush gently again, bake 5-10mins at 325F/160C
- DO NOT brush too much egg yolk, would lead to pattern loss… which was my mistake 🙁
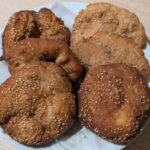
2nd egg brush 
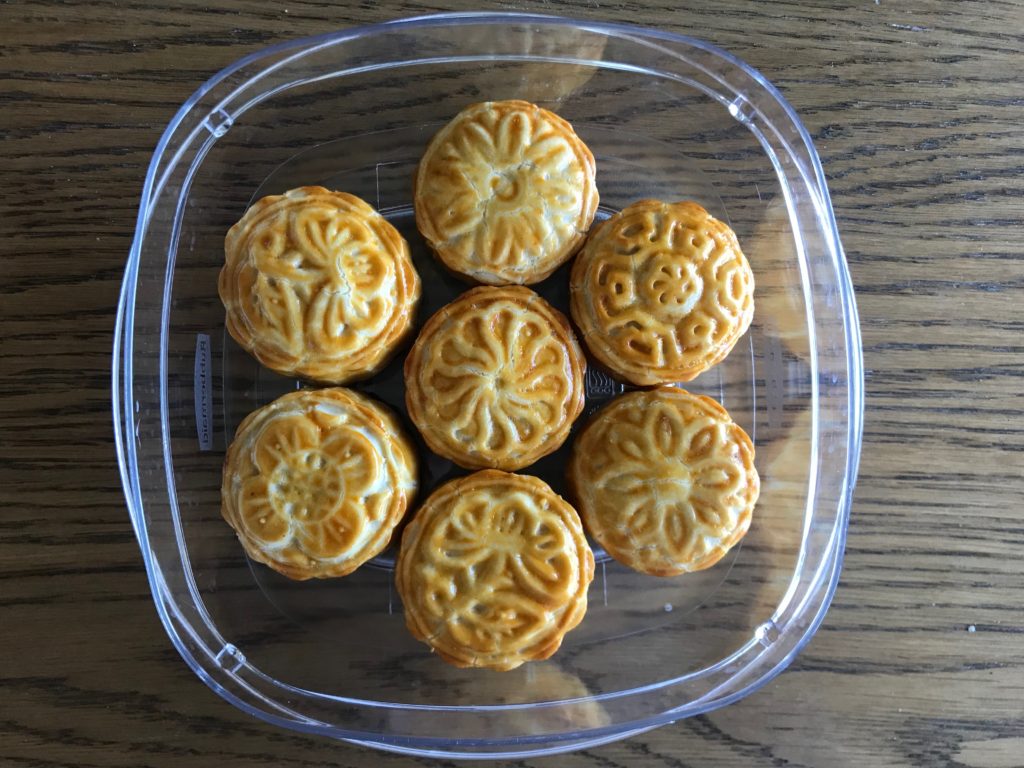
pattern lost after 13mins baking
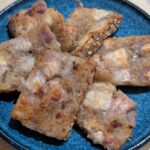
Observation:
- skin dried out and cracked.. need to troubleshoot if oil, sugar and lye water ratio was off, or because of the the addition of flour this time
- common mistakes and solution are attached in TAKEAWAYS section
- pattern loss due to too much egg brush
- mooncake also enlarged and puffed up, which could lead to both skin cracking and pattern loss
IMPORTANT NOTE:
- let it cool, transfer to seal box and rest for 2-3 days 回油
- after 2-3 days, skin will be softer and moist with oil
Day 0: after baking
Resources