Work has been busy lately, which surge my urge to bake even stronger. A friend’s birthday arrives right on time and now I am branching out to bake a cake for her birthday — chocolate coconut cake! Would love to share what I did well and did badly for my first cake as future tips!
TAKEAWAYS:
- chiffon cake mix (before adding egg white) should be able to form pattern without disappearing right away
- chiffon cake (after adding egg white) should be able to form pattern for around 3 seconds before disappearing
- drop cake mold a few times before and after baking to prevent air bubble forming while baking and shrinking while cooling down
- stop whisking cream when pattern starts to form and not disappear!
- start dripping chocolate from the edge if you are a beginner, prevent using out the drip or drip dry out before you can spread them over the whole surface for further dripping
RECIPE
Part I: Chocolate Chiffon Cake
Adapted from 小高姐’s two chiffon cake videos attached below.
Ingredients for a 6 inch cake mold:
- oil: 60g
- cocoa/cacao powder: 25g
- cake flour: 56g
- egg yolk: 4
- milk: 96g
- vinegar: 8g
- egg white: 4
- sugar: 60g, light-medium sweetness
Step 0: Store egg while with the whisking bowl in fridge to remain low temperature, aid whisking later
Step 1: low-medium heat to heat up oil 60g and cocoa powder 25g, mix well
Step 2: turn off heat, sieve in cake flour 56g
Step 3: add 4 egg yolk, milk 96g and mix well
How to see if cake mix is at the right phrase:
- scoop up some mix and pour them back in, if the fold/pattern remains for around 1 second rather than disappear right away (too liquid)
- add a few grams of cake flour if needed, mix well
Step 4: keep cake mix in fridge while whisking egg white
Step 5: whisk egg white with vinegar/lemon juice:
- when big bubbles appear, add 1/3 sugar
- when patterns start to show, add 1/3 sugar
- when small soft peaks form when picking up whisk, add final 1/3 sugar
- whisk till when picking up whisk, peak has firm bottom and soft tip like a hook
Step 6: move 1/3 egg white and add back to cake mixture, mix well (scooping with one hand, turning bowl with another hand)
Step 7: pour mixture back to the 2/3 egg white mix, mix well
Step 8: pour mixture to cake mold. Two ways to tell if we achieve the ideal phrase (wet/dry) of mixture:
- when pouring mixture down, its folds look like the Golgi apparatus
- if draw pattern on mixture, it will not disappear in 3 seconds
Step 9: drop cake mold a few times and break the large air bubbles
Step 10: bake at preheated oven 330F for 20mins and lower temperature to 310F for another 20mins (I baked for 10 more mins at 310F as my cake is a bit wet inside)
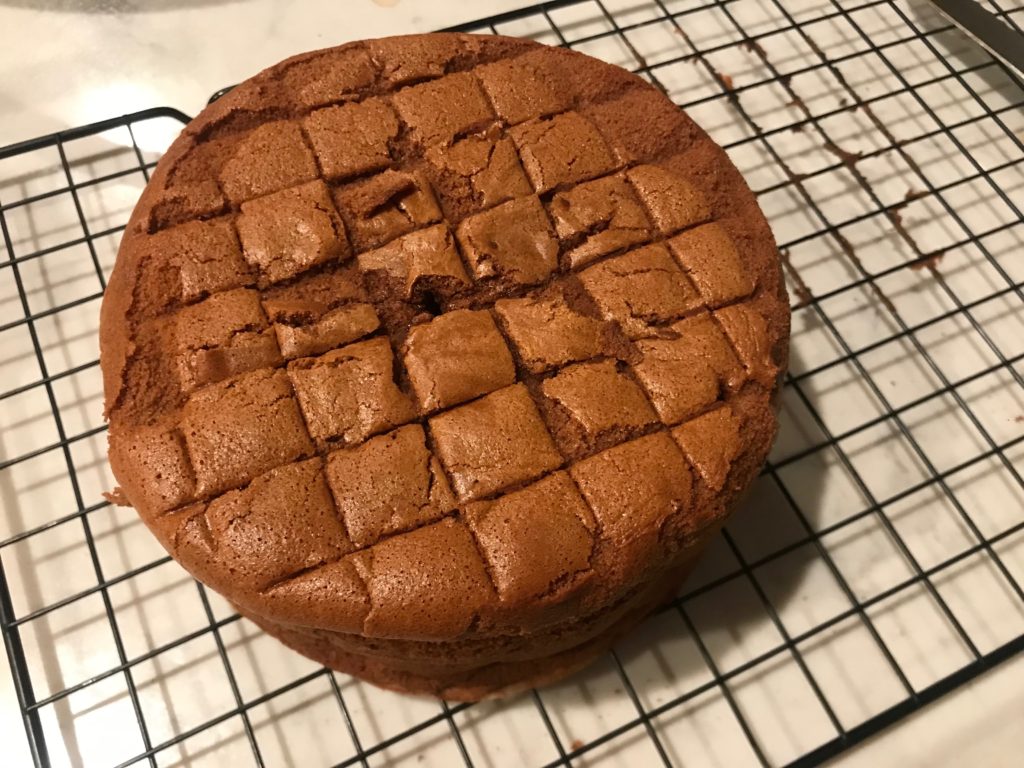
Step 11: **IMPORTANT** drop cake mold a few more times: if air bubbles that formed when baking remain inside, cake will shrink as air cools down. If we drop the mold, breaking air bubbles, they will not exist and shrink, and cake remain similar shape.
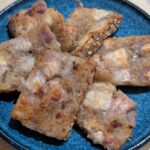
Step 12: cool down: remove from mold if possible (not essential, just faster to cool down), flip cake mold so it’s upside-down till completely cooled. Up-side down helps prevent shrinking as well. You can see the grid’s print on the surface of my cake haha!
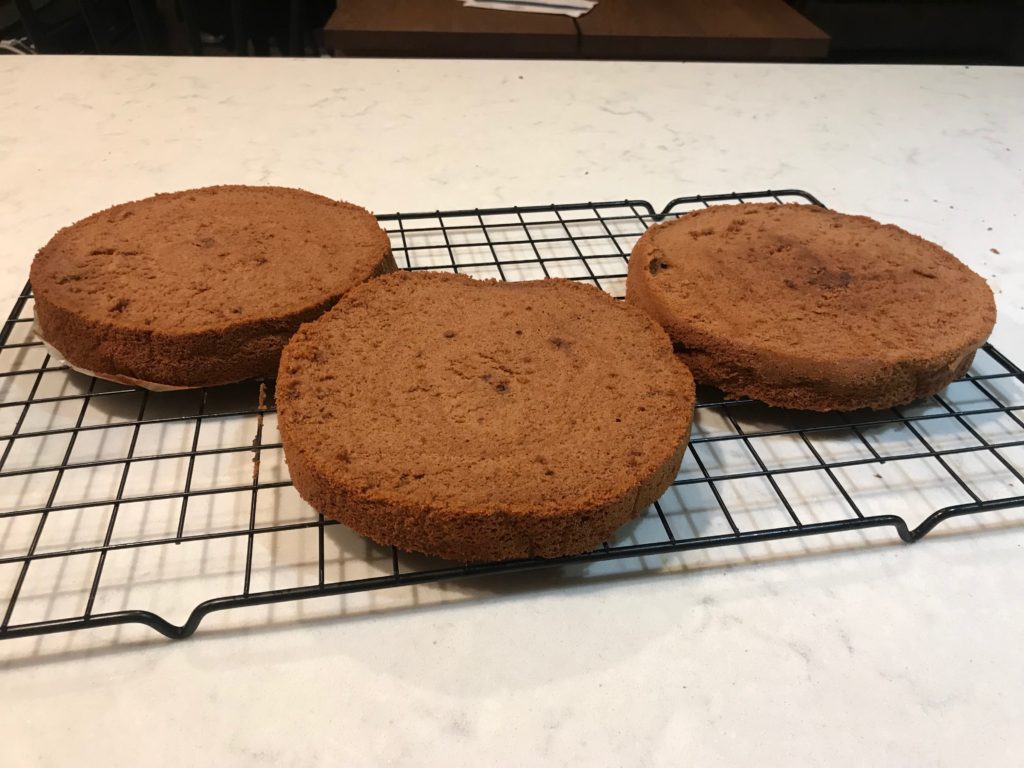
Step 13: slice cake into 3 pieces and set aside for 10mins (inside might still be hot)
Part II: Coconut Icing Cream
Ingredients:
- heavy whipping cream: 250g
- sugar: 15g
- usually 5-10% sugar:heavy whipping cream ratio is enough, I went for the lower end as I have chocolate dripping later, which increase sweetness
- coconut extract: a few drops, dependent on how strong coconut flavor you would like. If not enough, can adjust later with more coconut shreds.
- coconut shreds
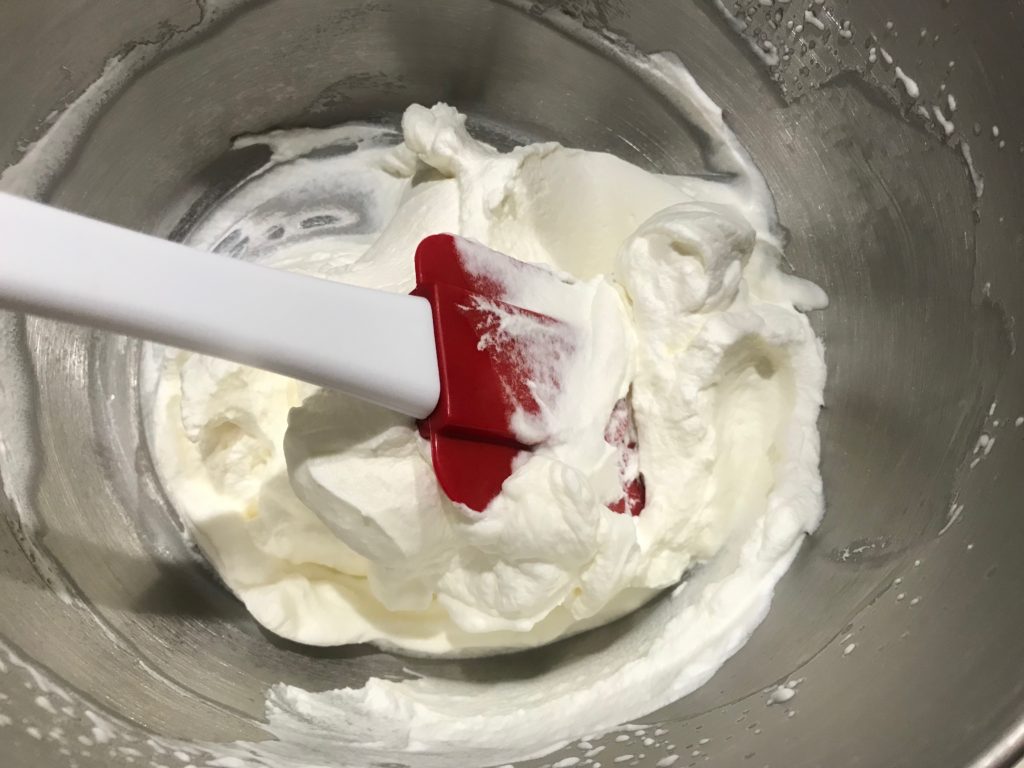
Step 1: high speed whisk heavy whipping cream 250g, sugar 15g, coconut extract; when pattern shows, lower speed to low-mid range, whisk till peak with soft peak forms and cream looks like it can flow, instead of very firm
- I over-whisked my cream and they are firm and dry, which made it hard to apply on cake evenly
Step 2: apply cream in between 3 layers of cake, add coconut shreds to add more coconut flavor and an extra texture to the cake
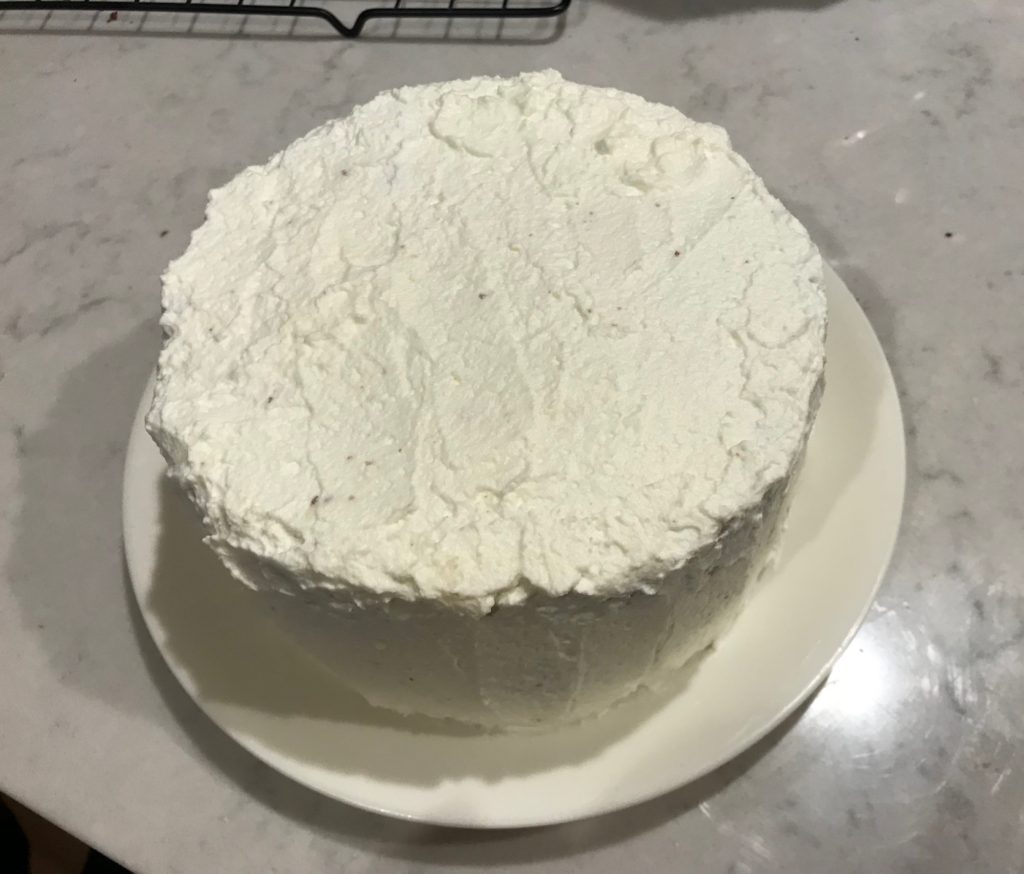
Step 3: apply cream on the outside of cake (side and top), no coconut shreds as they might make outer layer uneven.
- can apply cream on the side in 3 times:
- first time just to cover the uneven cake surface
- second time to make cream surface even and “flat”, especially the top and bottom should be same level/flatness as the cake main body
- third time to refine icing
My icing cream was not every even because I over whisked cream.. Luckily I can cover this surface with chocolate drip later
Step 4: store cake in fridge for at least 1-2 hours, or better overnight. Cream needs to stabilize before adding drip on. Also needs to chill so it will not melt when chocolate is poured on.
Part III: Dripping Chocolate and heart shape pattern
Ingredients:
- chocolate drips:
- dark chocolate chips: 80g
- whipping cream: 80g
- 1:1 chocolate chips : whipping cream ratio is beginner-friendly as it’s not too liquidy and will not drop straight to bottom; in the future I might use more whipping cream and less chocolate chips so it’s more fluid and covers more surface.
- pattern:
- white chocolate chips: 20g
- whipping cream 20g
- red food coloring: 1 drop (pink)
Step 1: microwave both mixture for 30 secs, mix well; add more chocolate chips/whipping cream to achieve idea liquid/solid phrase (pattern does not disappear right away).
- put pink chocolate drip in pipping bag
Step 2: use a spoon and scoop dark chocolate drips, pour on the edge, gently push them “off the cliff” to form drip patterns.
- adjust the amount pushed down to achieve different length of drips
- MY MISTAKE: pour all dark chocolate drip on top of cake right away instead of using spoons, leading to two mistakes:
- 1 – the drip was not fluid enough that they did not flow towards all the edge and flow down… so I needed to make more dark chocolate drip :p
- 2 – by the time I am done with dripping, the top chocolate was not liquid enough for making heart shape patterns, which requires both the top (heart part) and the bottom (dark chocolate part) are liquid phrase
- If skilled enough and can adjust chocolate drip to right phrase, can definitely pour and use spoon to move them to the edge for dripping
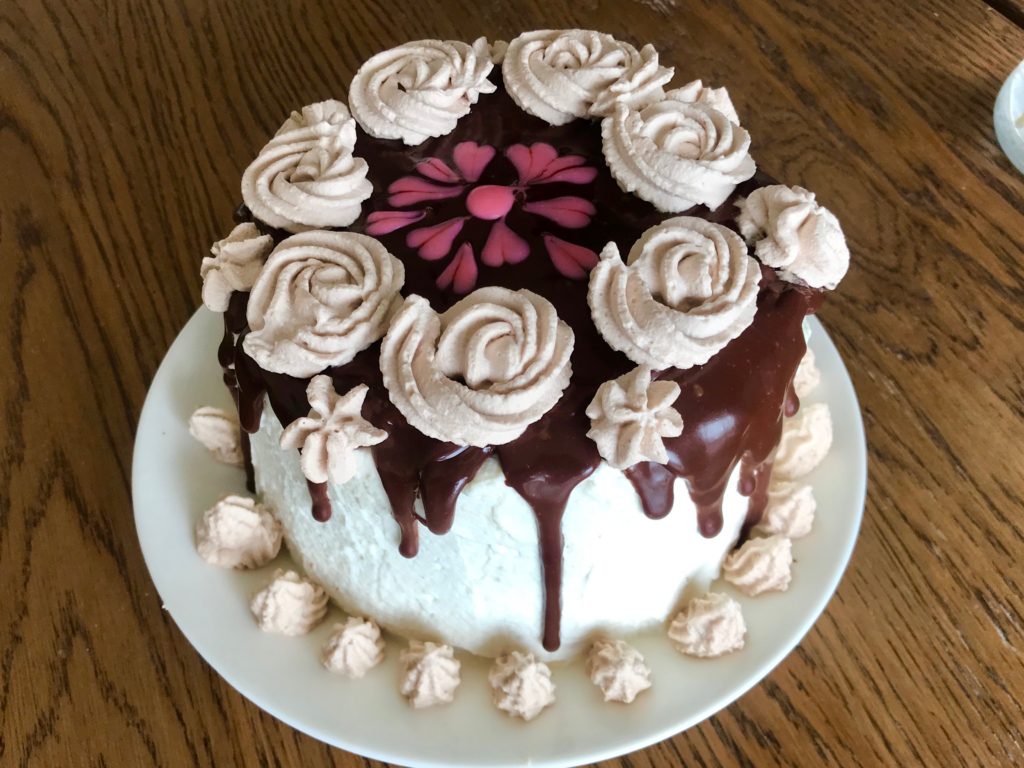
Step 3: pour the rest of the dark chocolate drip on top to form a smooth top
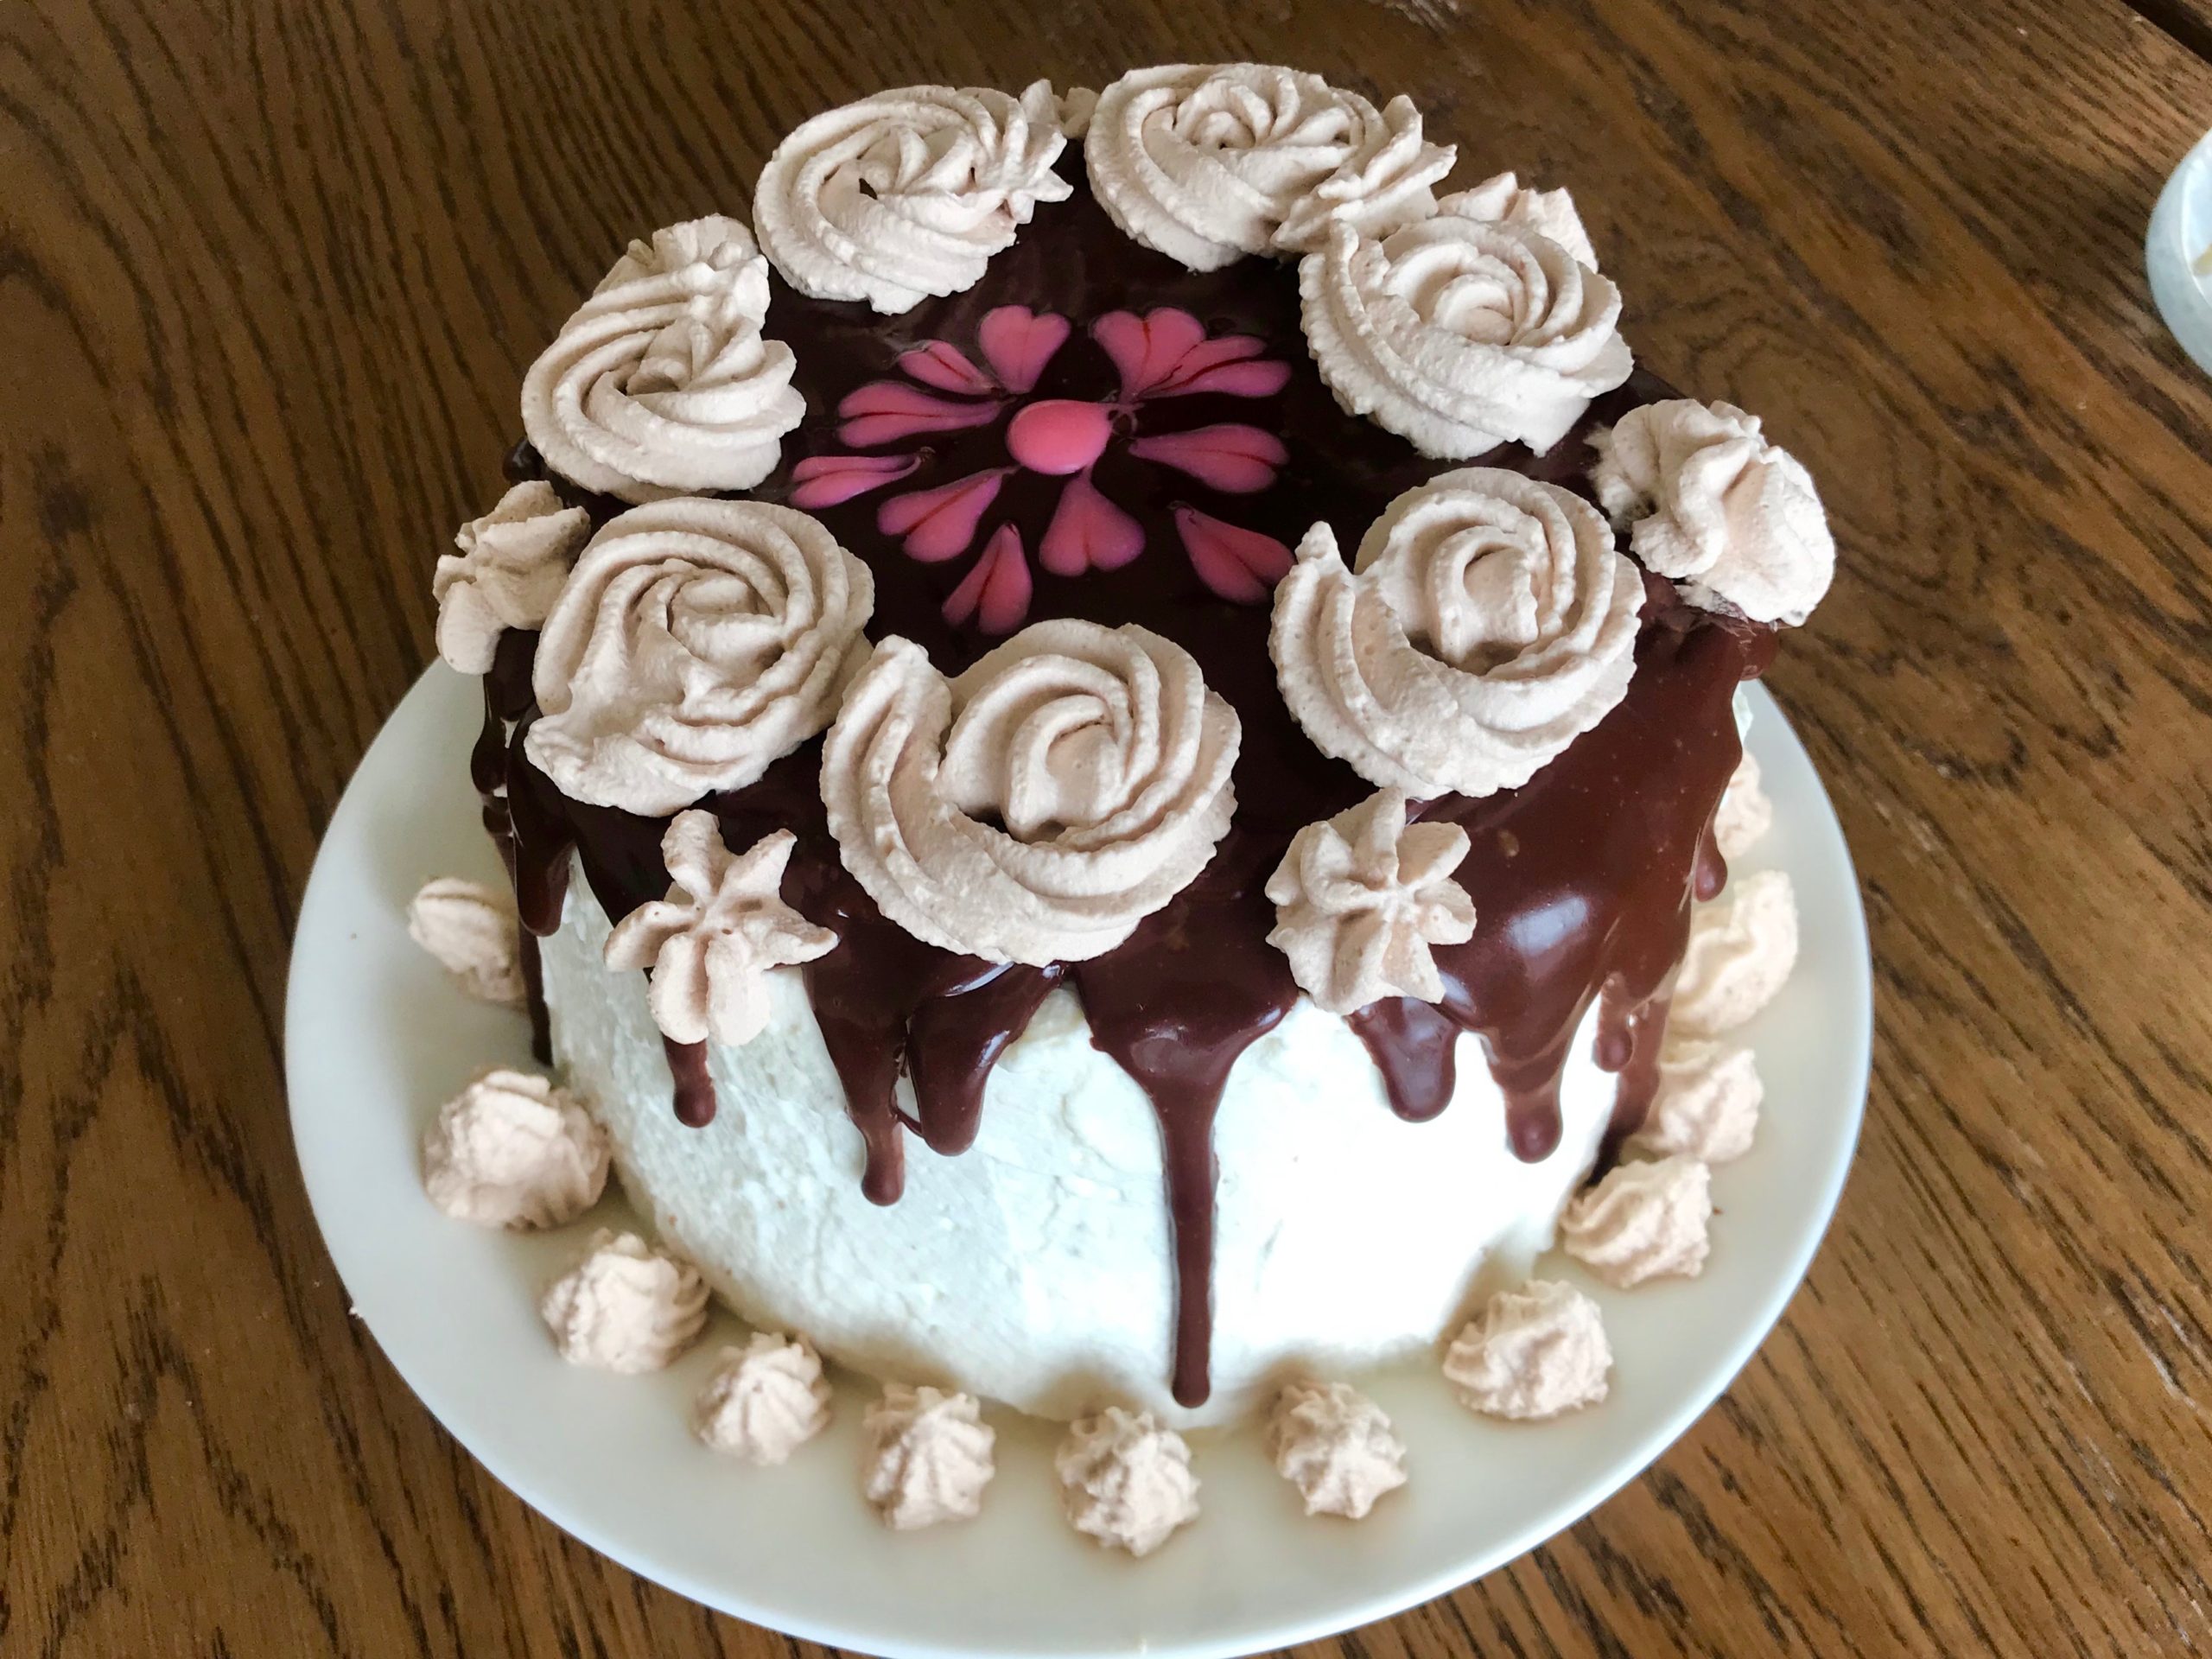
Step 4: quickly pipe down dots of pink chocolate drips with pipping bag
Step 5: use toothpick/chopstick or whatever tool has needle like tip, to draw a line through the center of pink dots, and you will have heart patterns!
Step 6: put the cake back in fridge while preparing piping cream

Part IV: Piping cocoa cream
Ingredients:
- heaving whipping cream: 100g
- sugar: 5-10g
- cocoa/cacao powder: a few tablespoons depends on preference
Step 1: mix ingredients, otherwise, cocoa powder could splash everywhere when starting to whisk
Step 2: first high speed, then low speed till soft peaks form (do NOT over-whisk)
Step 3: transfer to pipping bag and start piping!
- MY MISTAKE: try not to stir cream too much, or pipe from one piping bag to another if wants to change piping head for multiple patterns, otherwise the pattern will be very “blurry” as cream phrase changes
Step 4: store in fridge till ready to serve.
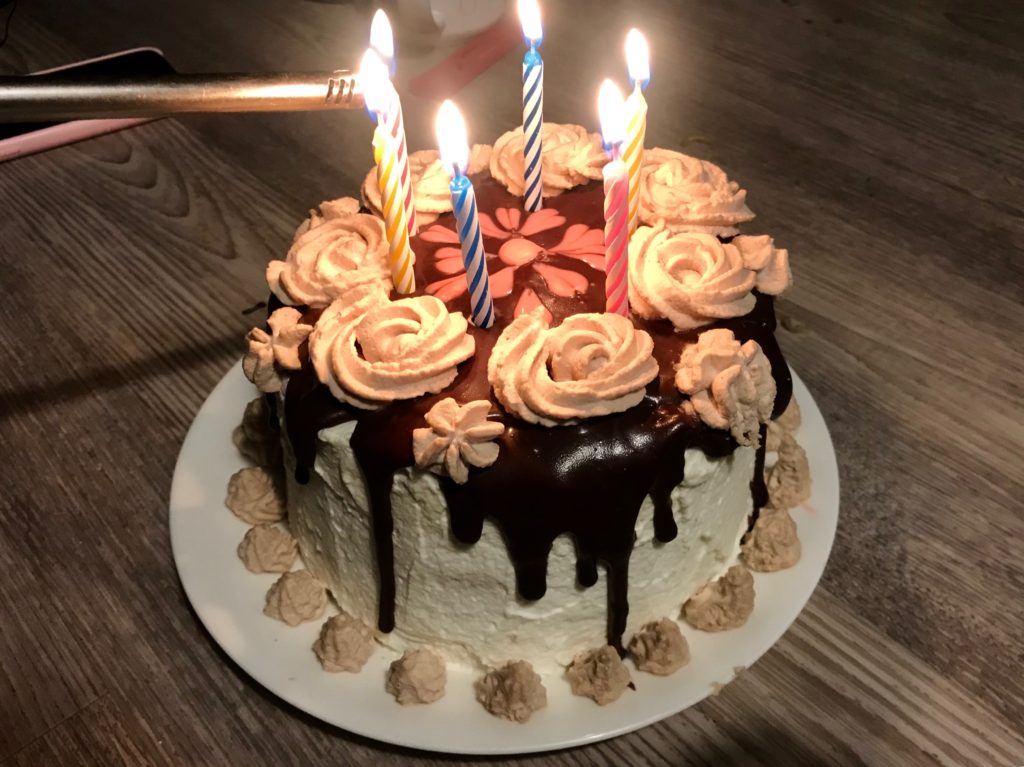
READY TO SERVE!
Resources
Use this chocolate chiffon cake’s ingredient:
Use this baking temperature:
Basic piping: