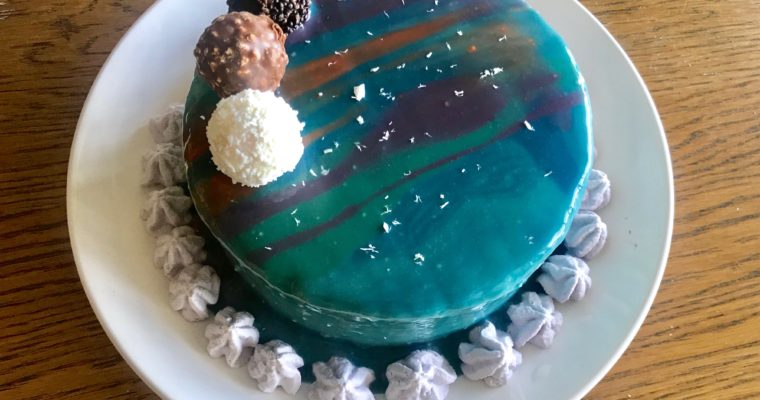
Got a request to make a cake with either coffee or taro flavor, thought it would be a fun experiment to combine these two flavors together in the same cake, so I decided to try a taro coffee cake.
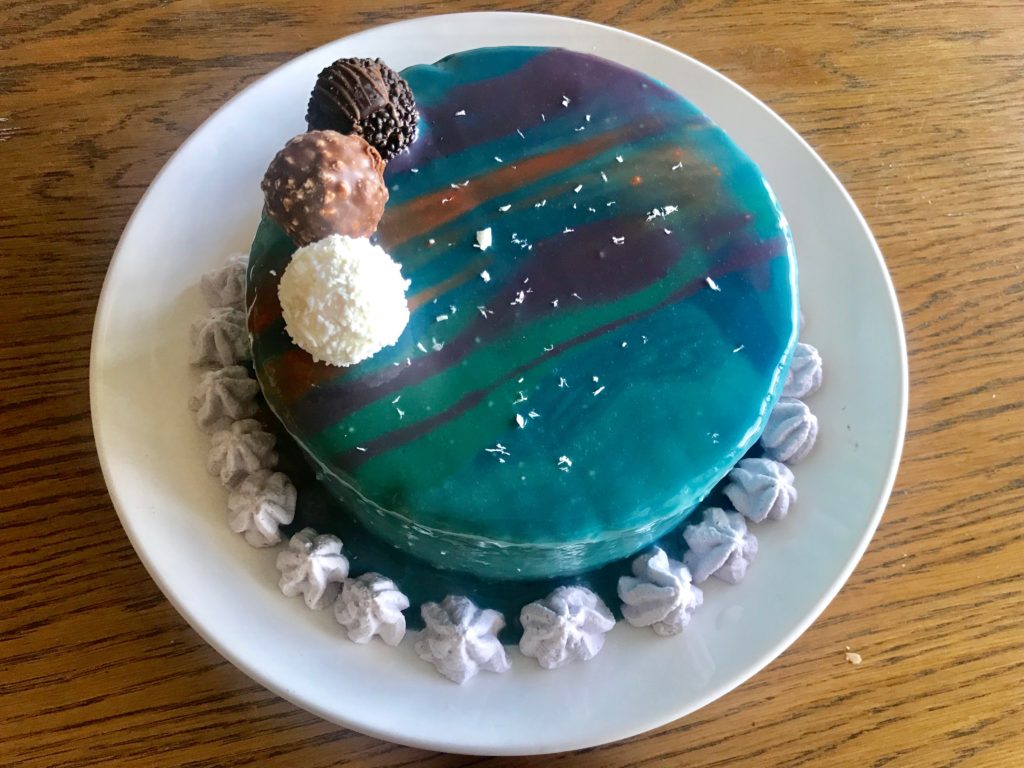
Trying a new way to decorate cake, other than piping whipped cream patterns, I went for MIRROR CAKE! I would rate this cake for a 5/10 success for mirror glaze, 9/10 success for new flavor innovation! I also included mirror glaze mistake demo at the end!
QUICK TAKEAWAYS
- DO NOT, DO NOT, DO NOT substitute gelatin with Jell-O gelatin mix, unless you have secret conversion ratio. Jell-O gelatin mix in my case is too diluted after adding into mirror glaze mixture and thus does not hold the mousse firm and does not help mirror glaze hang on, hold on the cake wall.
- I have provided MISTAKE DEMO at the end of the post.
- Food coloring is harder than I thought, especially when it involves multi-colors’ mixing.
- Use 1-2 spoons of mirror glaze as test-out
- Mix food colors little by little, mix well.
- Once satisfied with color, remember the ratio of different colors.
- Add more mirror glaze till reaching amount needed for this color, and accordingly add more food colors based on ratio noted.
- Maintain colored mirror glaze at 32-35C, can place their containers in warm water bath. Temperature too high, mirror glaze will be too flowy, too low will be too chunky and cannot form or shape into expected pattern.
- Take frozen mousse cake out of mold by wrapping mold with warm cloth and slightly melts mousse on the edge.
- Add mirror glaze a few hours before consumption, and refrigerate for 2 hours to stabilize the mirror glaze before consumption.
RECIPE
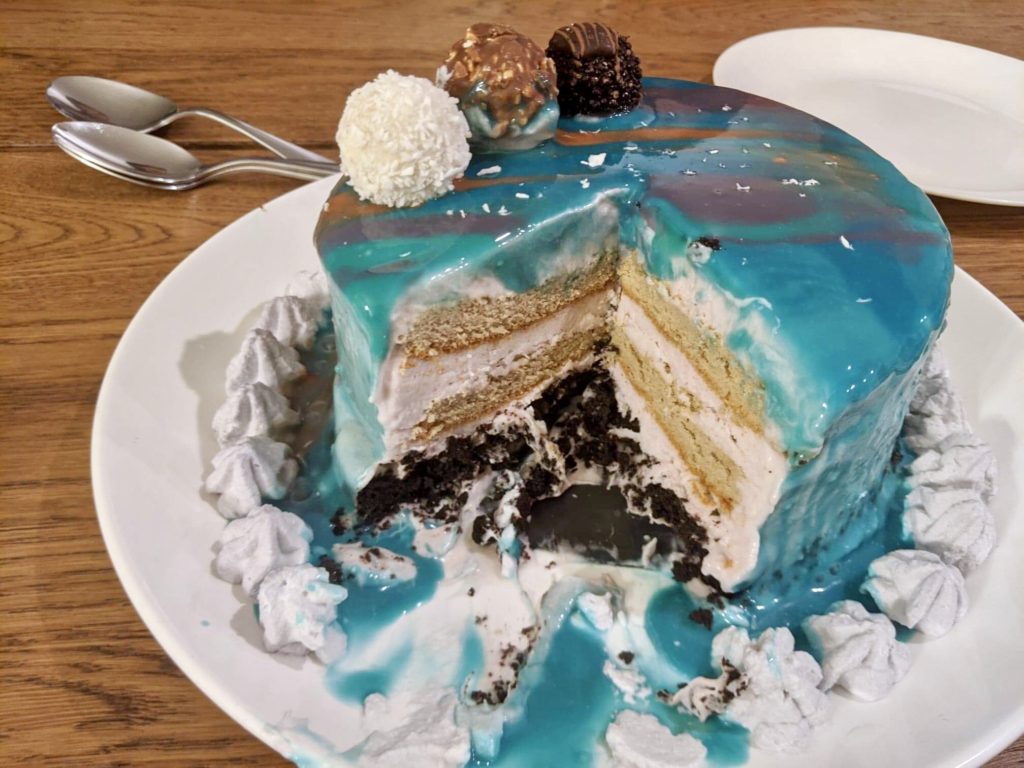
All ingredients for 6 inch cake, LESS SWEET. Making this cake consists of 5 parts over a span of 3 days:
- the Oreo cookie base
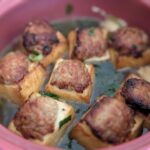
- the COFFEE CAKE
- the TARO MOUSSE
- the ASSEMBLY
- the MIRROR GLAZE
Part I: the COOKIE BASE
Ingredients:
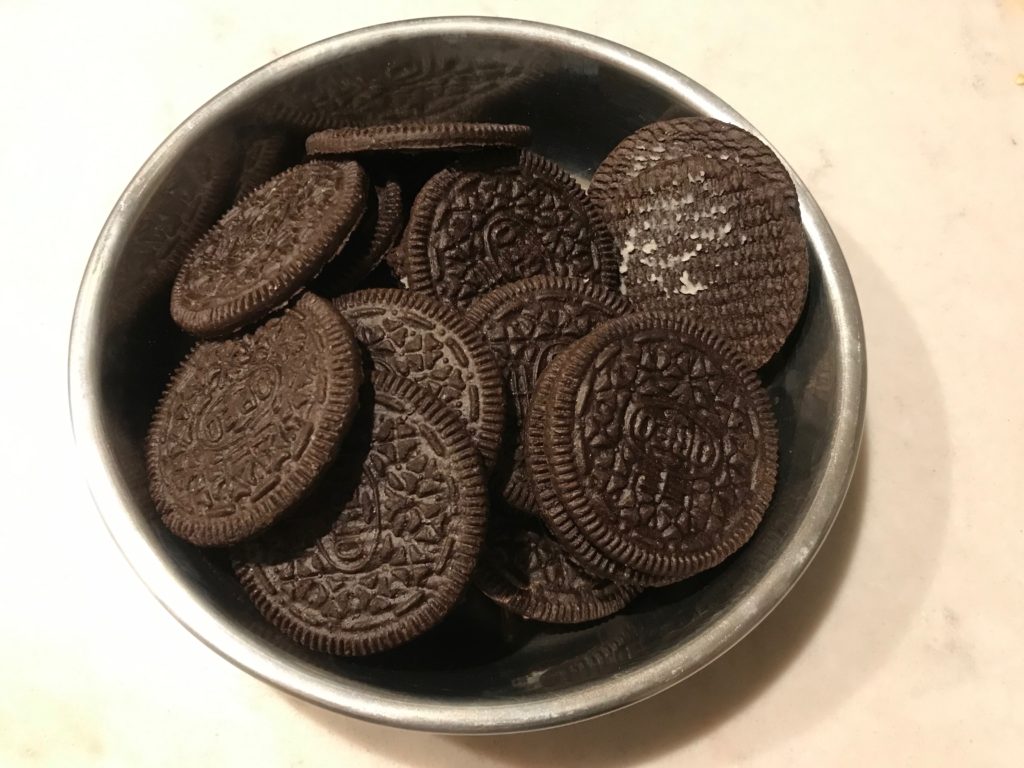
- 11 Oreo cookies withOUT cream, otherwise might be too creamy and sweet
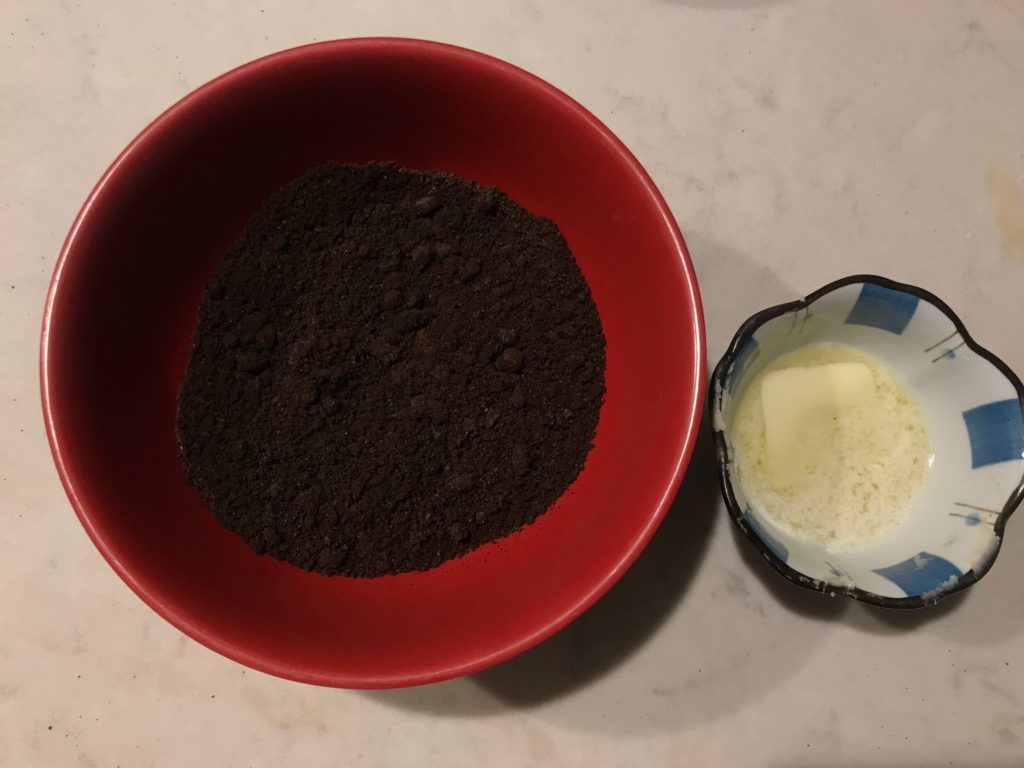
- 20g melted butter
- might need more butter to hold all the chunks tighter
Procedure:
- Step 0: Place plastic wrap at the bottom of cake mold.
- Step 1: Peel off Oreo cookies’ cream with knife.
- Step 2: Blend/break them with bread roller.
- Step 3: Mix 20g melted butter with Oreo cookies’ chunks.
- Step 4: Place mixture in cake mold, press hard with spoon or bread roller.
- Step 5: Freeze overnight in freezer for solid shape.
Part II: the COFFEE CAKE
Cake recipe adopted from 小高姐’s Swiss Roll recipe
Note: accidentally added 7g more milk, so decreased oil by 7g, liquid total weight was the same as recipe.
Ingredients:
- 3 eggs, cold, separate egg white and egg yolk
- 36g oil (original recipe: 42g, adjusted because added more milk)
- 42g milk (original recipe: 36g, added a bit too much)
- 1.8g (2 small packs) instant coffee
- Maxim Kanu Mini Dark Roast Americano
- could double the amount for stronger coffee flavor
- 54g cake flour
- 5g vinegar
- 30g sugar
Procedure:
- Step 0: Place parchment paper on baking pan, keep egg yolk in fridge while making cake mixture.
- Step 1: Warm 42g milk in microwave for 30secs, dissolve 2 packs of instant coffee, mix well, chill.
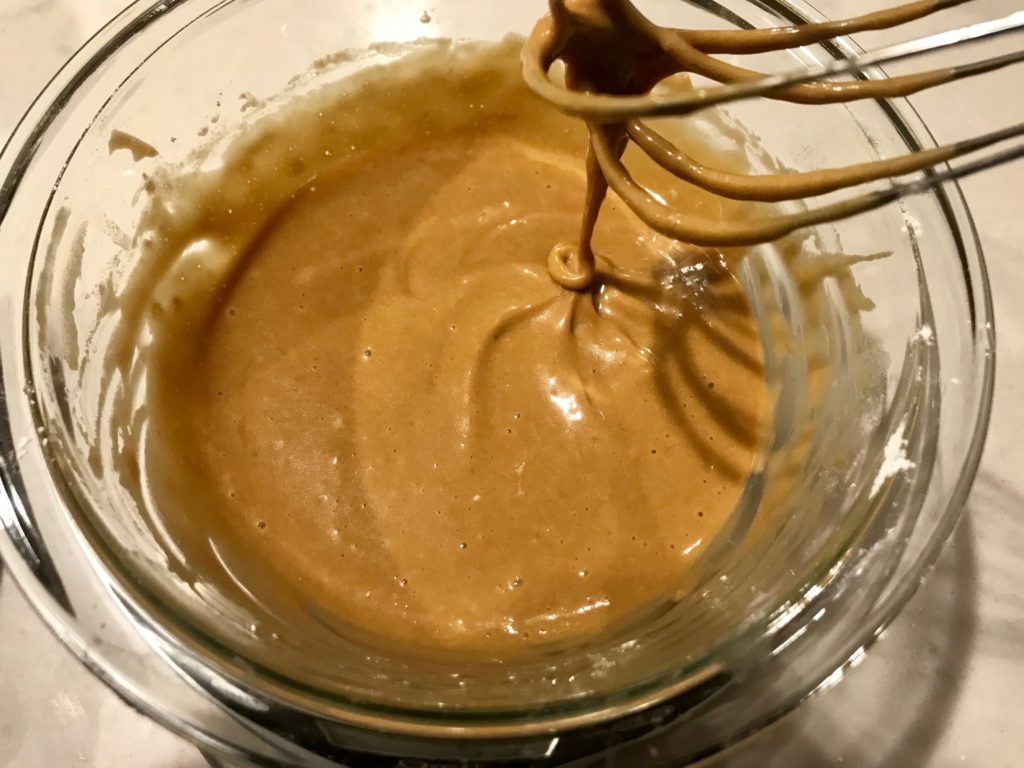
- Step 2: Mix 3 egg yolks, 36g oil and 42+g coffee-milk mixture till oil and milk do not separate.
- Step 3: Sieve through 54g cake flour, mix cake mixture in Z-pattern till no big chunks.
- Step 4: Transfer cake mixture to fridge while whisking egg white, preheat oven to 320F/180C.
- Step 5: Add 5g vinegar to 3 chill egg yolk, whisk from high speed; added 1/3 sugar after around 30secs/big bubbles form; add the rest of sugar in a few times. Whisk till small hook has small tip and stand firm.
- Step 6: Mix 1/3 egg white into cake mixture; after they are evenly mix, pour mixture back to the rest 2/3 egg white, mix well.
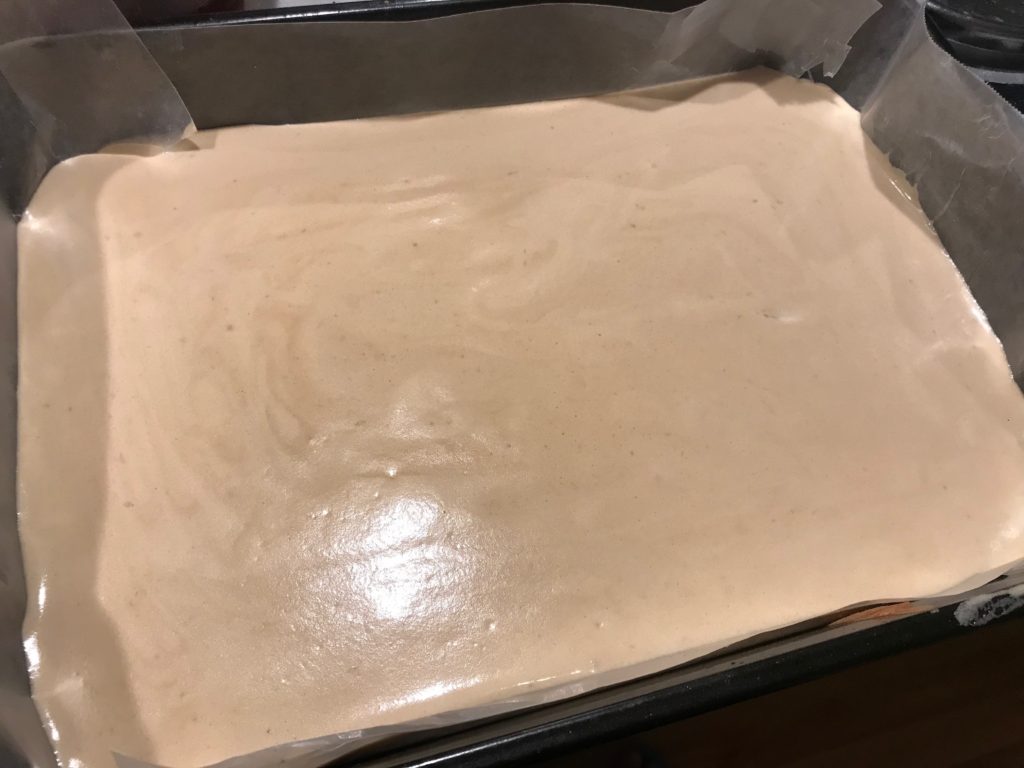
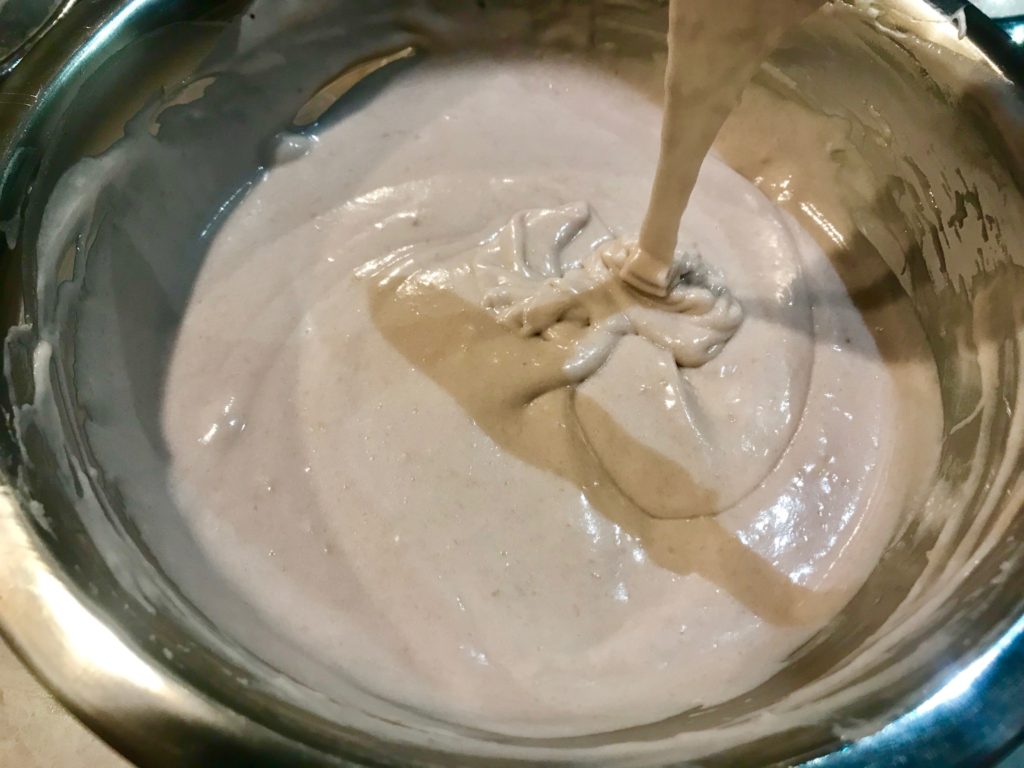
- Step 7: Pour cake mixture into baking pan; pouring pattern should look like the Golgi, and will not disappear in 3 secs.
- Step 8: Drop pan a few times to get rid of big bubbles.
- Step 9: Bake at 320F/180C for 30mins.
drop baking pan to get rid of bubble 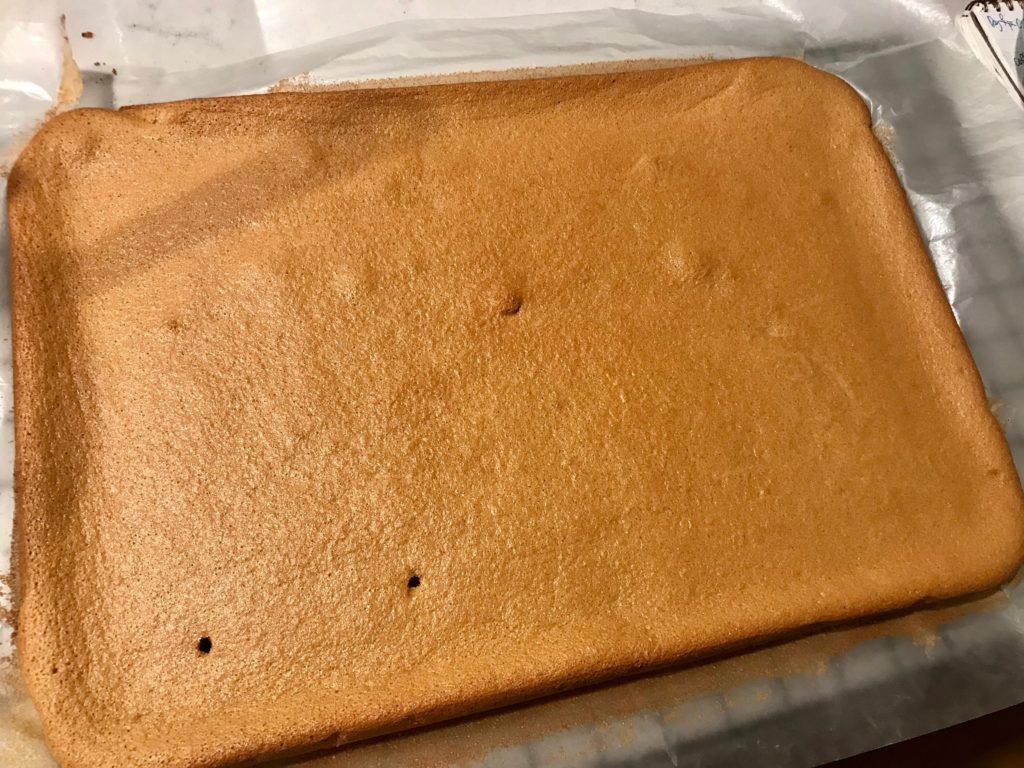
Still has some big bubbles
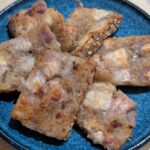
- Step 10: Move cake out of oven, drop a few times to break bubble and prevent cake collapsing. Let cool.
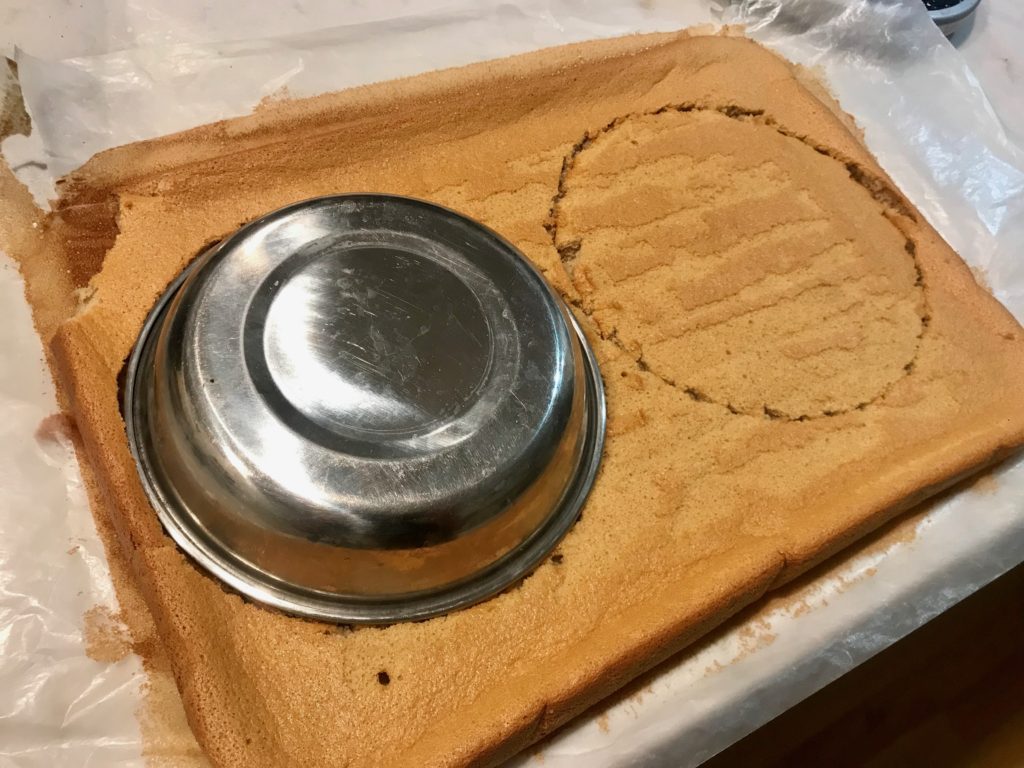
- Step 11: Cut cake into 2 circular pieces, diameter should be 1-2cm smaller than cake mold;s so mousse can also get in the space between cake edge and cake mold.
Part III: the TARO MOUSSE
Procedure referred to May’s Kitchen mirror cake, halved chocolate for less sweetness, halved whipping cream and gelatin as taro was used in large amount and taro can freeze itself well.
Ingredients:
- 300g taro
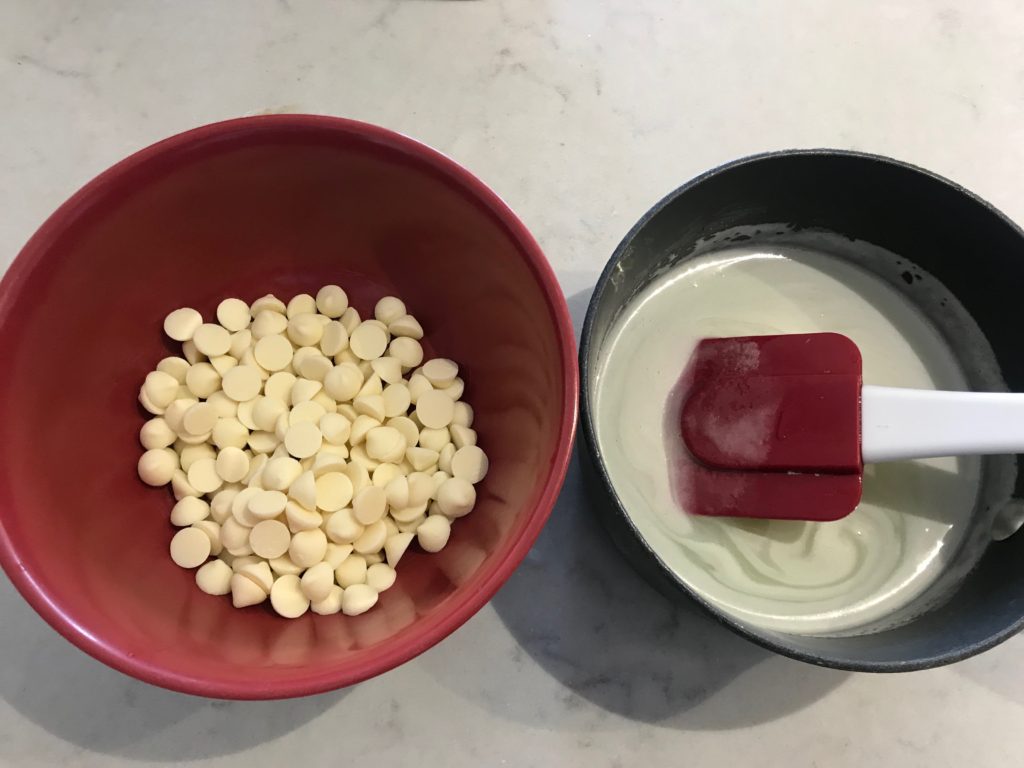
- 120g coconut cream, self adjusted till flowy texture
- 90g white chocolate chip
- 60g (light) whipping cream
- 3:2 red:blue ratio for purple food color
- 3g gelatin (I used Jell-O’s vanilla gelatin mix, could not find gelatin mix)
- 20g cold water
- 100g (heavy) whipping cream
Procedure:
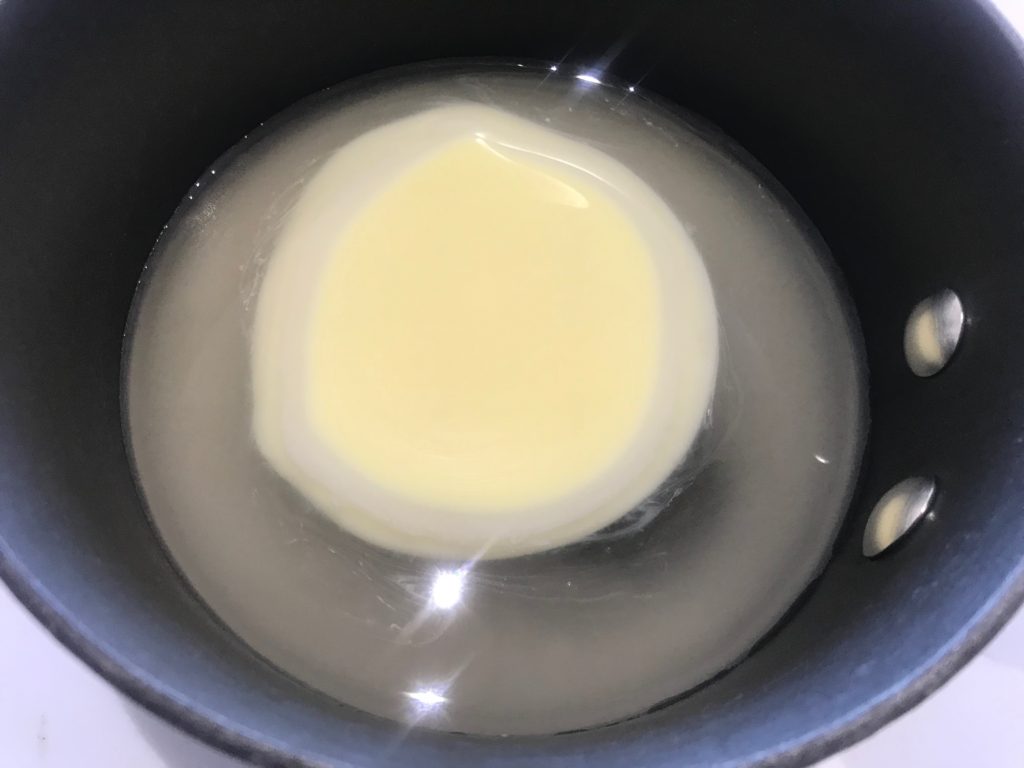
- Step 0: Mix 2g Jell-O gelatin mix in 20g cold water, place large bowl with 100g heavy whipping cream into fridge, chill before whipping.
- Step 1: Cut taro into pieces (300g after peeling skins), steam till soft
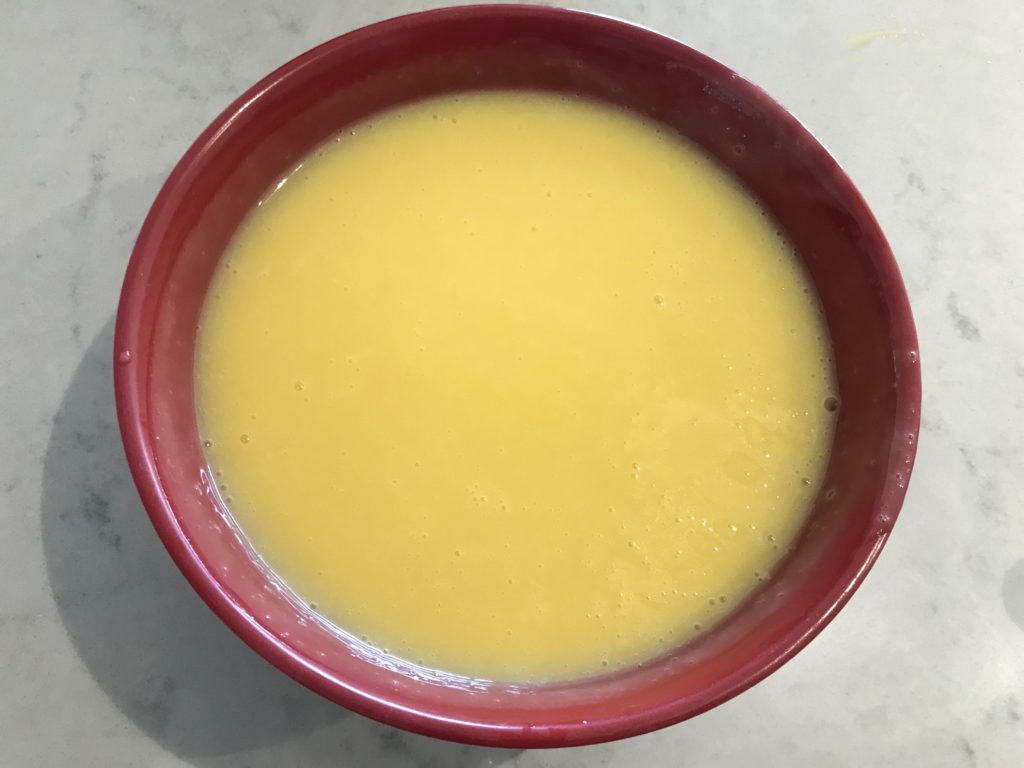
- Step 2: Blend 120g coconut cream with taro till smooth. No sugar or butter is needed, as we will add white chocolate and whipping cream later for mousse.
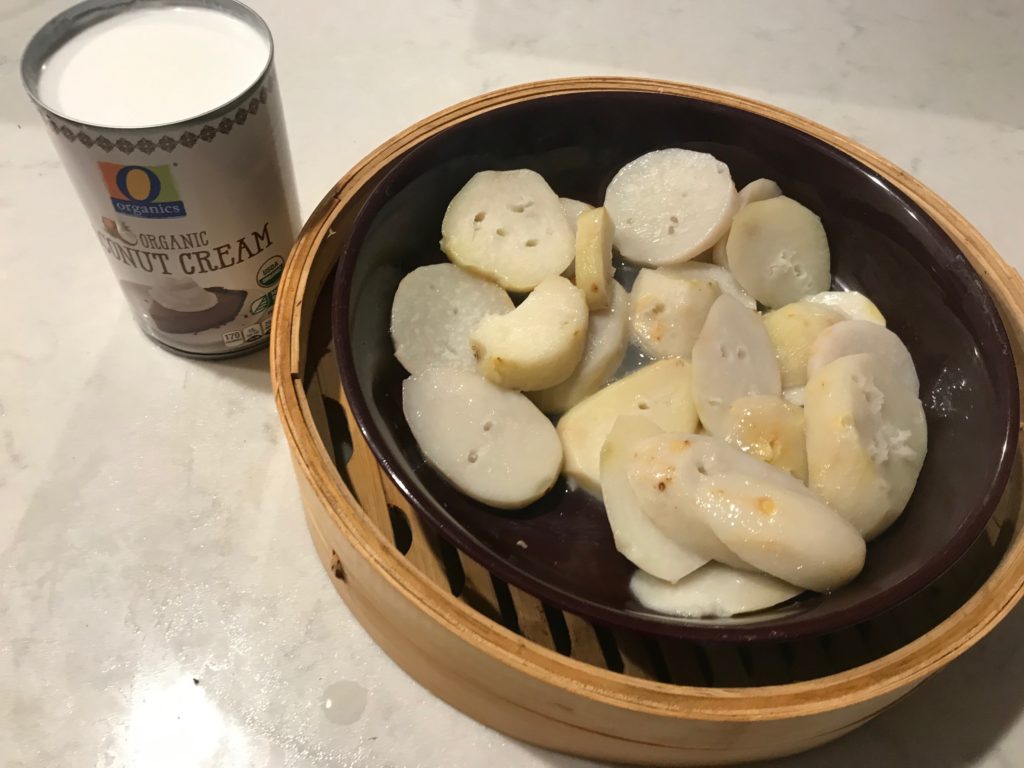
soft taro ready for blending 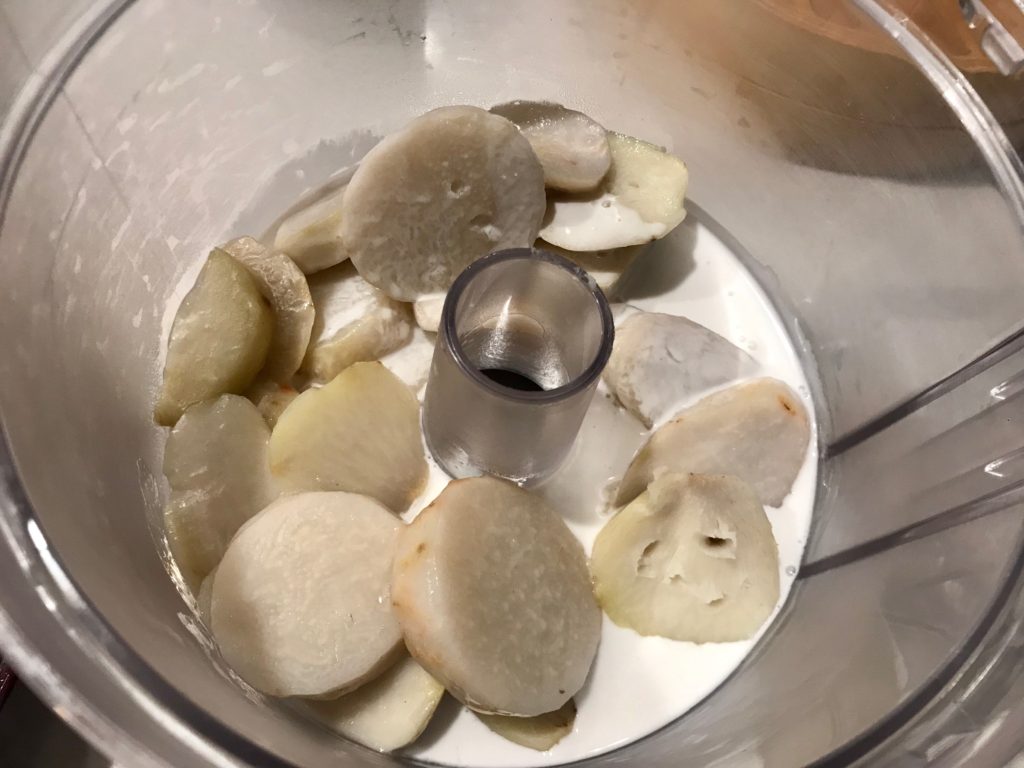
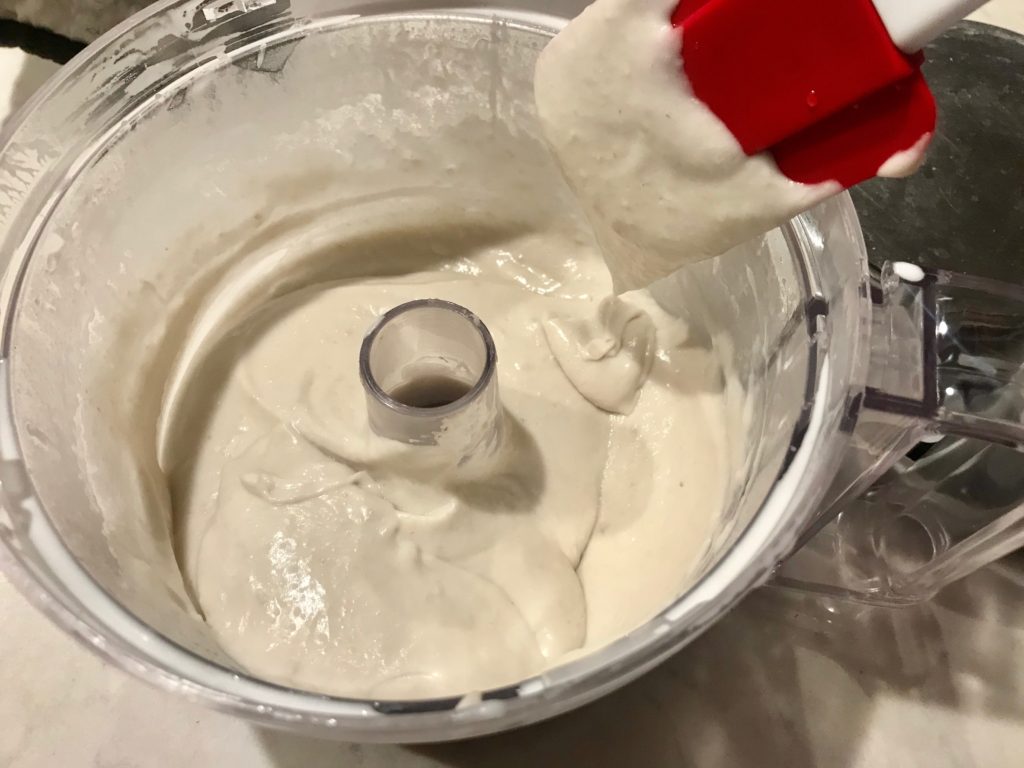
after blending becomes flowy paste
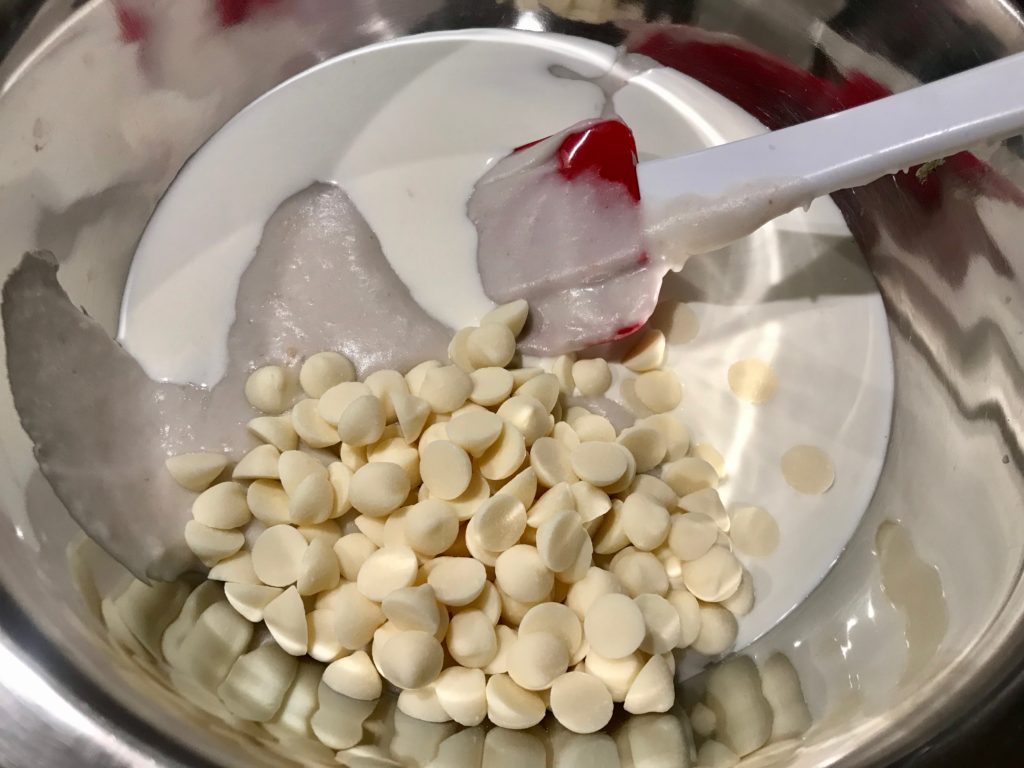
- Step 3: Add 60g light whipping cream, 90g white chocolate chips, 3 drops red color, 2 drops blue colors and taro-coconut cream mixture into a large bowl.
- light taro purple = 3 : 2 red : blue
- Step 4: Boil water in a pot and turn temperature to low. Place large bowl on top of pot (hot water should NOT touch the bottom of bowl), gently mix ingredients till all white chocolate chips melt.
1 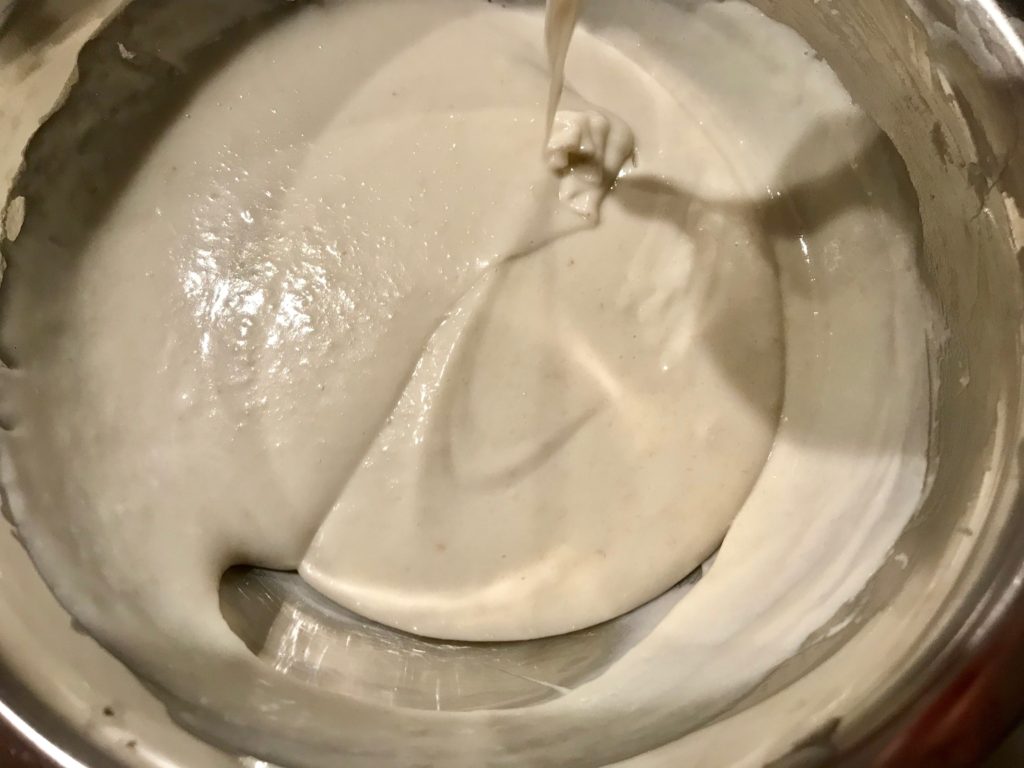
2 flowy texture 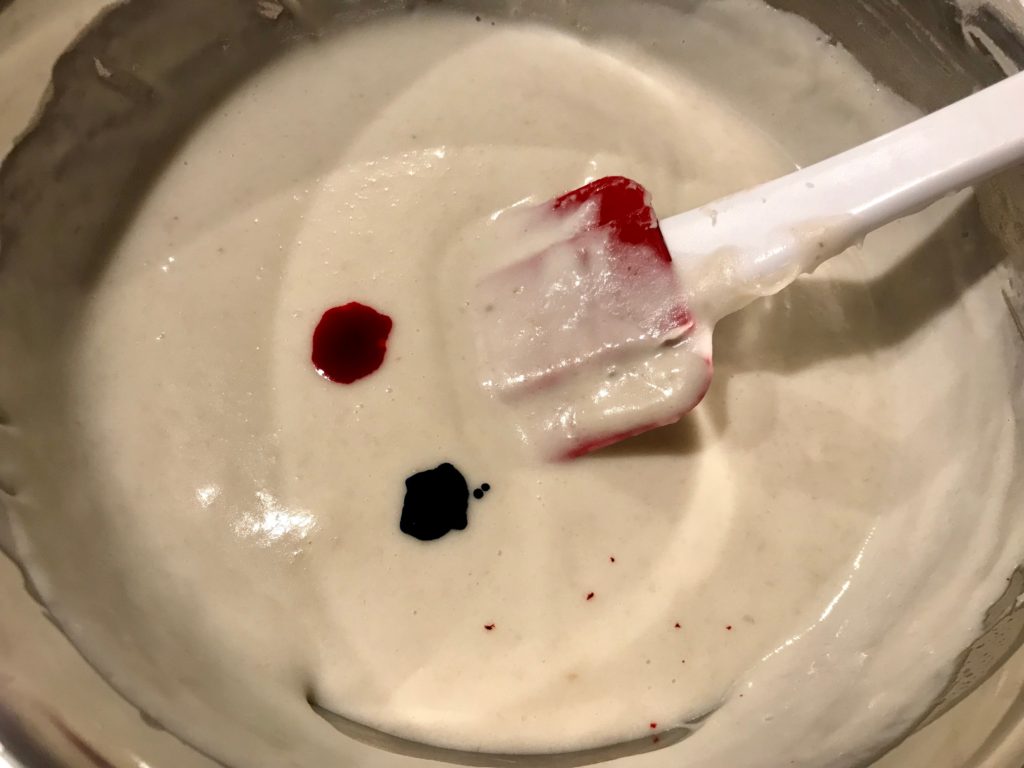
3 add food colors 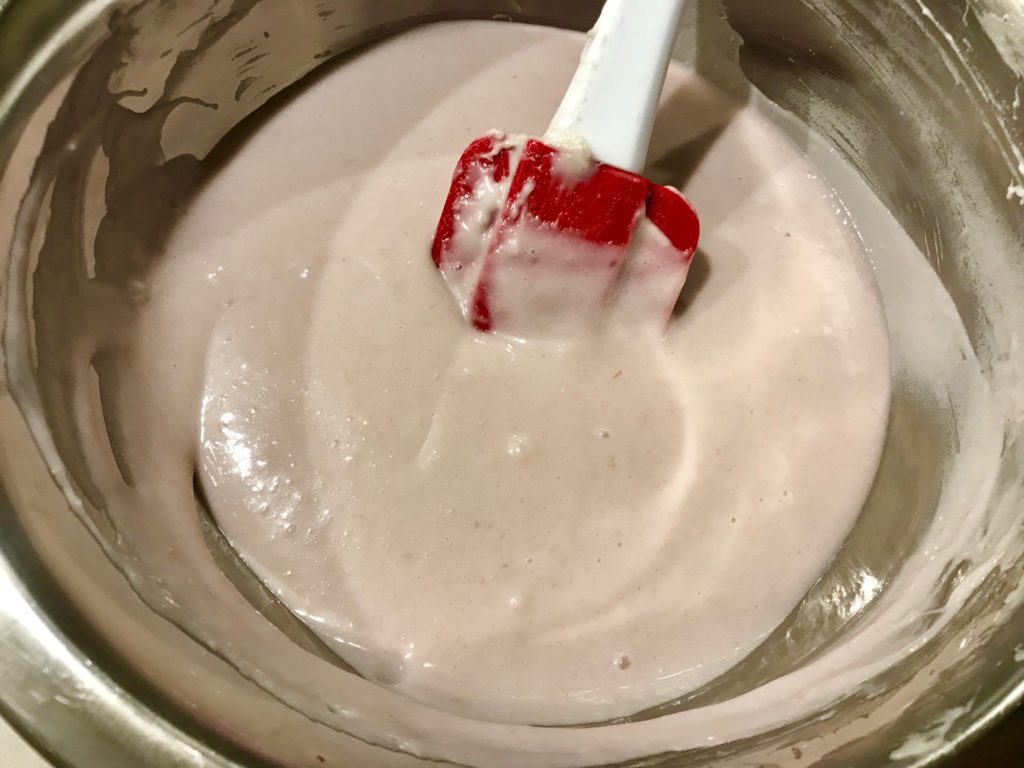
4 bad camera can’t tell purple =.=
- Step 6: Add gelatin mix into mixture while warm, mix till all gelatin dissolve.
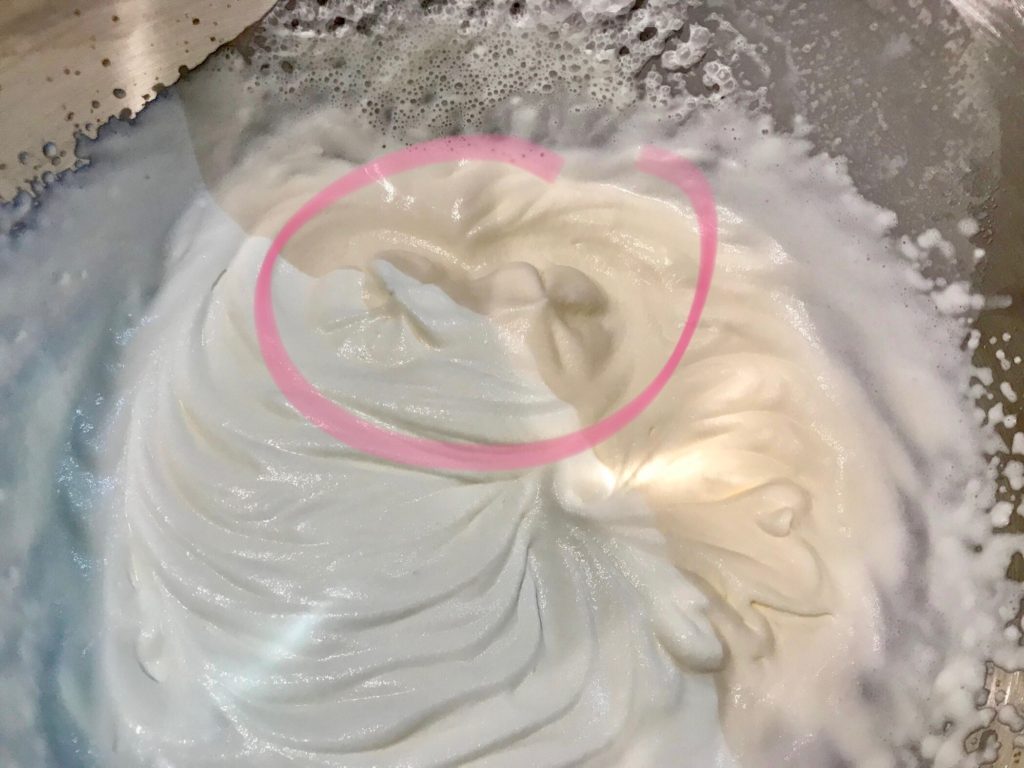
- Step 7: Whisk 100g heavy whipping cream till small peaks (pink circle) stand and cream is not liquidy anymore.
- Step 8: Mix 1/3 heavy whipping cream with mousse mixture; mix till even. Add in the rest 2/3 heavy whipping cream, mix well.
Part IV: the ASSEMBLY
Procedure:
- Step 0: Place parchment paper perfect fit for cake mold base, the top of mousse cake needs to be flat for mirror to “glaze”.
- Step 1: Pour in taro mousse mixture, drop to get rid of big bubbles.
- Step 2: Place 1st piece of coffee cake, gently press down.
- Step 3: Repeat step 2 and 3 for another layer of taro mousse, followed by 2nd piece of coffee cake.
- Step 4: Pour the rest of taro mousse mixture, leave space for Oreo cookie base. The edge of cake might need more mousse because coffee cake’s diameter is designed to be 1-2cm smaller than the cake mold.
- Step 5: Gently place Oreo cookie base on top.
- (Step 6): I have extra taro mousse and the Oreo cookie base was very loose, so I used the leftover taro mousse as glue for the base and poured them all on.
- Step 7: Transfer in freezer. Wrap plastic wrap after the surface’s mousse dries. Leave in freezer overnight.
Part V: the MIRROR GLAZE
Ingredients enough for 7-8 inch cake:
- 90g sugar
- 80g corn syrup/converted sugar
- 60g water
- 70g condensed milk
- 7g gelatin mix (in 50g water)
- 105g white chocolate chips
- food coloring
Procedure:
- Bloom 7g gelatin mix in cold water.
- MY MISTAKE: melted 1.5oz/pack Jell-O gelatin mix in 200g hot water, which becomes jelly form, but it is too diluted and will NOT have the same effect as 7g gelatin and can NOT hold the glaze on cake!!!
- DO NOT SUBSTITUTE GELATIN WITH JELL-O GELATIN MIX!
- Over medium heat, melt and mix 90g sugar, 80g corn syrup, 60g water and 70g condensed milk till just starting to boil with bubbles on the edge. Remove from heat.
- Pour the mixture over 105g white chocolate chips, mix till white chocolate chips all melt.
- Mix in gelatin, stir till gelatin dissolve.
- Remove bubbles by:
- Sieve through filter twice
- Place plastic wrap on top of mirror glaze, wrap touching the glaze, for a few minutes and remove

remove bubbles
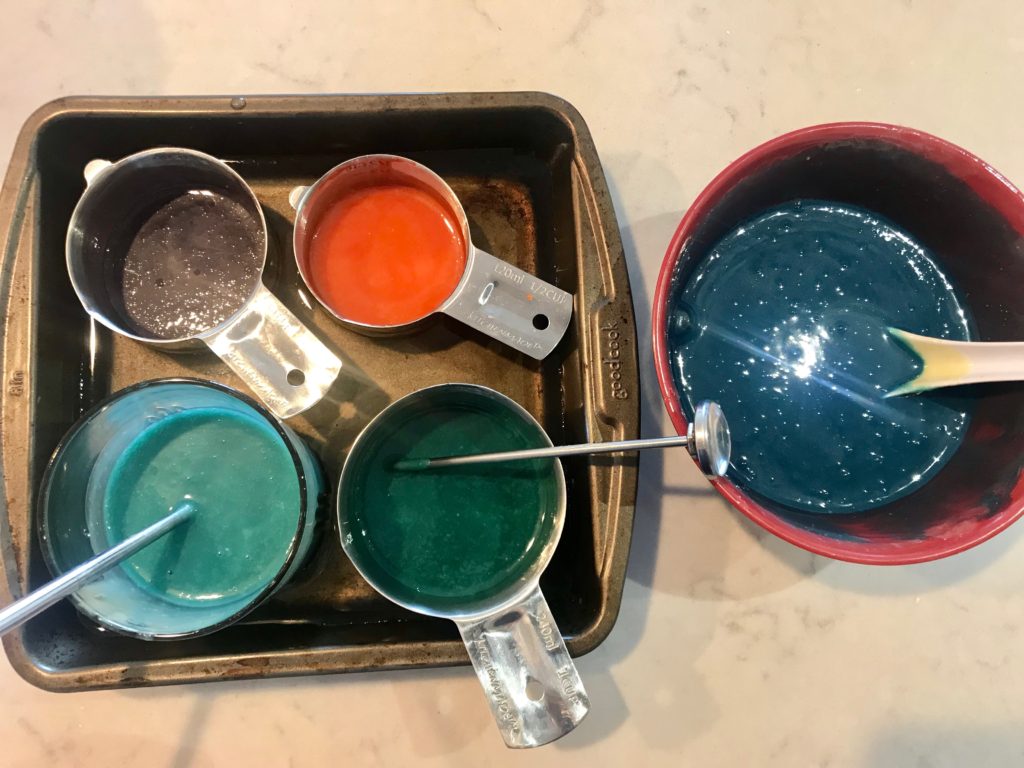
- 5. Food coloring (HARDER THAN I THOUGHT!) for starry night:
| Amount of glaze | Color | Food Color Composition |
| 1/2 | dark blue | (lots of drops, 60 for me =.=) blue |
| 1/4 | light blue | multiple drops of blue |
| a few spoons | purple | 1 : 1 red : blue = dark purple |
| a few spoons | dark red | 3 : 2 red : yellow = brighter red (NOT perfect ratio!) |
| a few spoons | teal | 3 : 1 blue : green = dark green/teal (NOT perfect ratio!) |
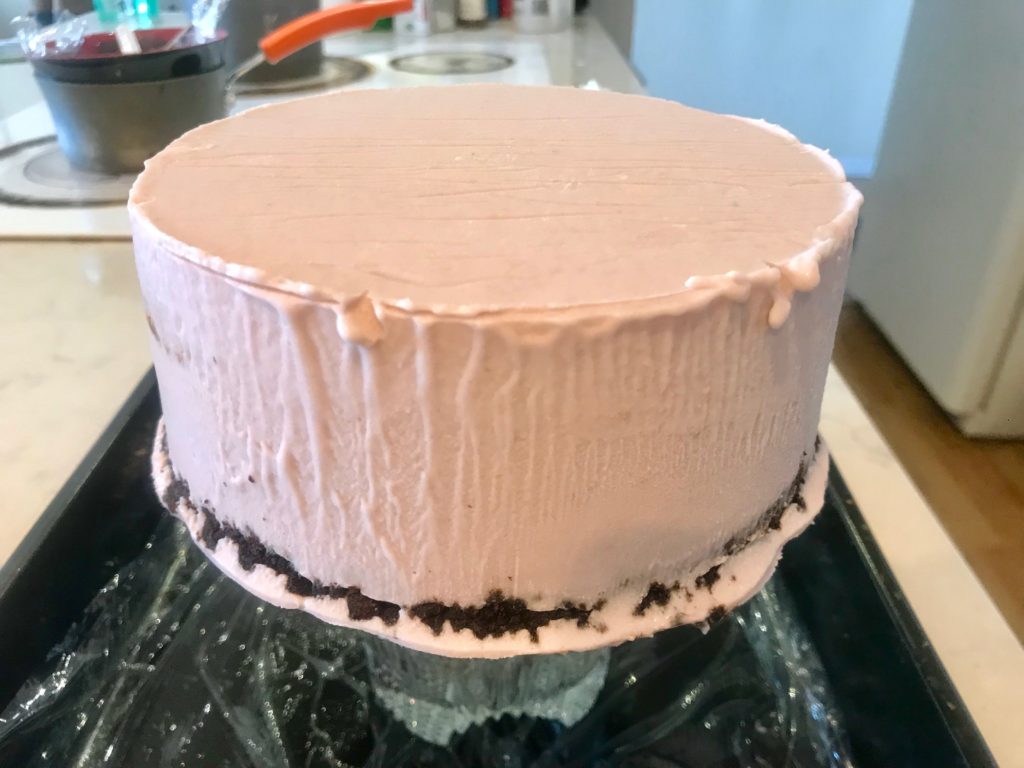
- 6. Remove cake from mold. Since it is from freezer, use a warm cloth to wrap the cake mold, let the mousse slightly melts to help remove from mold.
- 7. Place cake on a cup/any up-side down tall container for dripping mirror glaze.
- Painting time!
- Maintain all colored mirror glaze at 32-35C, could put the containers with colored mirror glaze in warm water bath!
- temperature too high: too flowy
- temperature too low: too chunky
- Pour light blue to dark blue, just mix a few times! If mix too much, color will blend in.
- Pour over the starry night background, dark + light blue
- Pour purple, dark red and teal as lines
- Use the spatula to gently swipe through the glaze to blur the purple, dark red and teal boundary
- MY MISTAKE: these 3 colors temperature were too low and does not flow smoothly, they clogged up and did not form thin lines.
- Stars = white food colors or coconut shreds in my case
- Let mirror glaze drip for 5-10 mins, wipe off dripping mirror glaze and transfer to plate.
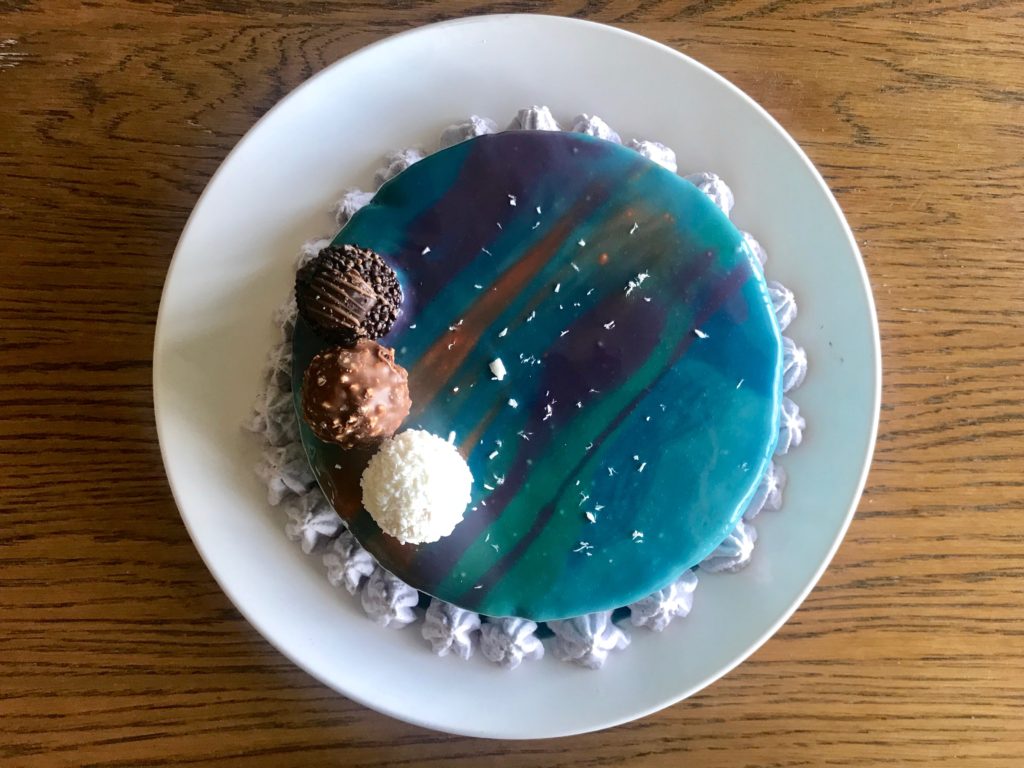
- Decorate with coconut shreds as stars and with Ferrero chocolates as planets~
- Maintain all colored mirror glaze at 32-35C, could put the containers with colored mirror glaze in warm water bath!
keep mirror glaze at 32-35C 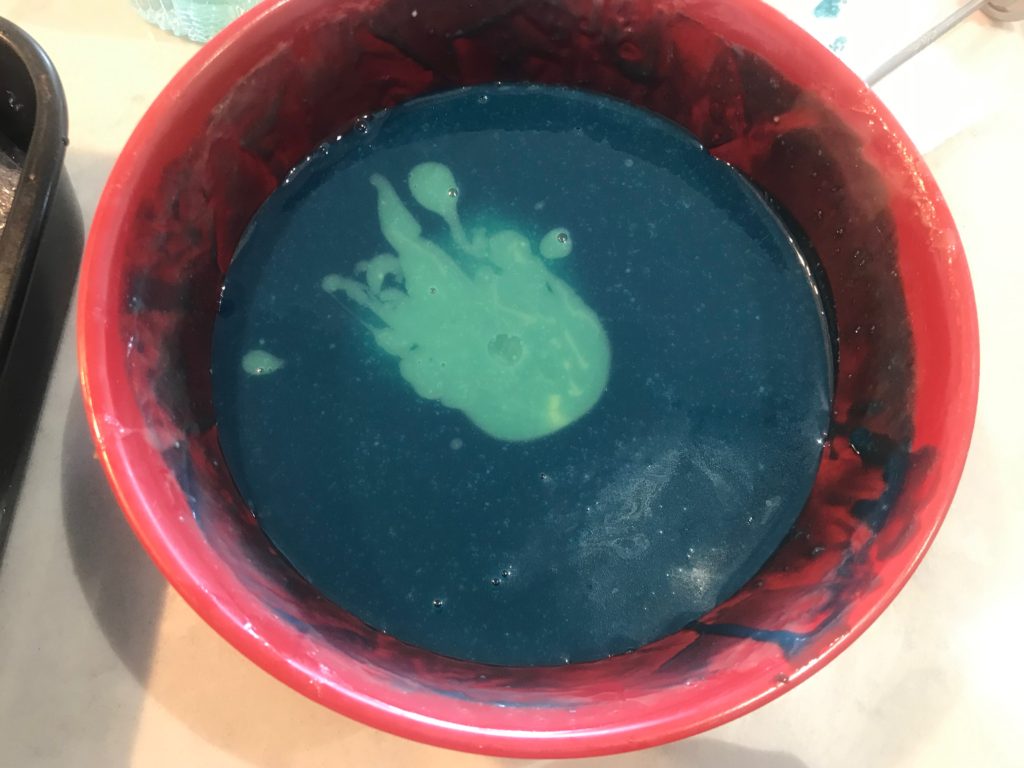
light into dark blue 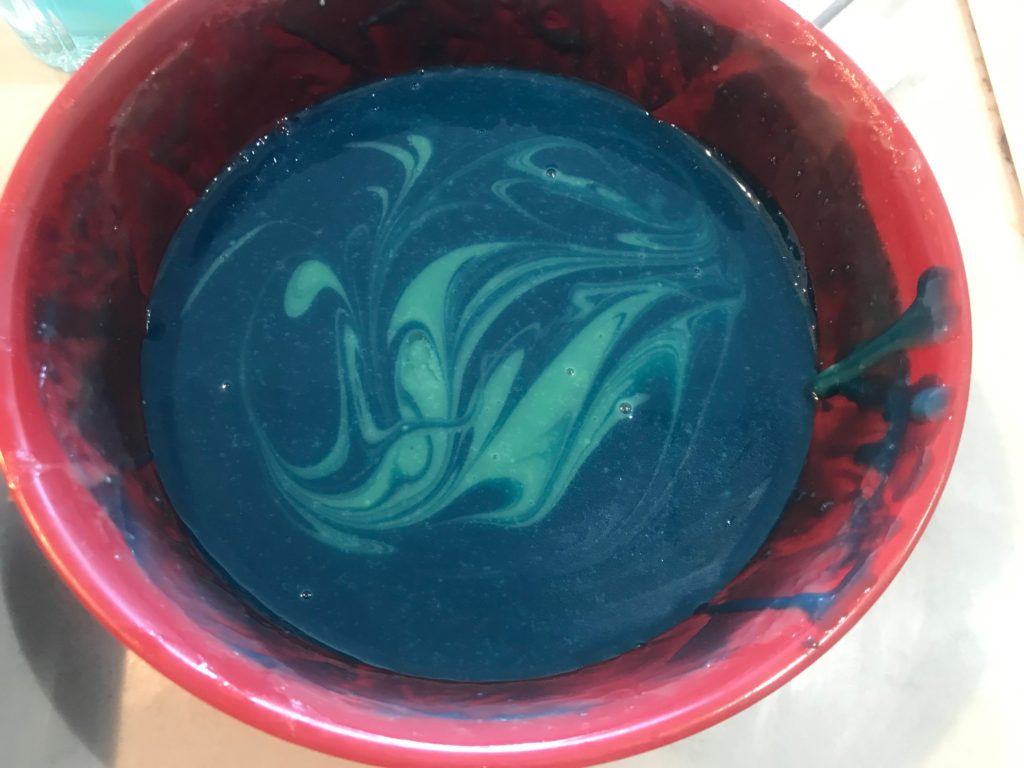
mix just a few times 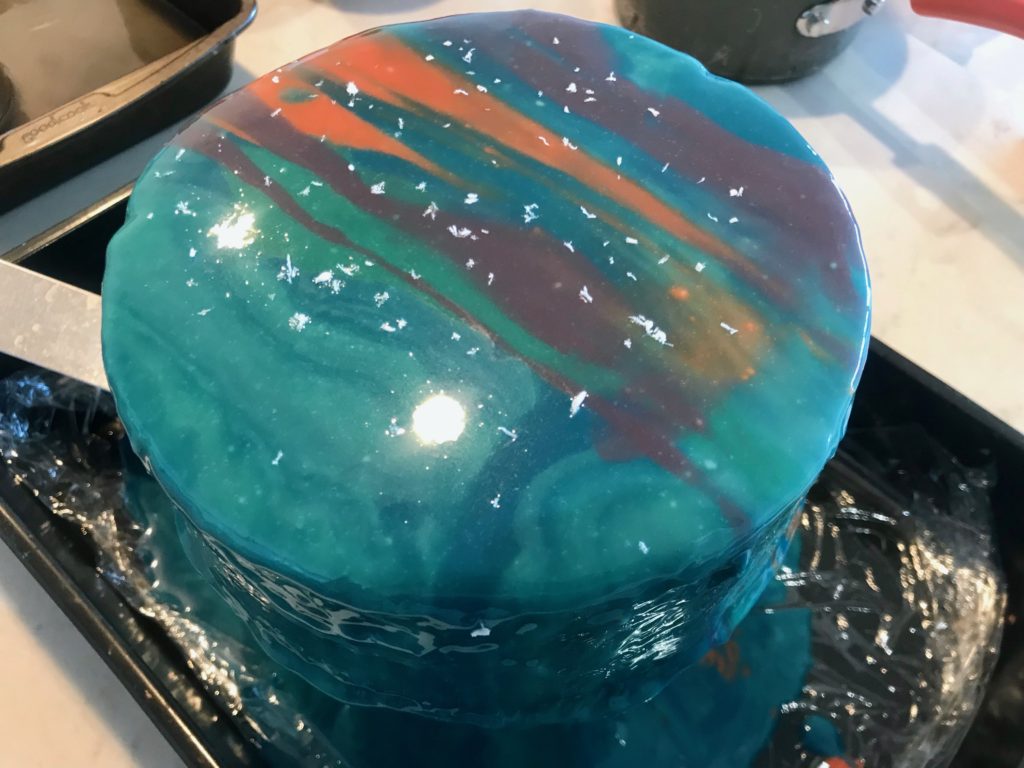
almost there!
- Refrigerate for 2 hours and READY TO SERVE!
MISTAKE DEMO
My major mistake for this mirror glaze is substituting gelatin powder/sheet with Jell-O’s flavored gelatin mix. Jell-O’s gelatin mix is for instant jelly or no-bake dessert. Gelatin is way more concentrated than Jell-O’s mix and thus hold both mousse and mirror glaze together.
In the photos below, you can see two problems:
- Ferrero Chocolate had blue mirror glaze at the bottom and were at the edge of the cake. This is because:
- the Ferrero actually fell OFF the edge right when I put them on because the mirror glaze was still FLOWING like erupted volcano lava…No gelatin in mirror glaze, it cannot hold onto the cake.
- And the chocolate balls fell a SECOND TIME (!) because the cake edges collapsed after 2 hours of refrigeration… Mousse was not firm enough to hold 3 Ferrero chocolate balls. We thought they are light, apparently not so light to the flowy “mousse” which did not have “gelatin” holding it up.
- The blue color on cake wall was much lighter than the previous cake photo, again, no gelatin in mirror glaze, it cannot hold onto the cake.
fallen Ferrero 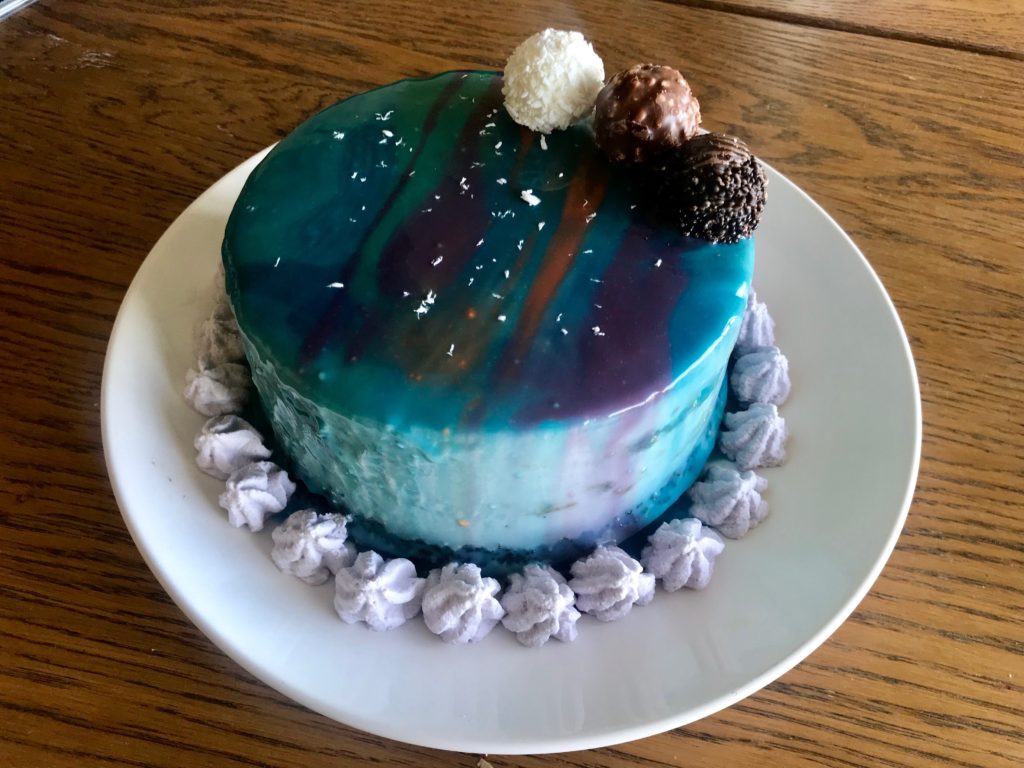
flowy mirror glaze after 2 hours refrigeration
RESOURCES
Coffee cake recipe adopted from this recipe:
Mousse procedure referred to this recipe:
Mirror glazed from this recipe: