
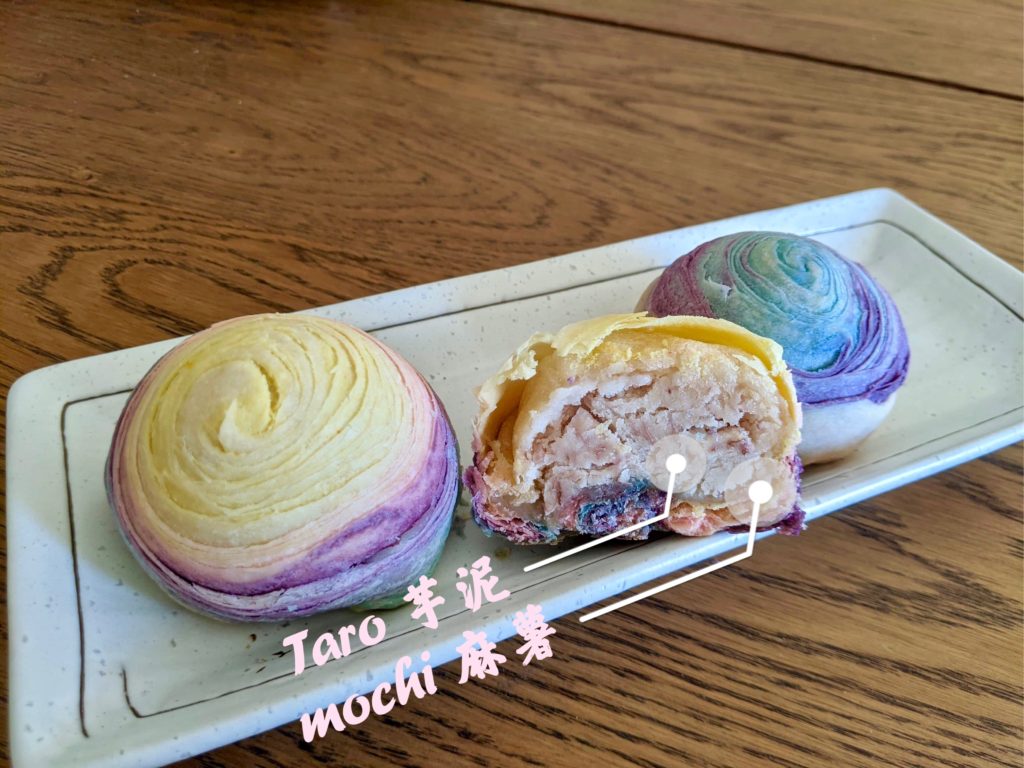
First time making taro pastry = total disaster, exploding filling and no layers whatsoever.. After retrying traditional taro pastry (just purple color and no mochi in filling) and succeeded in having the nice swirl on top, I challenged myself to make the rainbow color taro pastry with mochi! Overall process is similar, just the step of making multiple colors was time consuming and can go wrong easily if color is not expected. I have provided photo references, ingredients for both traditional taro pastry and for rainbow color taro pastry.
TAKEAWAYS
- size of fillings, water-oil dough and oil doughs are for M-L size taro pastries. I think I can do 1/2 portion for each pastry next time for S size 😉
- add a little bit more (2g) cake flour to oil dough mixture if using liquid food color like me, which adding to liquid proportion.
- identify the center/most visible color you want; when rolling out rainbow pastry, this color will be dominant.
- STIR mochi mix and add butter when mochi is still hot, leading to stretchy, chewy but not sticky mochi texture.
- keep all ingredients cover to prevent from drying out.
- use sharp knife to do the final cut of rainbow pastry skin, and the cut side face DOWN when rolling out dough skin before final wrapping.
RECIPE
Ingredients for 10 M-L size taro pastry:
Taro filling (25-28g/ball):
- 300g taro (after cutting out skin)
- 20-30g sugar
- 10-20g butter
- milk
Mochi (11g/ball):
- 140g glutinous rice flour
- 260g milk
- 40g sugar
- 10-15g butter
Water-oil dough (38g/ball will be divided into 2 portions at last):
- 140g All purpose flour
- 70g cold water
- 50g ghee
- 21g sugar
Oil-dough (24g per ball / 4 colors = 6g/color/ball):
- 112g cake flour / 4 colors = 28g / color –> adjust to 30g / color when using liquid food color
- 56 ghee / 4 colors = 14g /color
Part I: Taro filling
Step 1: steam 300g taro for 15-20mins, or can pierce through
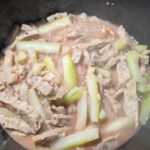
Step 2: add 10-20g butter, 25-30g (10% of taro weight) sugar, milk and smash with taro till smooth and reaching consistency/preferred moisture.
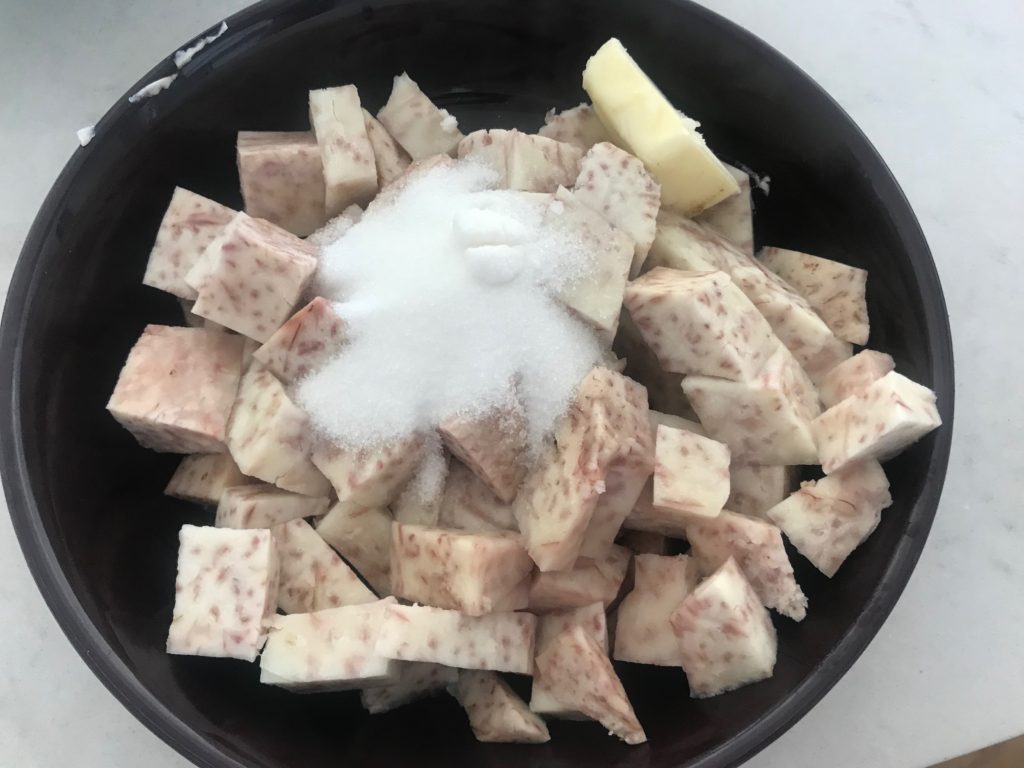

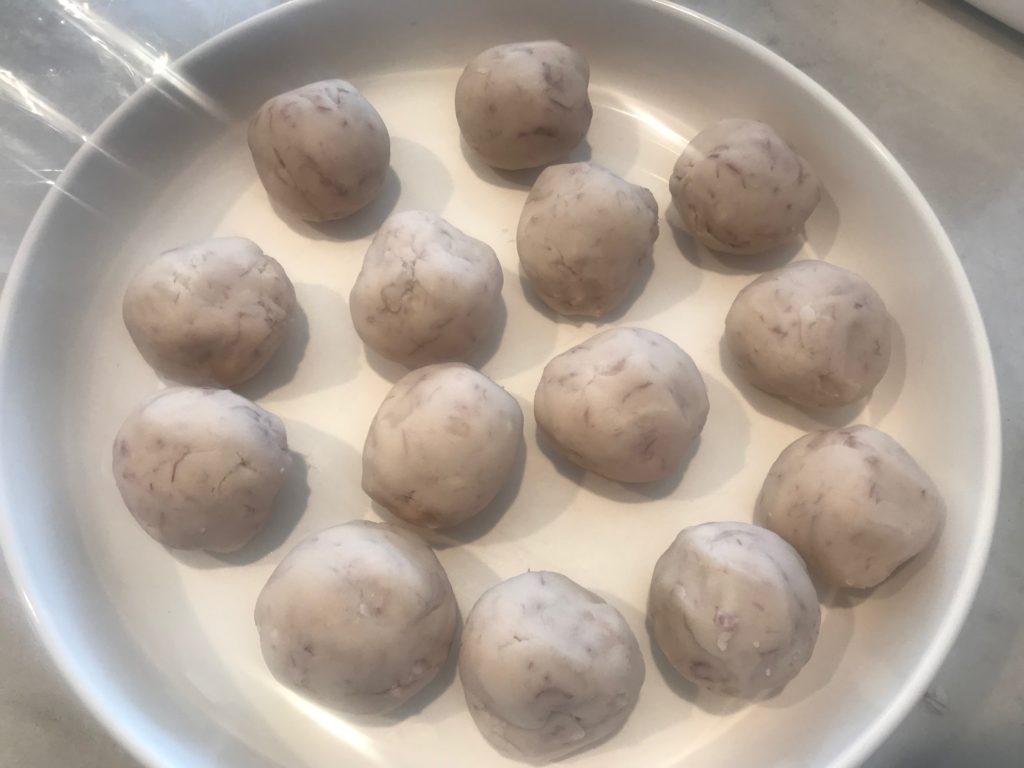
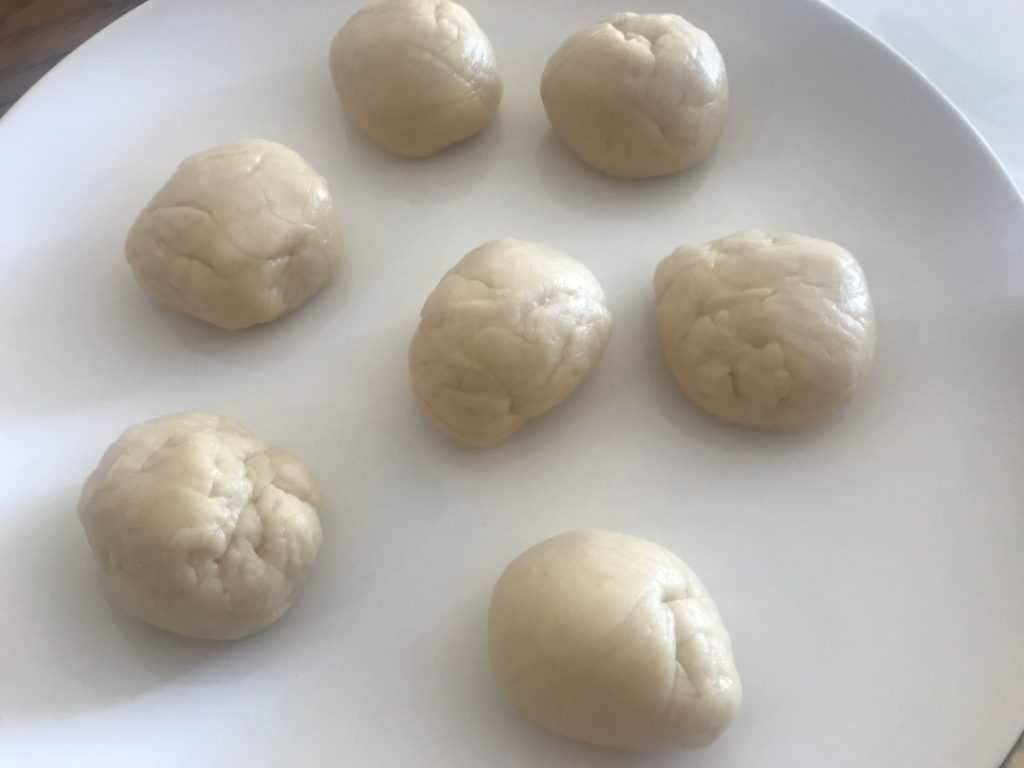
Step 3: divide taro into 25g per taro ball, cover and prevent drying out
- personally I think this size will have a M-L size taro pastry; if you want to have S size pastry, half the weight of everything!
Part II: Mochi
Step 1: Mix 140g glutinous rice flour, 260g milk and 40g sugar. Mix well, sieve twice.
Step 2: Coat steaming container with oil, pour mixture in, steam for ~15mins/ no more liquid in container
Step 3: QUICK STIR mochi mix for 1-2mins, at the same time, add in 10-15g butter; mix till mochi and butter blend in well. Set aside and let cool.

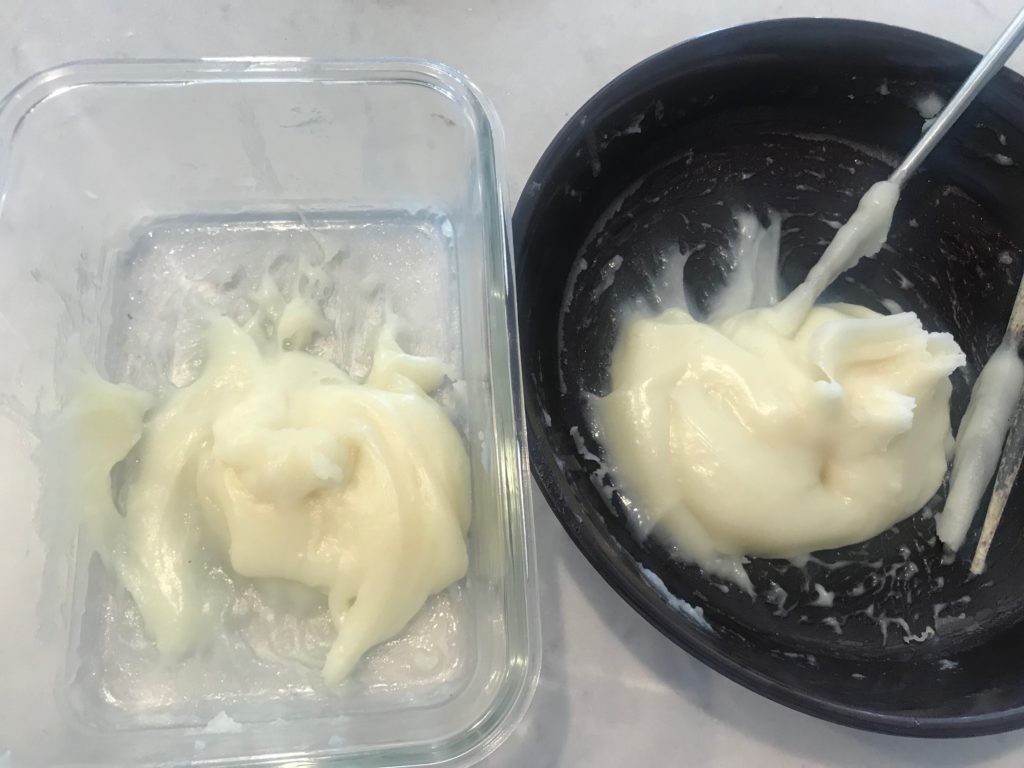
STIR STIR STIR!
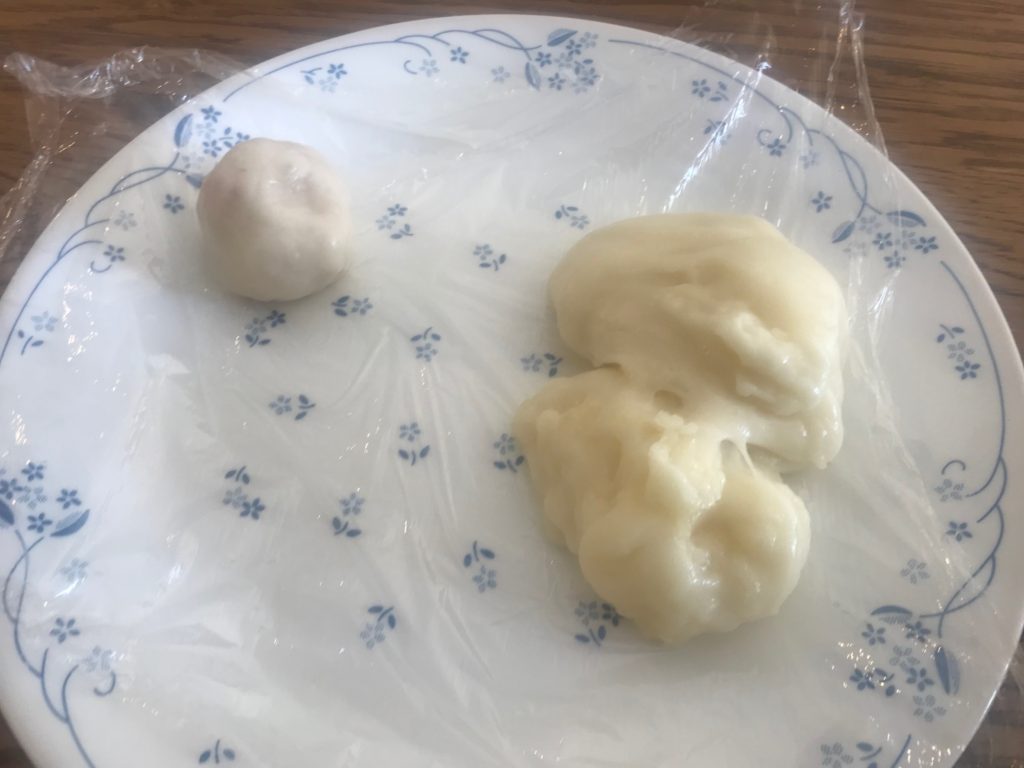
Step 4: Divide mochi in 10g per ball, wrap around taro balls.
- if you like more mochi, adjust overall ingredients measurement.
- TRICK:
- do NOT need to stretch mochi till large enough for wrapping, otherwise, the “connection point” after wrapping might be too thick compared to the stretched-out part.
- Instead, stretch a bit, put the taro ball in, slowly spread, stretch the mochi till completely cover taro ball. Mochi mix is indeed VERY stretchy and easy to shape/deform as you wish.

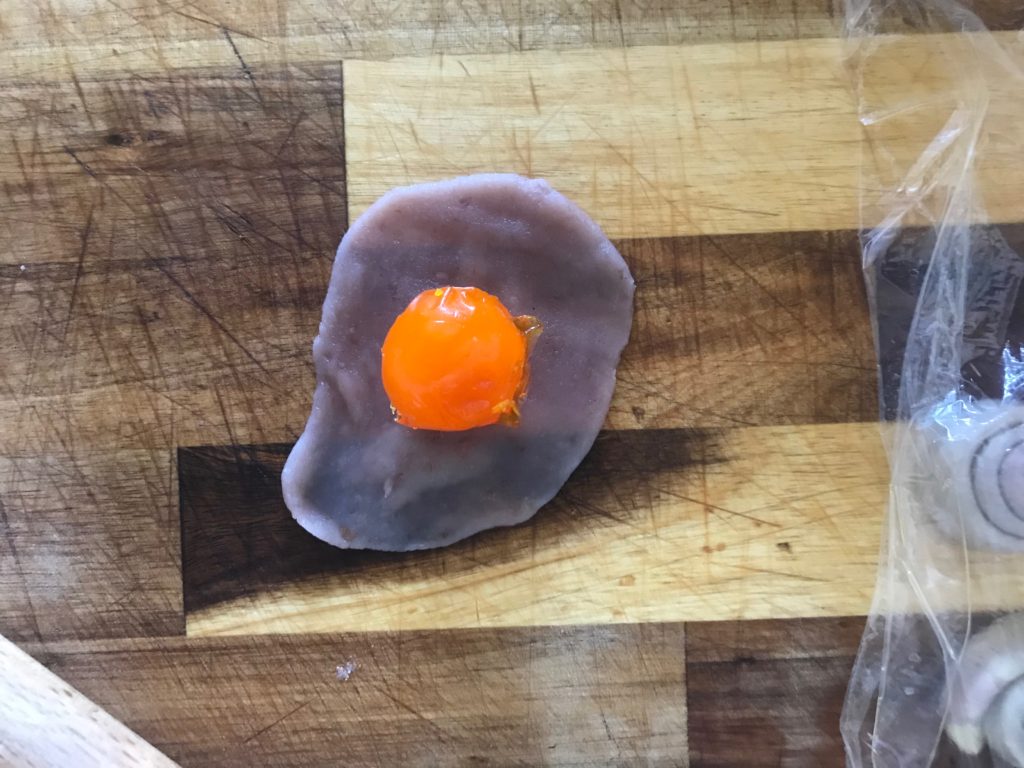
another type: taro wrap egg yolk
Part III: Water-oil dough and oil dough
Step 1: Mix 140 AP flour, 70g cold water, 50g ghee and 21g sugar till dough form; stretch dough if you have time! Set aside in ROOM TEMPERATURE for at least 20mins.
Step 2: Mix 14g ghee and 30g cake flour for 1 color’s oil dough with spatula (hand temperature might melt ghee further resulting in wet dough), add in color when their is almost no powder/dry ingredients visible. Repeat this step for 4 different colors. Chill dough in FRIDGE for at least 30mins.
- 2g extra cake flour (instead of a strict 1:2 ghee:cake flour ratio) because I used liquid food coloring, adding extra liquid to the dough

Step 3: Divide water-oil dough into 38g/ball, oil dough into 24g/ball in total (6g/color/ball).

what a mess haha! 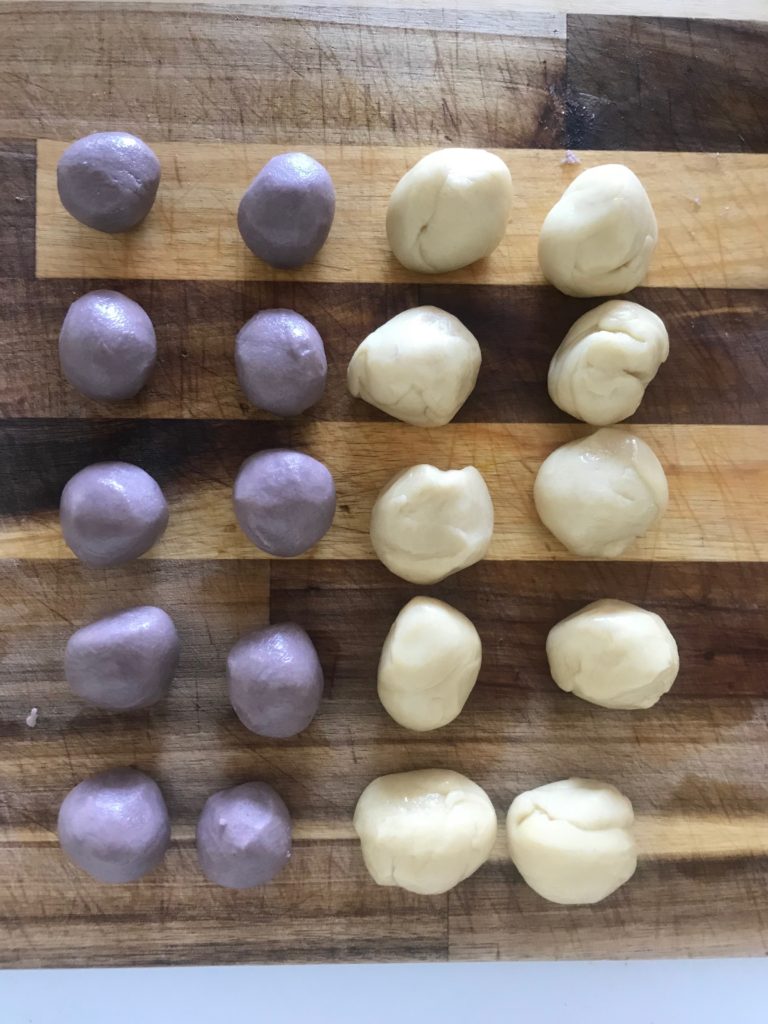
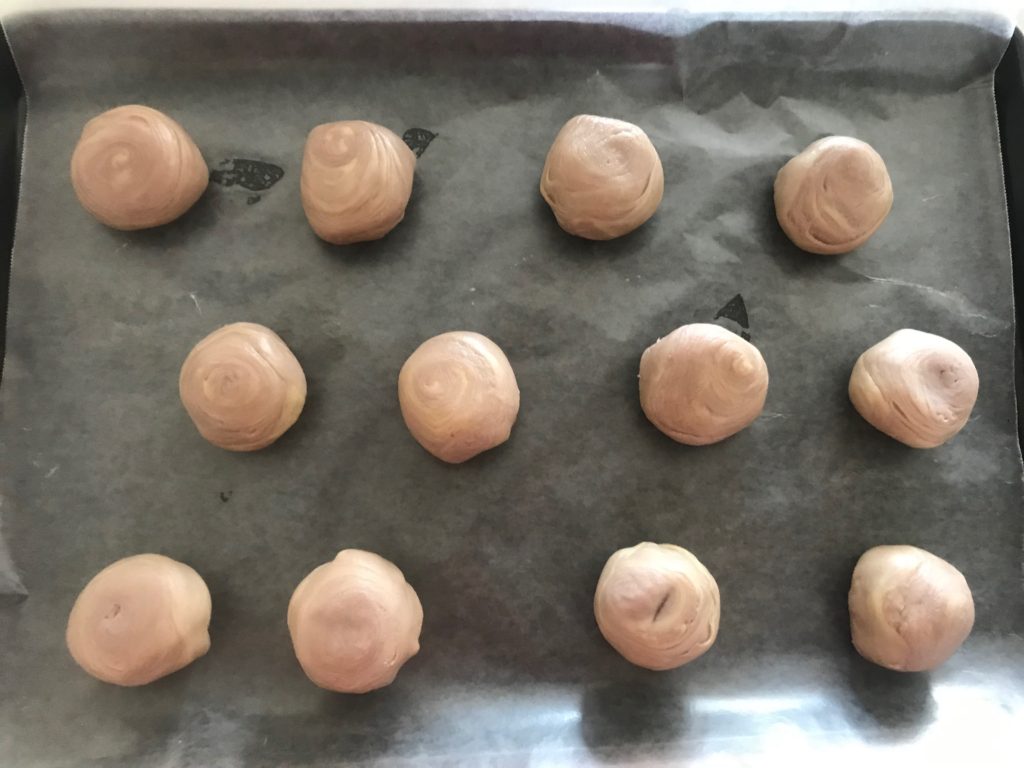
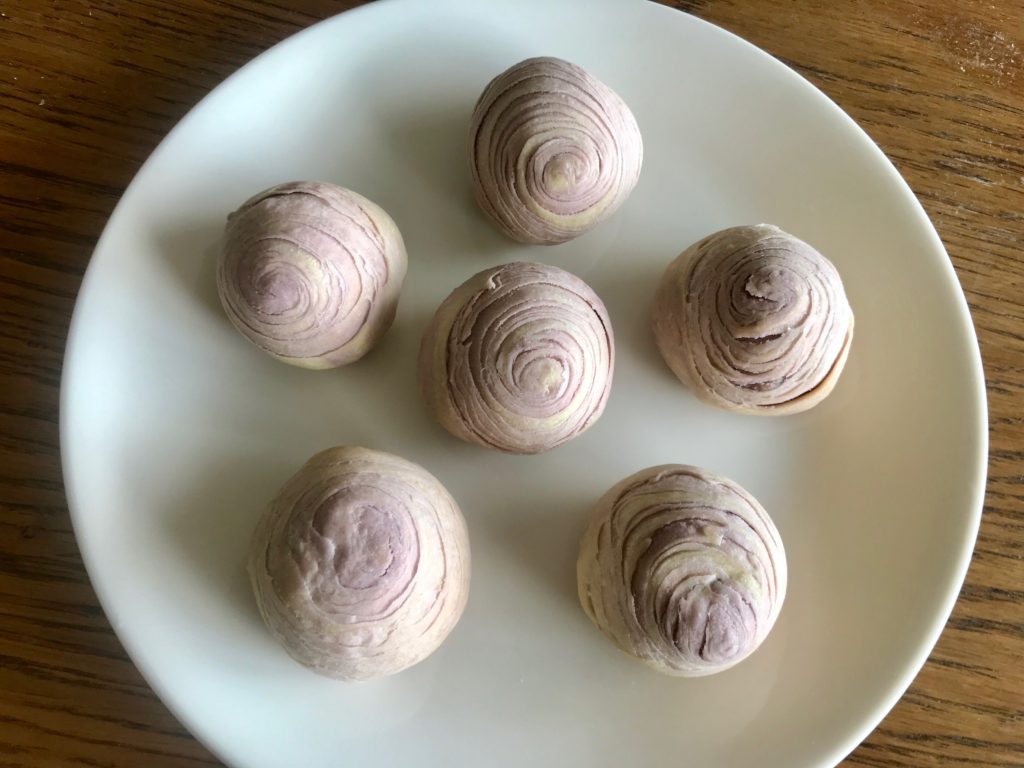
traditional taro pastry
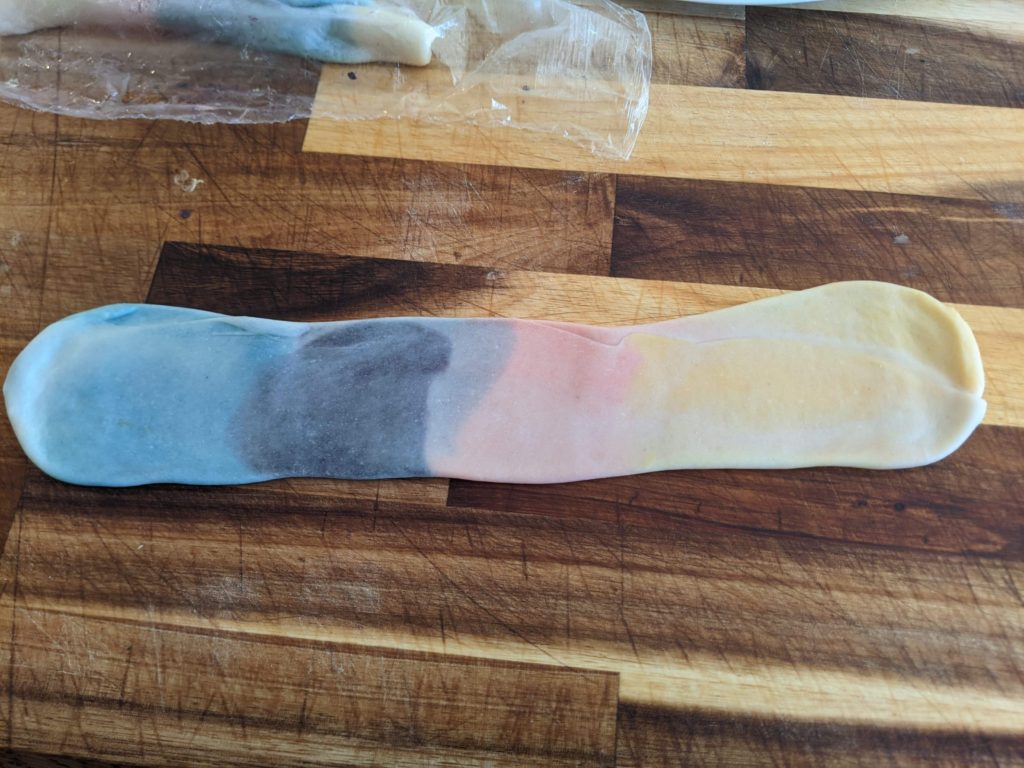
Step 4: Roll out 1 portion of water oil skin into a small rectangle, place 1 portion of each color’s oil dough in the center; wrap the water oil skin up, seal the ends by pressing down.
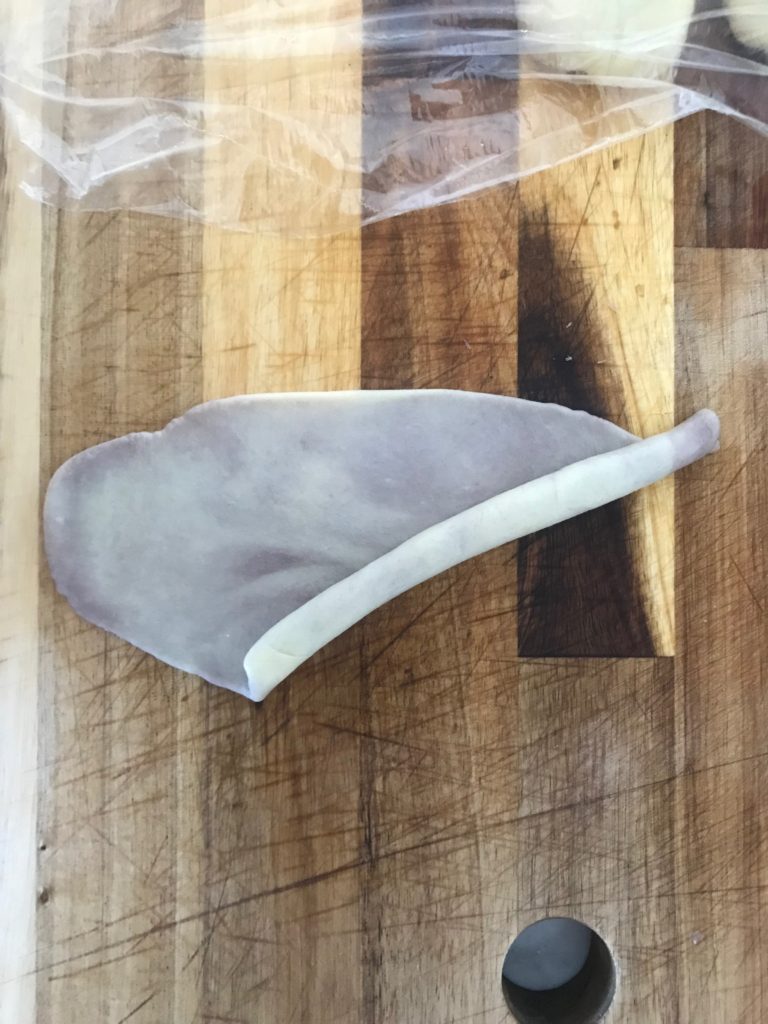
Step 5: GENTLY roll the rectangle into a larger rectangle, roll from one of the long side into a cylinder.

wrap 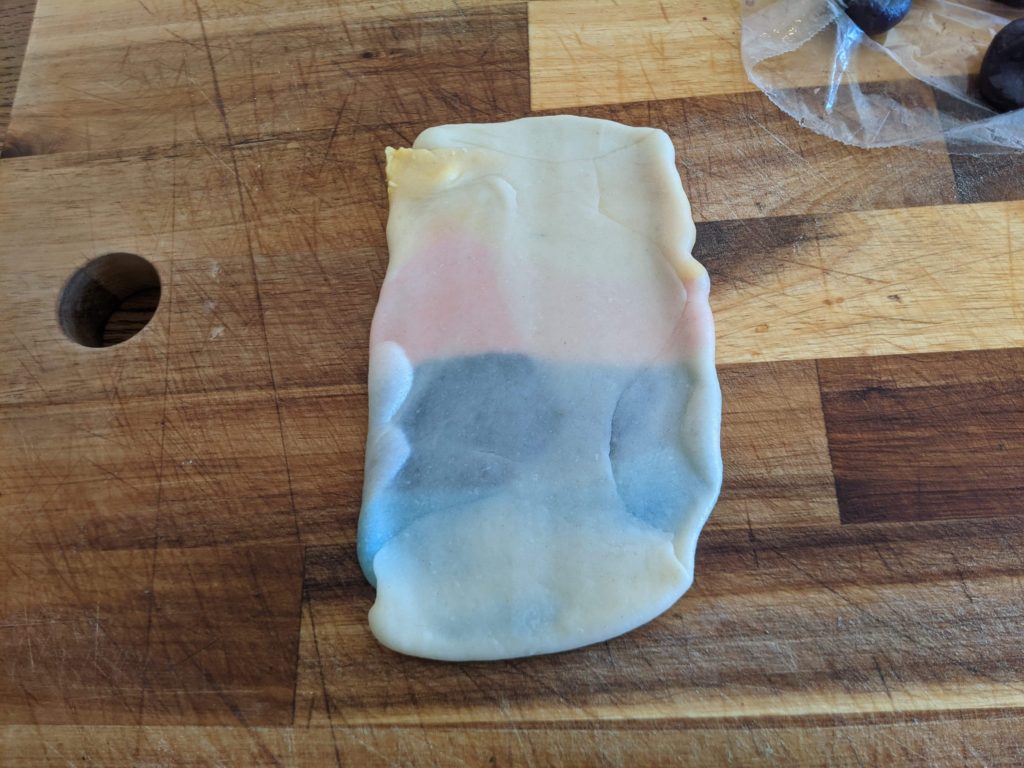
roll to rectangle 
roll up rectangle 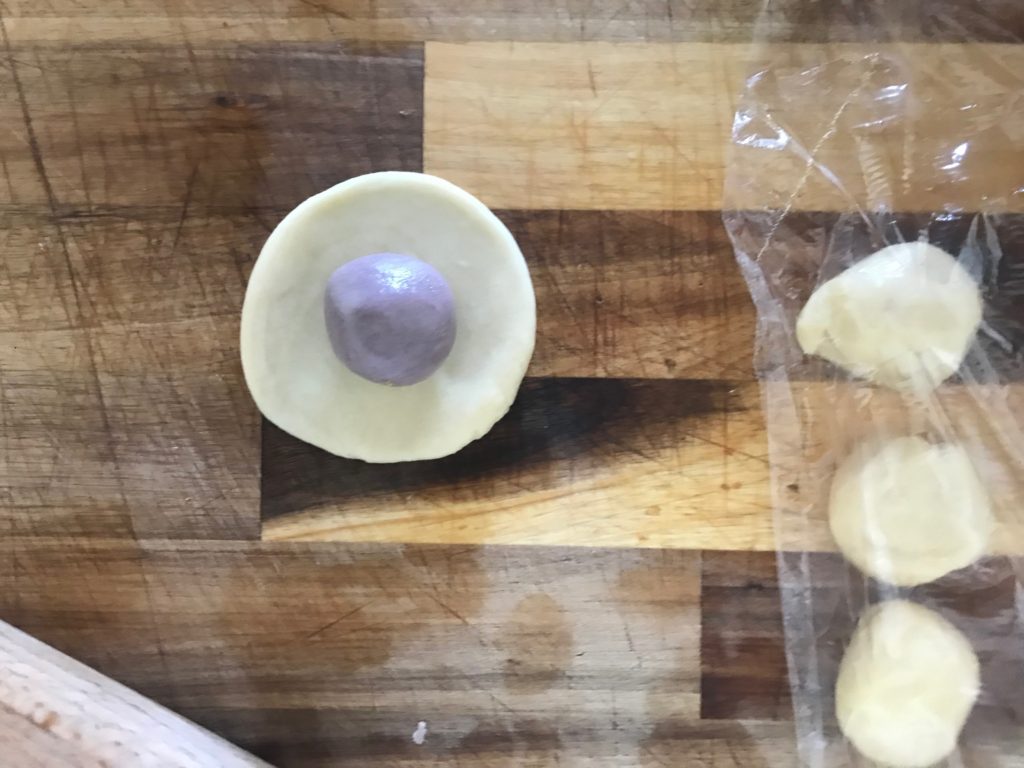
traditional taro pastry
Step 6: Roll the cylinder along the long side gently with rolling pin; then use hand to roll the dough diagonally.
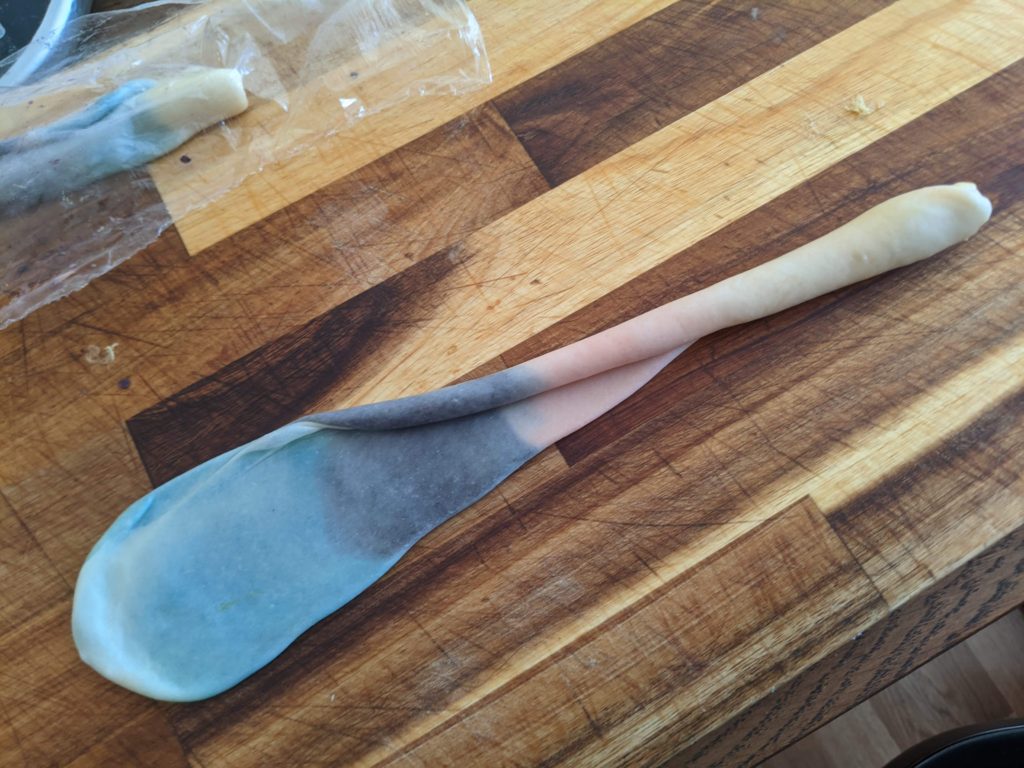
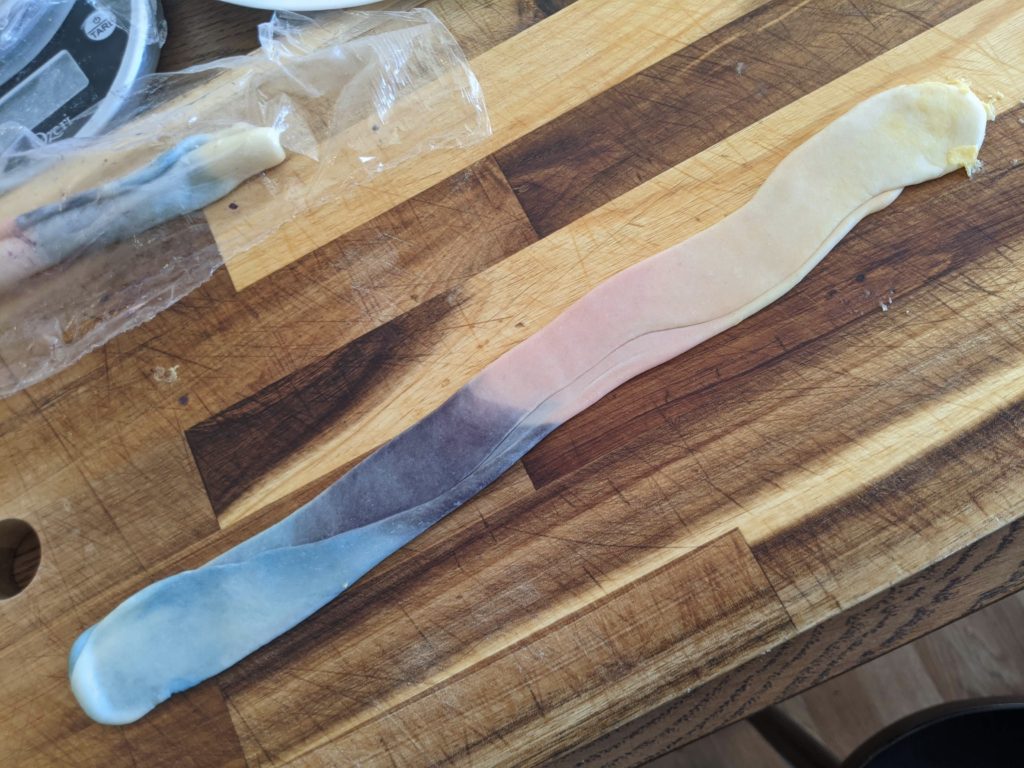
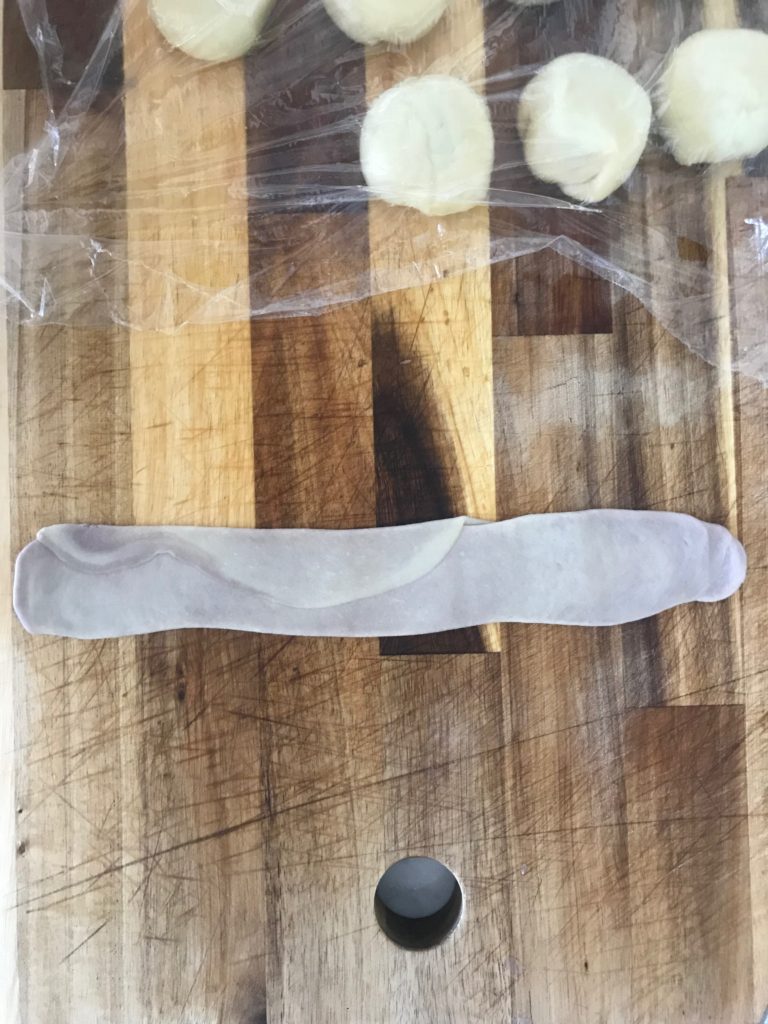
Step 7: Roll out the longer cylinder dough one more time, and roll it up from one short side to another short side with hand; set aside to rest.
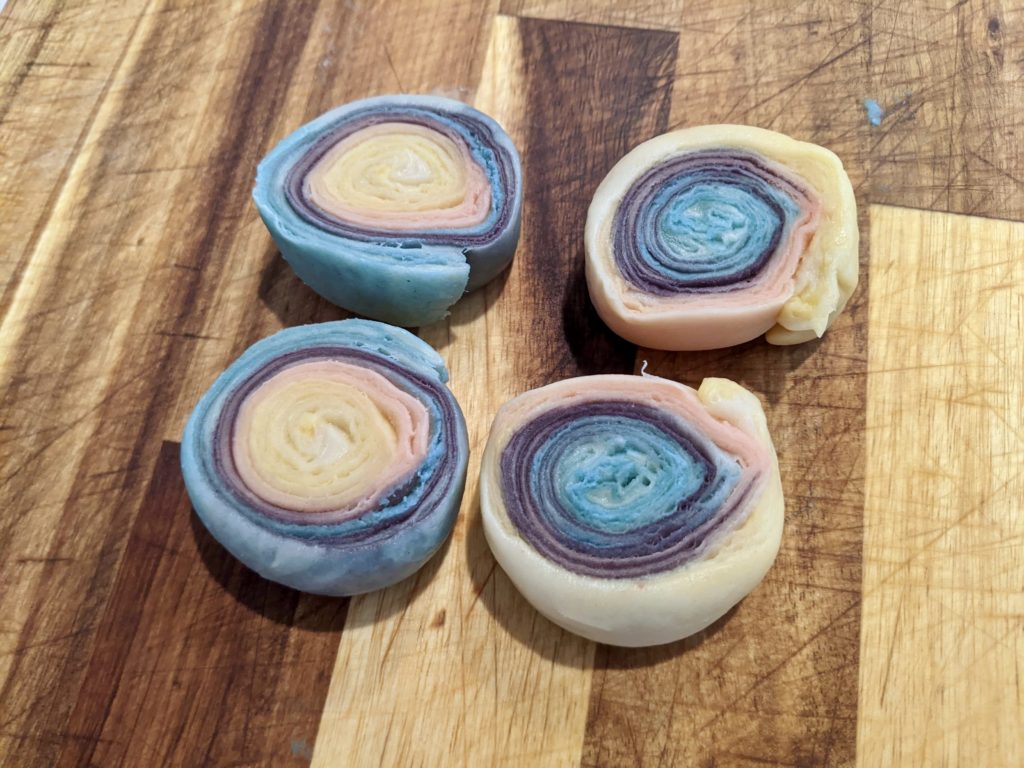
- IMPORTANT: color of the short side you roll up FROM, will be the center and MOST visible color.
Step 8: Repeat for all dough portions.
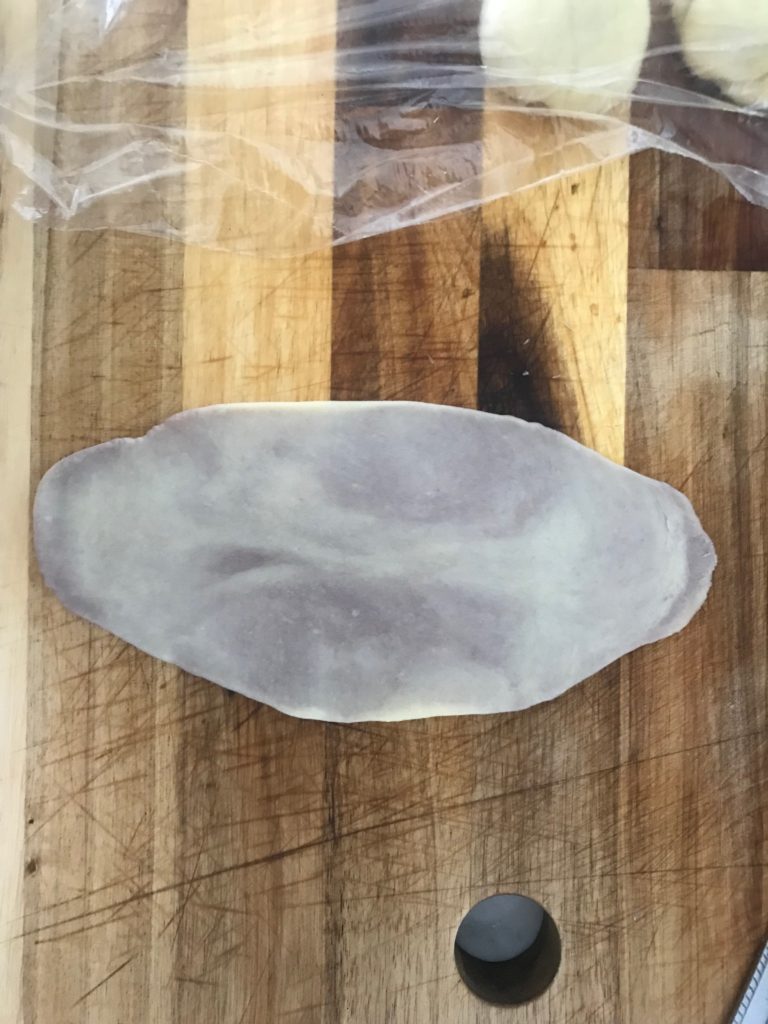
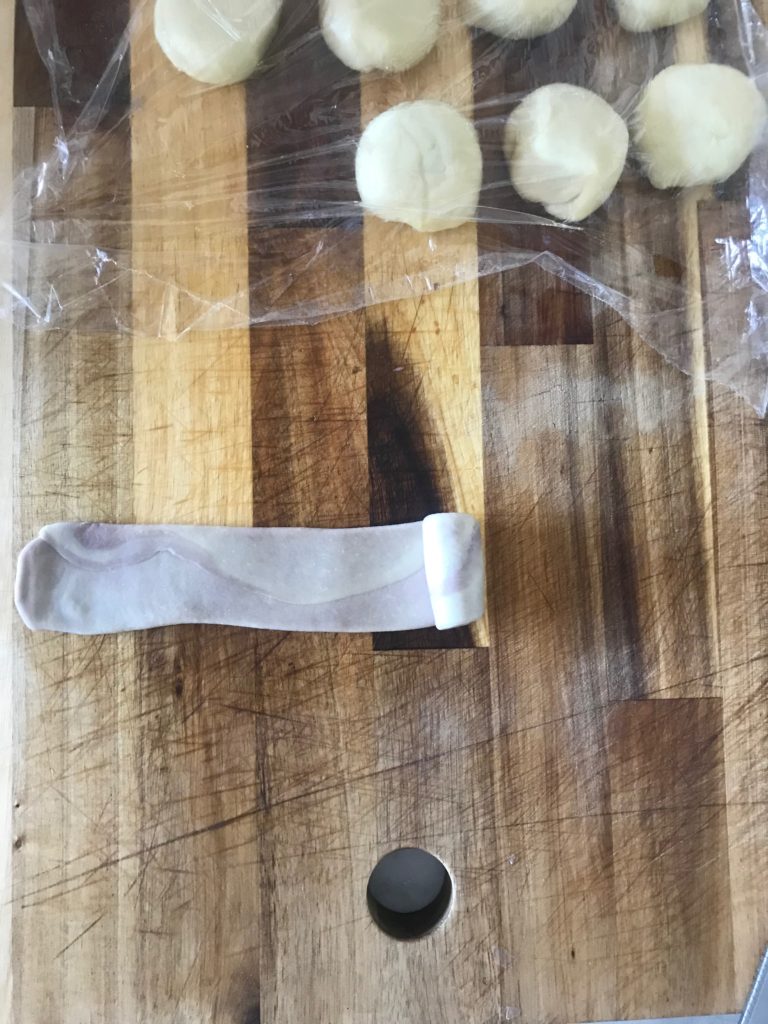
Step 9: Use a SHARP knife to slice across the rainbow pastry skin, cut side FACE DOWN (the pretty side face down), roll out large enough to wrap the mochi-taro balls.

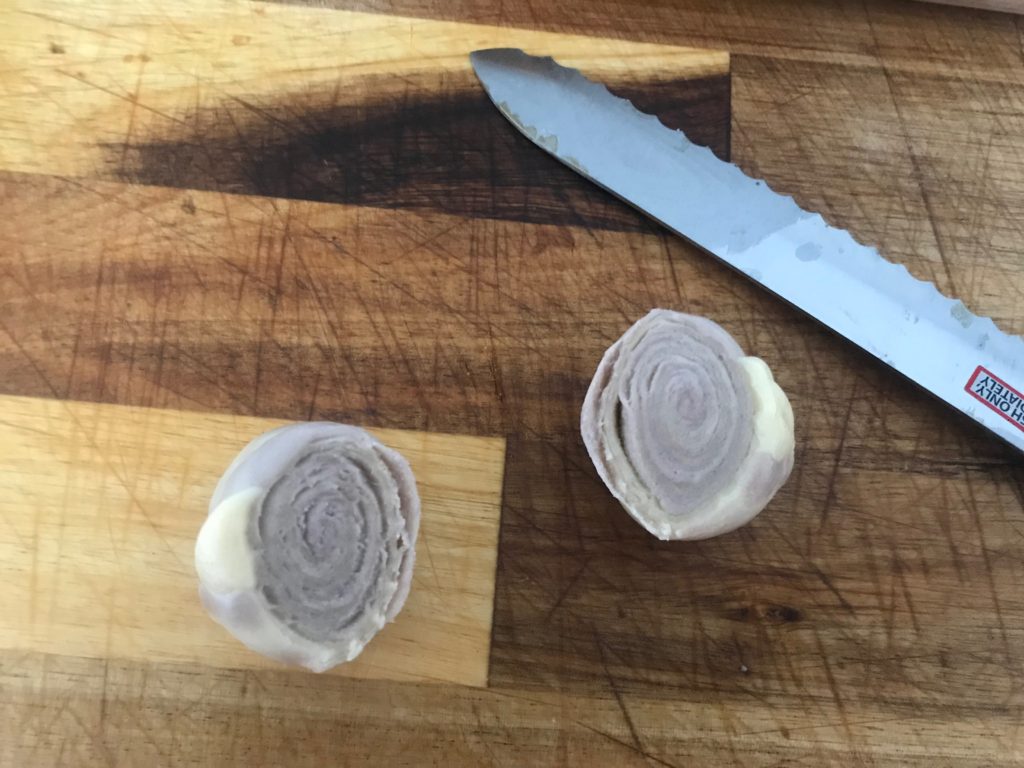
Step 10: Wrap rainbow pastry around mochi-taro balls, seal tightly, sit aside.
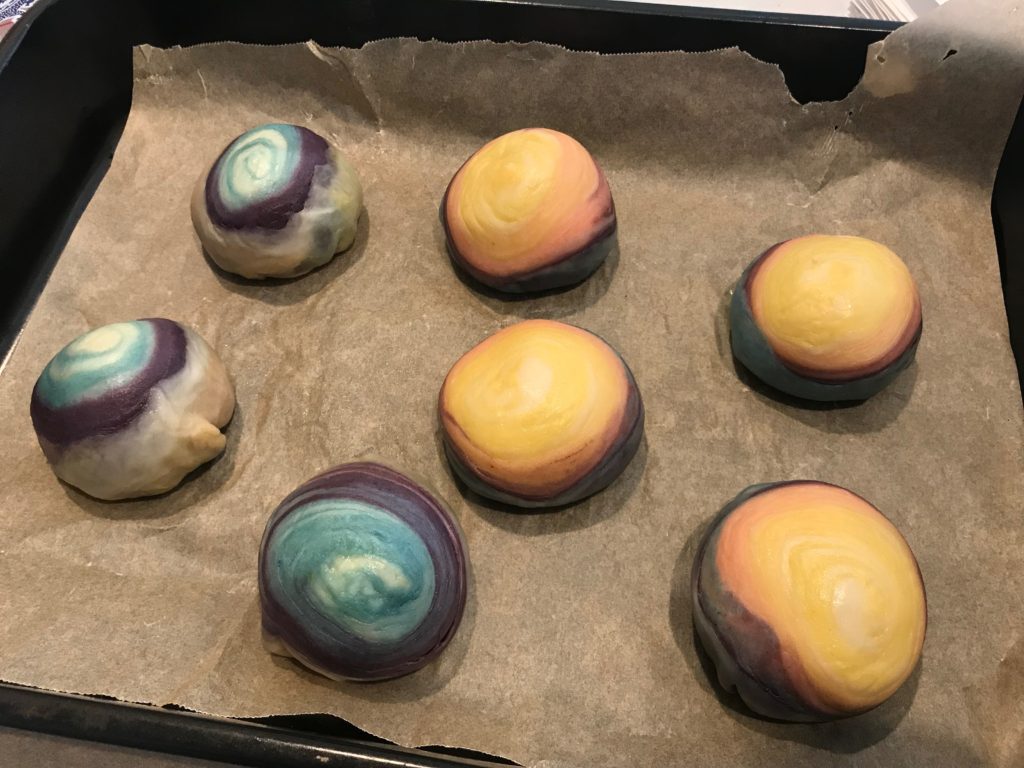
Step 11: Preheat oven to 170C/338F, bake for 35mins in total.
- bake 18mins first, then rotate the plate and for another 17mins.
- Might not need that long time, keep an eye on after 25-30mins, if the top seems like it is going to explore, take pastry out~

蛋黃酥~taro+salted egg yolk 

流心酥~custard + salted egg yolk lava
Step 12: cool down!! for crispy texture and no burning tongue~
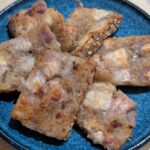
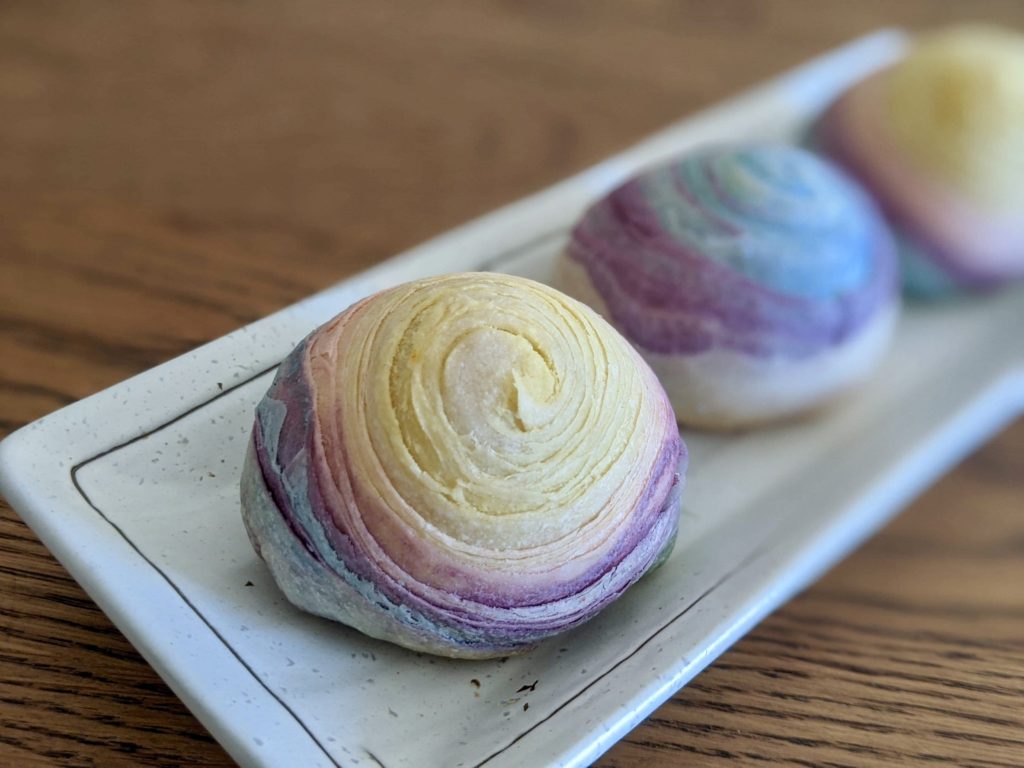
READY TO SERVE!
RESOURCES
Referred to this video for rainbow pastry MAKING process.
Referred to these two recipes for measurements for taro filling, taro pastry ingredients:
- https://kimiyo.tw/tarocake/?fbclid=IwAR0h78Bqs0ABOU0EIgVBiWWtIgblWLNMmZ5lfi3mfVF_yrCC5IkdJhDXa3E
- https://caroleasylife.blogspot.com/2009/09/blog-post_7672.html
Referred to this video for taro pastry making process (without rainbow style):
Referred to this video for mochi filling measurement. I double the measurements here.