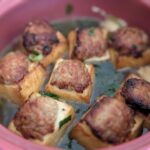

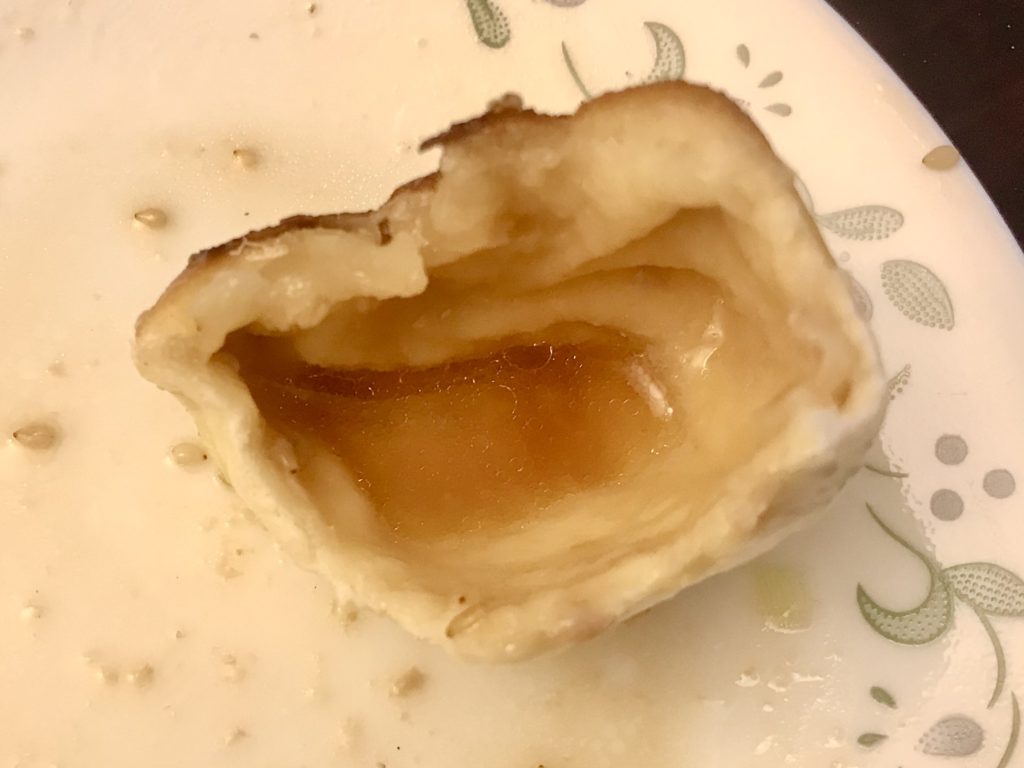
Shanghai is not just famous for soup dumplings 灌湯包, it is also famous for its Shengjian Mantou 生煎饅頭/生煎包, which has a dough texture in between a soft steam bun and a chewy, thin soup dumpling. The top part (above oil) of Shengjian Mantou is soft, and half-risen with yeast and under high temperature as water evaporates in hot, lid-on pot; on the contrary, the bottom of Shengjian Mantou sticks closely to the pan/pot and the hot oil sizzles, fries it and gives it a golden-brown, crispy texture. The combination of soft top and crispy bottom, the drier bun dough and soupy fillings, will give you a new insight into Shanghainese delicacy!
QUICK TAKEAWAYS
- mix water in meat fillings will tenderize, moisturize the fillings
- when cooking pork skin for two hours, do not cover with lid so water can easier evaporate
- do not pour too much oil on the divided dough, otherwise shaping and texture will be affected
- cook at high heat the whole time! Oil and water pan-fried will make the mantou/bun semi-risen while cooking, achieving a unique texture in between super soft and fluffy baozi and chewy soup dumpling texture.
RECIPE
Ingredients for 12 buns:
Pork skin jelly
- 250g pork skin
- 1500g water
- scallion chunks
- ginger slices
Fillings:
- 150g ground pork (30% fat would be the best!)
- 3g salt
- 10g sugar
- 5g dark soy sauce
- 5g soy sauce
- 5g cooking wine (optional)
- 20g water/scallion + ginger water
- 5g sesame oil (optional)
- 10g or more sesame (optional)
Bun dough:
- 160g All Purpose flour
- 2g yeast
- 2g baking powder
- 0.5g baking soda
- 78g water
Part I – pork skin jelly
- Step 1: in boiling water, cook 250g pork skin for 2-3mins, for cleaning
- Step 2: remove pork skin from boiling water, discard water, rinse pork skin, remove excessive fat on skin and cut into small pieces

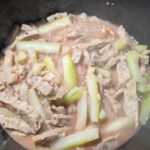
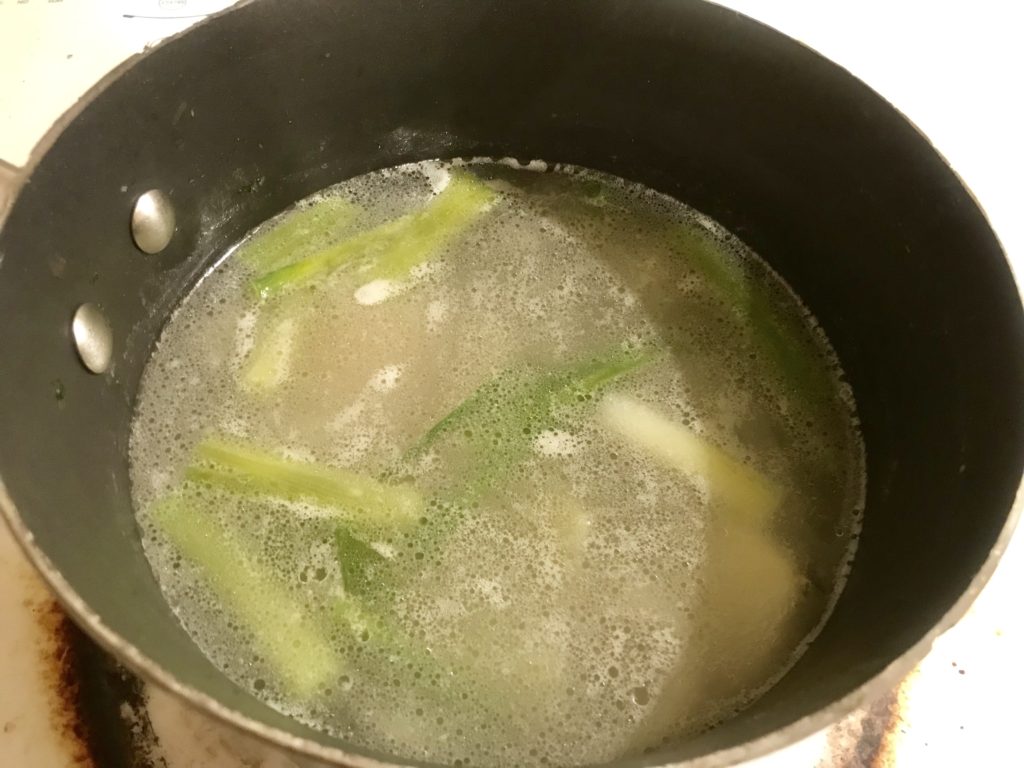
- Step 3: boil 1500g water again, then put in pork skin, scallion chunks, ginger slices; bring to boil, then turn down heat till you see small bubbles rising up but with a “calm” water surface. Cook for 2 hours, withOUT lid.
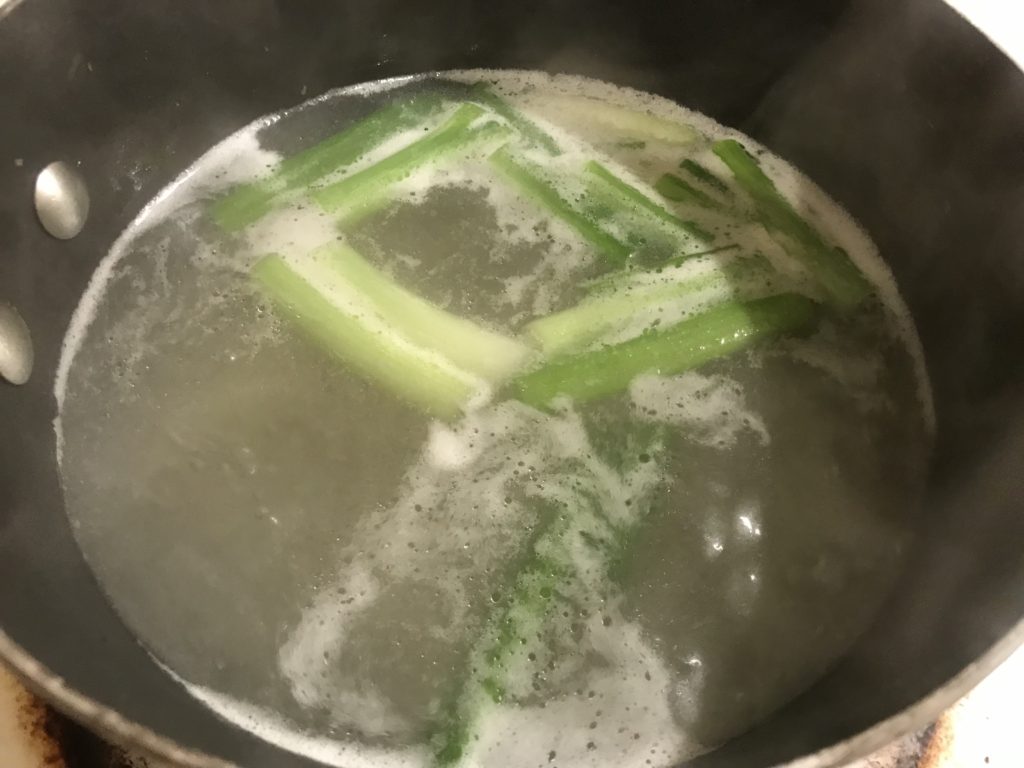
30mins 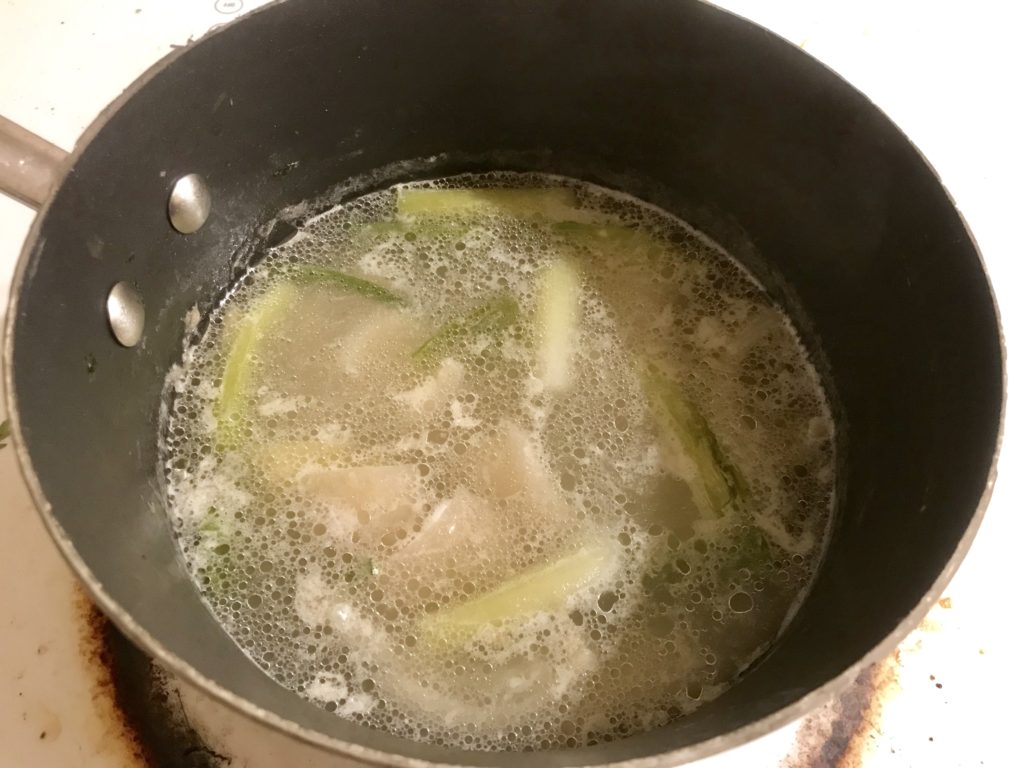
1hr 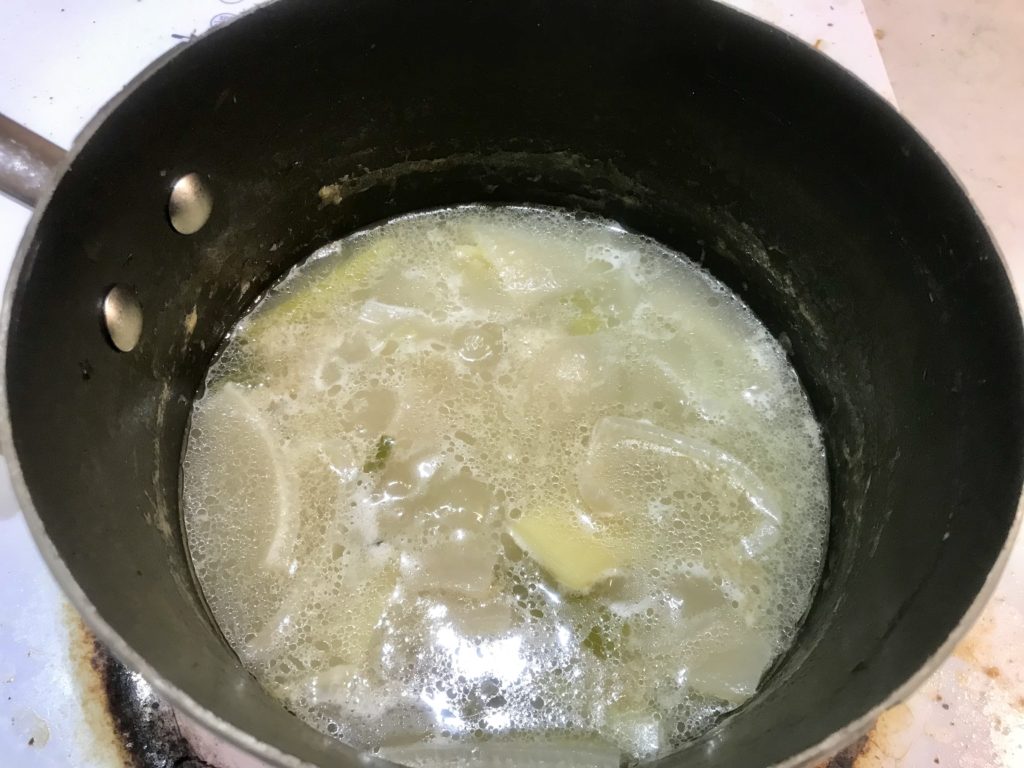
2hr
Calm surface with bubble popping up 正所謂 暗流湧動啊:
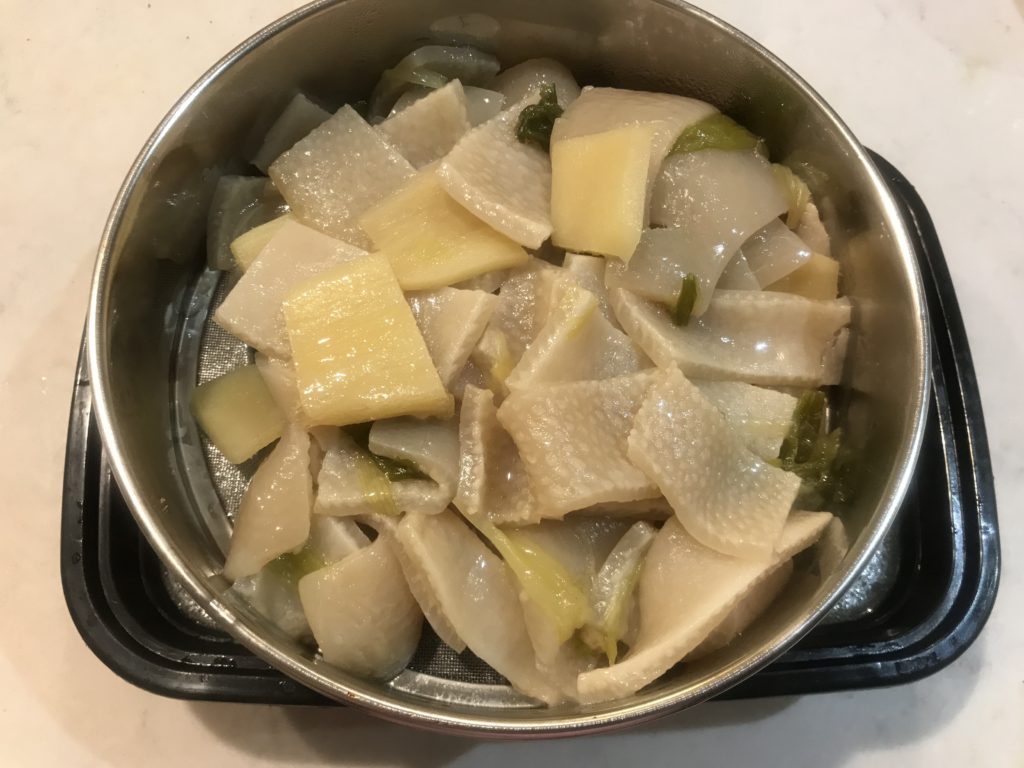
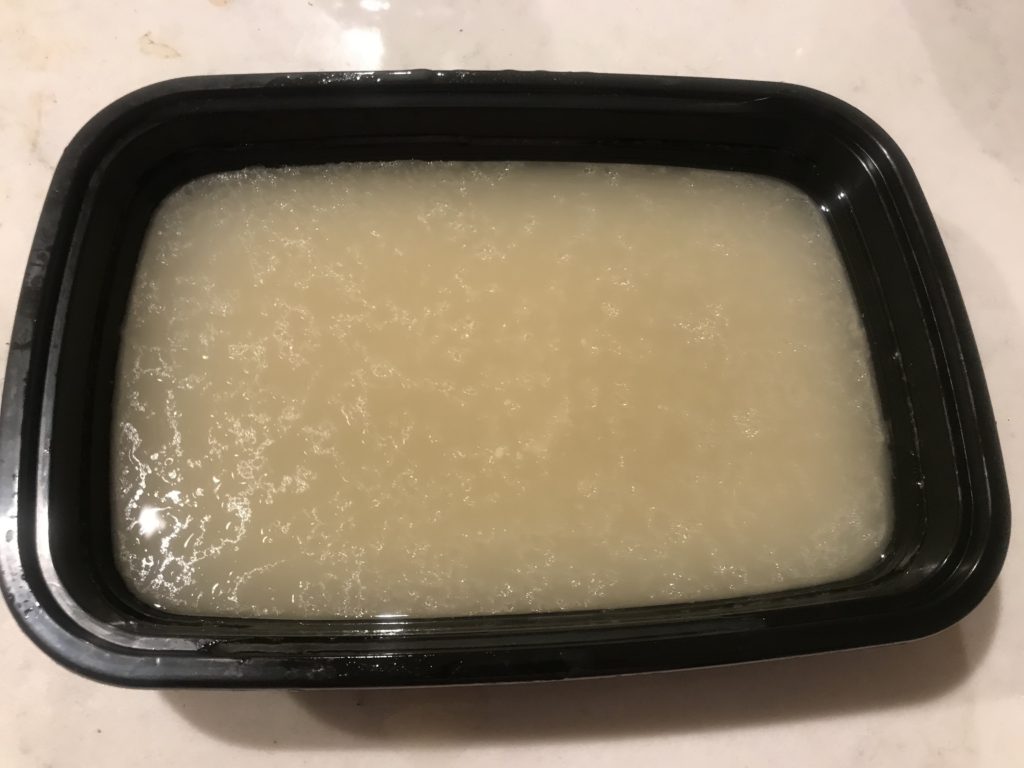
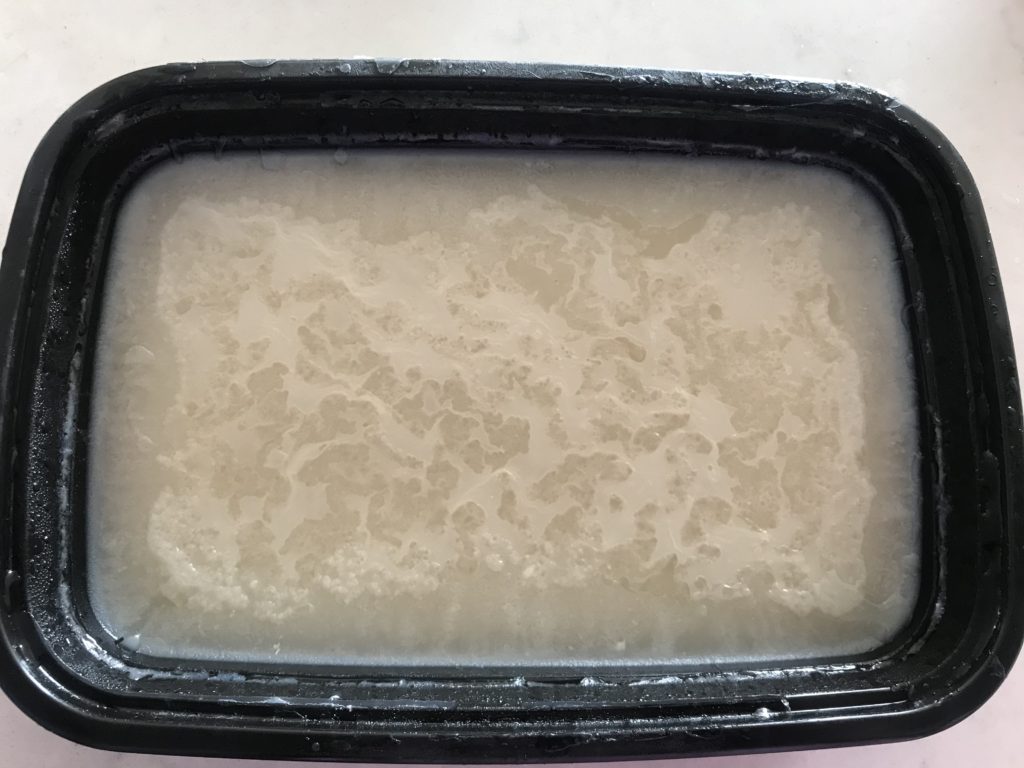
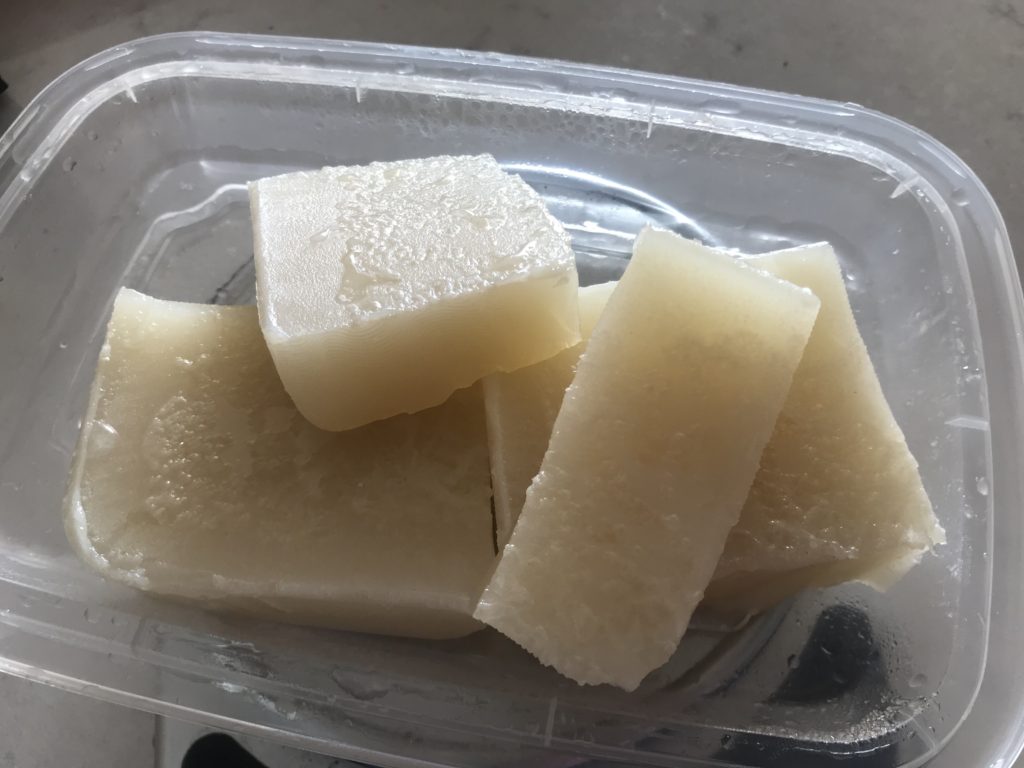
- Step 4: filter out pork skin, scallions, gingers and save the rest of liquid in a container; rest in fridge overnight for them to become jelly.
- Some recipes will also blend pork skin with spoonful of liquid till smooth, and add pork skin mixture to the rest of liquid for jelly.
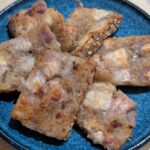
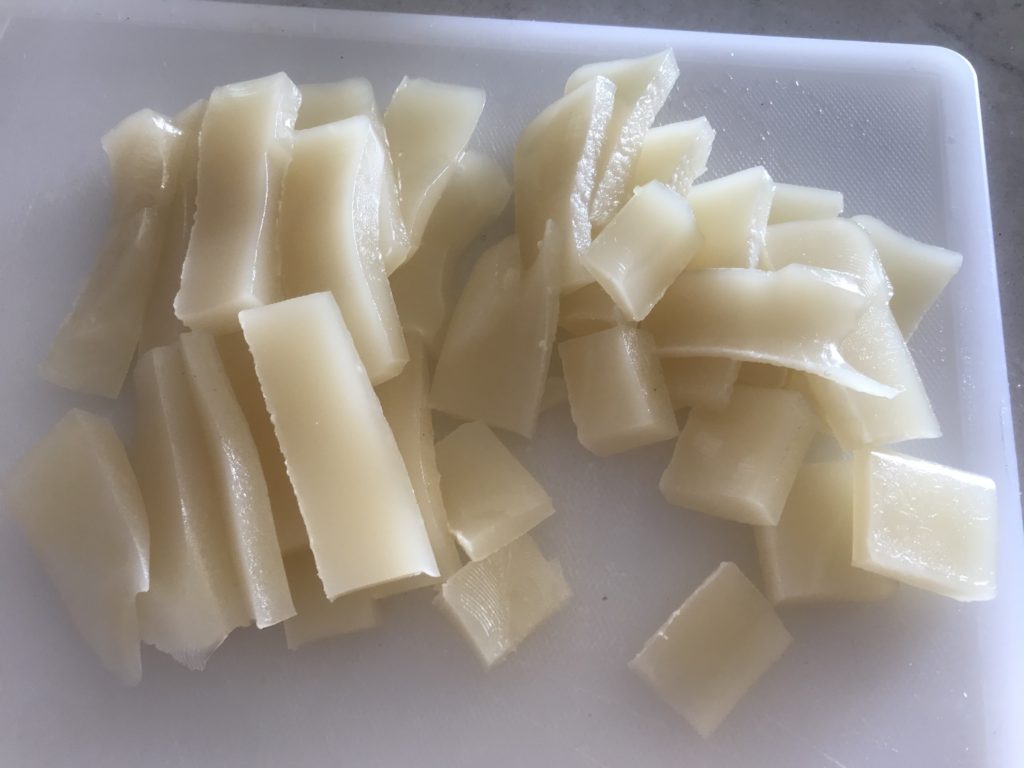
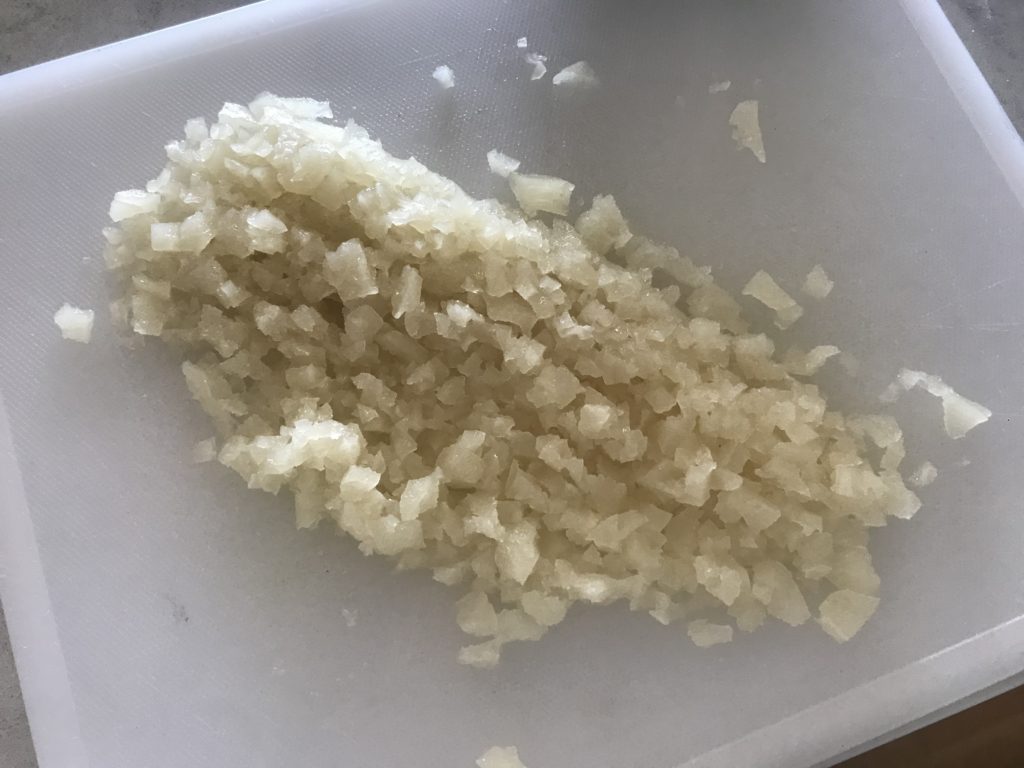
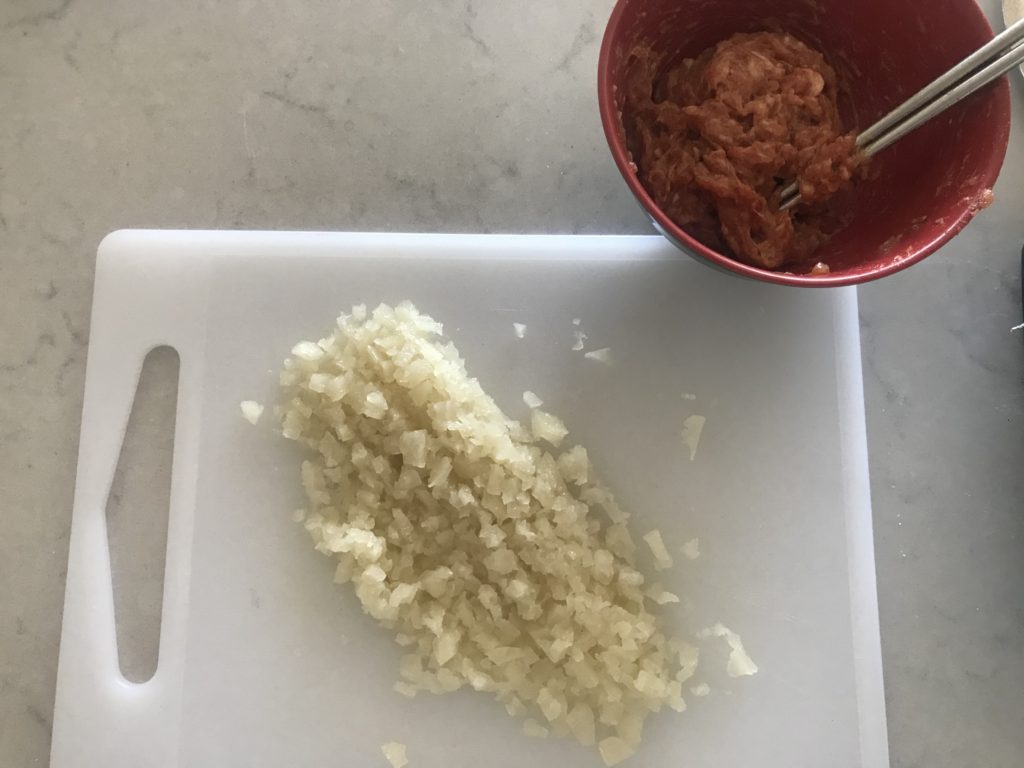
- Step 5: next day, cut jelly into small pieces, as small as possible and will mix in with meat fillings.
Part II – bun fillings
- Step 1: in a cup/bowl of water, put in scallion and ginger slices to flavor the water, will be mixed in meat fillings to tenderize later; if too much work, can just use water and skip this step.
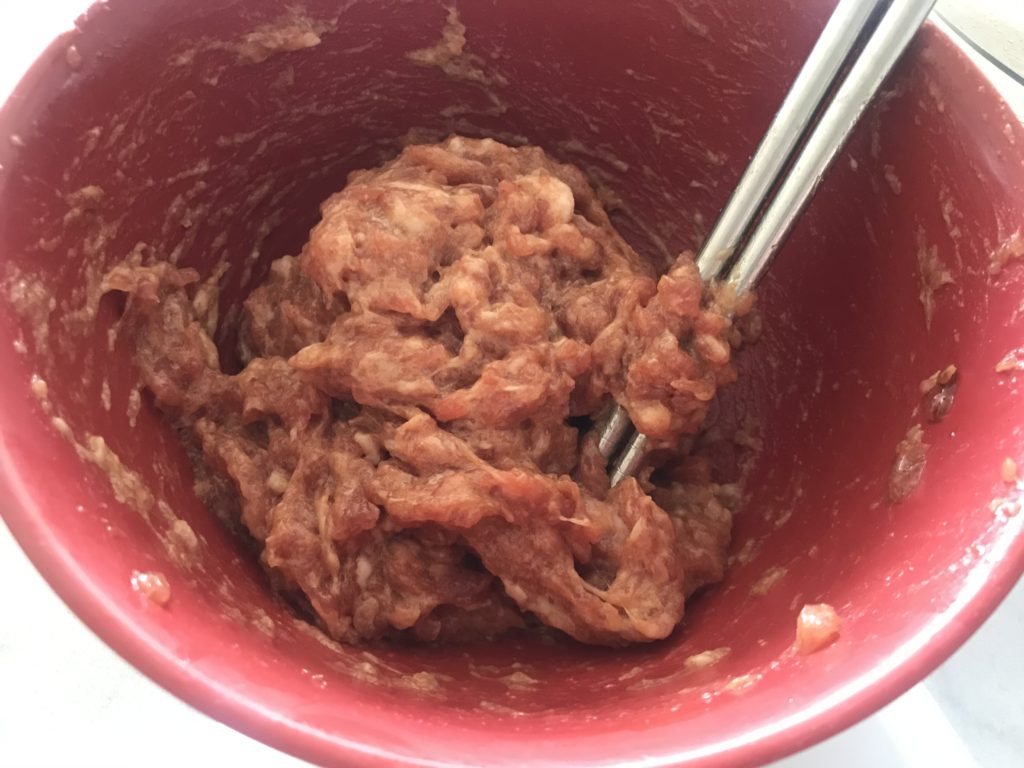
- Step 2: in 150g ground pork, add 3g salt, 10g sugar, 5g dark soy sauce, 5g soy sauce, 5g cooking wine (optional); stir in one direction and mix well.
- Step 3: add in 20g water or scallion/ginger water from step 1 in a few steps, and keep stirring meat in one direction; add in more water till the previous one is absorb.
- this step is for meat to absorb more moist, and the filling will become very tender instead of dry and hard later
- WARNING: Do NOT add too much water! There is a limit how much water the meat can absorb.. Again I learned it the hard way…
- Step 4: Personally I really like sesame oil and sesame seeds’ flavor. I would add in 5-10g sesame seeds, and 5g sesame oil for extra moist.
- Step 5: put in the jelly chunks in meat fillings, mix well and store in fridge for at least 30mins before wrapping into dough skin.
Part III – Bun dough
- Step 1: add 160g AP flour, 2g yeast, 2g baking powder, 0.5g baking soda in a bowl, then add in 1/2 of the 78g room temperature water, mix well; when water is absorbed, add the rest of water. The dough will be on the dry side, just knead in bowl till no visible flour left.
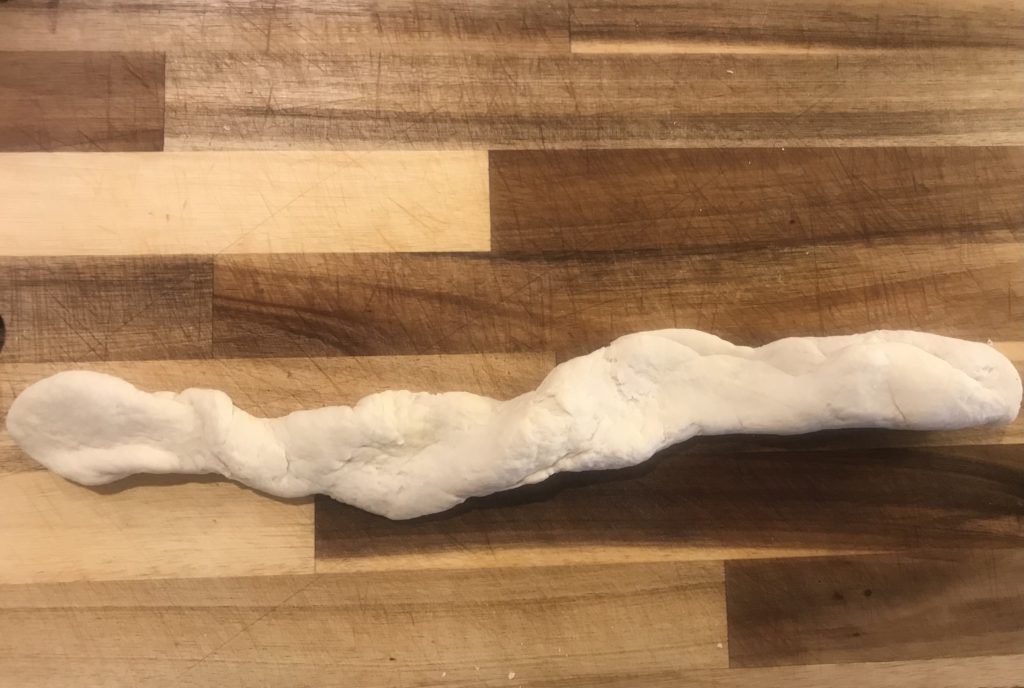
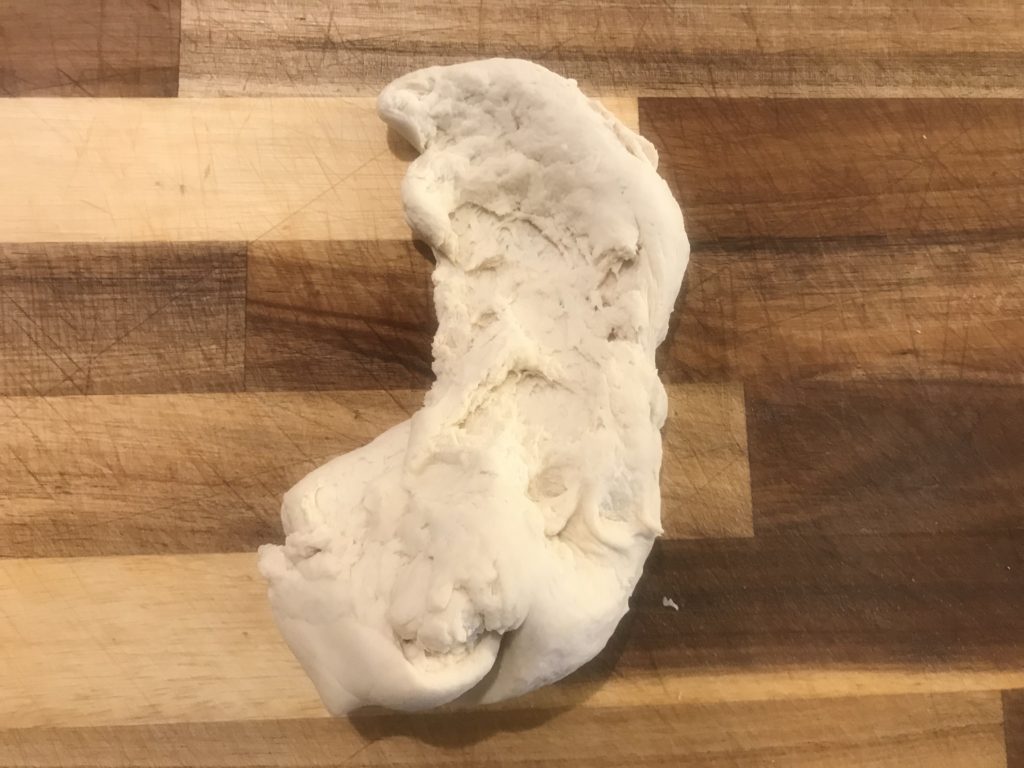
- Step 2: move dough to a cutting board, start kneading dough for 10-15mins. Stretch it out, roll it back, and repeat; till the dough surface is smooth.
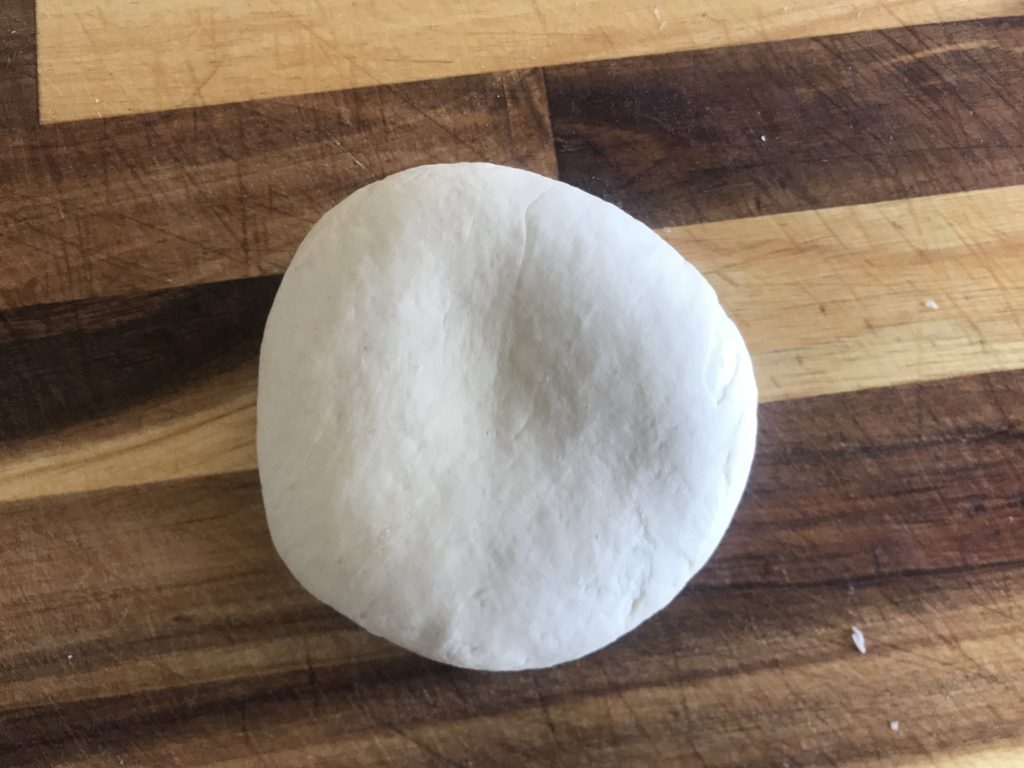
- Step 4: wrap dough tightly and rest dough at room temperature for 20-30mins. After rest, the dough is much softer, more stretchy and moist.
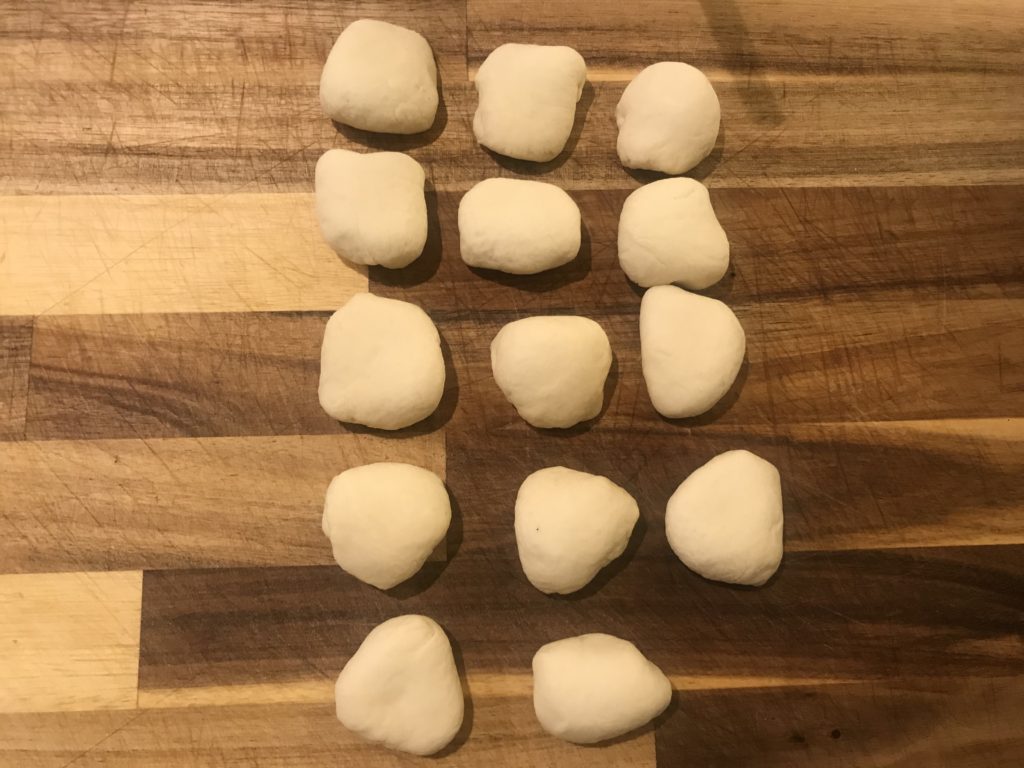
- Step 5: divide dough into small balls, around15-20g per potion. Pour some oil on dough to cover them, so they are sealed and would not dry out easily.
- WARNING: too much oil will change the dough texture and hard to rise later, resulting in very hard shaping, folding and very thin skins.. Yes I learned it the hard way..
- Step 6: roll out dough to circle, in the video below, chef recommended a diameter of 6-7cm; personally I found this size hard to wrap fillings, OR I should have wrapped LESS fillings… haha! I am too greedy 😉
- Step 7: in a pan/low edge pot, pour oil, enough to cover surface and a bit more. After we put buns all in, the oil should be slightly higher than the bottom of buns.
- Step 7: bring out the fillings from fridge, put APPROPRIATE amount of fillings on the dough skin, fold and close the bun as if you are wrapping Xiao Long Bao / Soup dumplings. Then place the closure size downwards.
- Step 8: rise the bun for~10-20mins for fluffier texture. This step is not in recipe video, I think the loose, risen texture could potentially absorb some soup in the fillings, I personally like the bun’s soft texture. Can skip!

Part IV – Pan-frying!
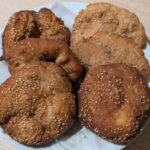
- Step 1: over HIGH heat, cook the bun till bottom is slightly golden.
- Step 2: add 50-100ml water in pan, try to add from the side and not downpour on the buns. Then cover with lid and cook till water evaporates. Remain at HIGH heat. When you hear the drizzling, popping oil sound, water is almost gone.
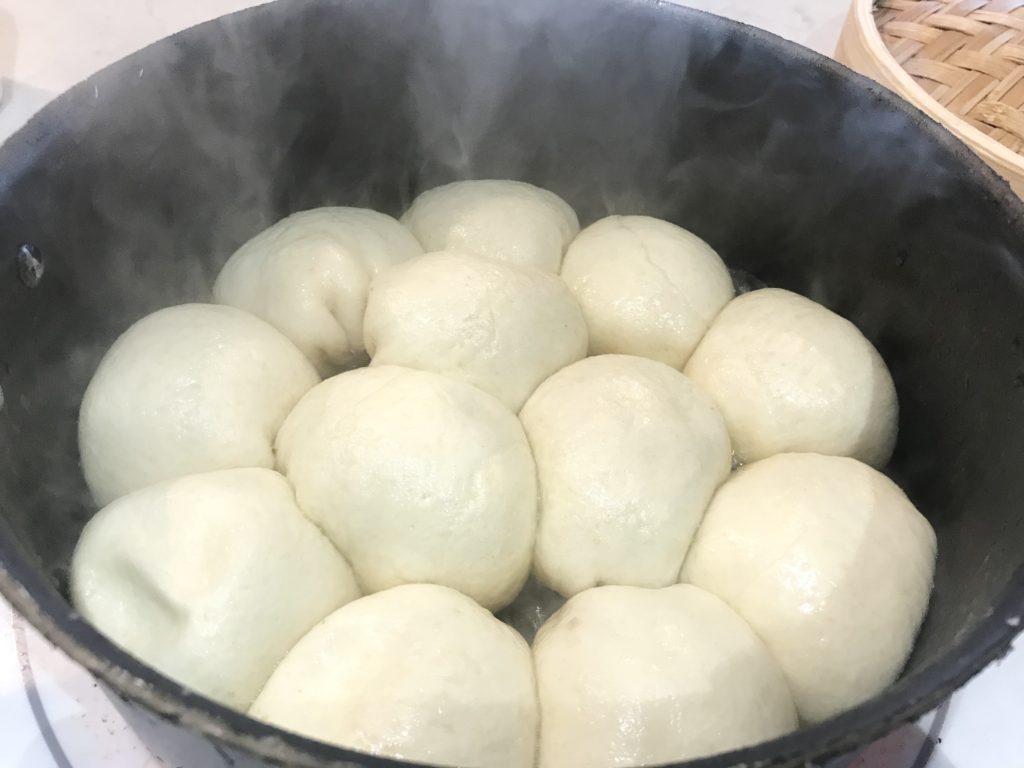
hot steamy water evaporating
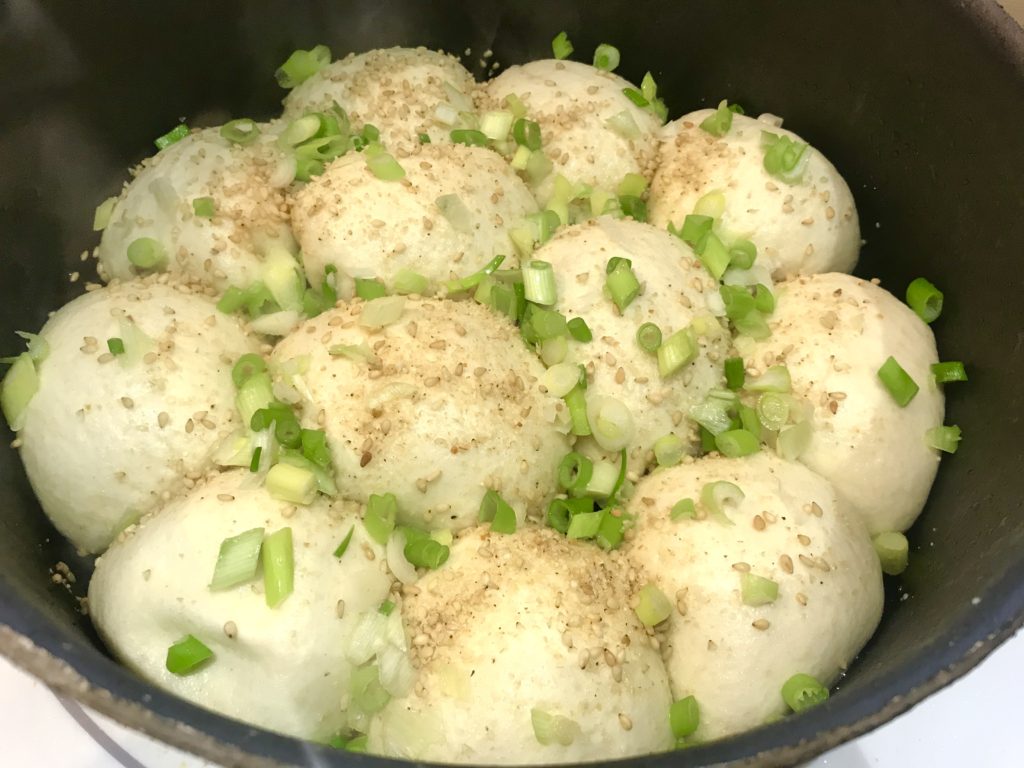
- Step 3: sprinkle scallions and sesame seeds on top, cover the lid and cook for another 2-3mins.
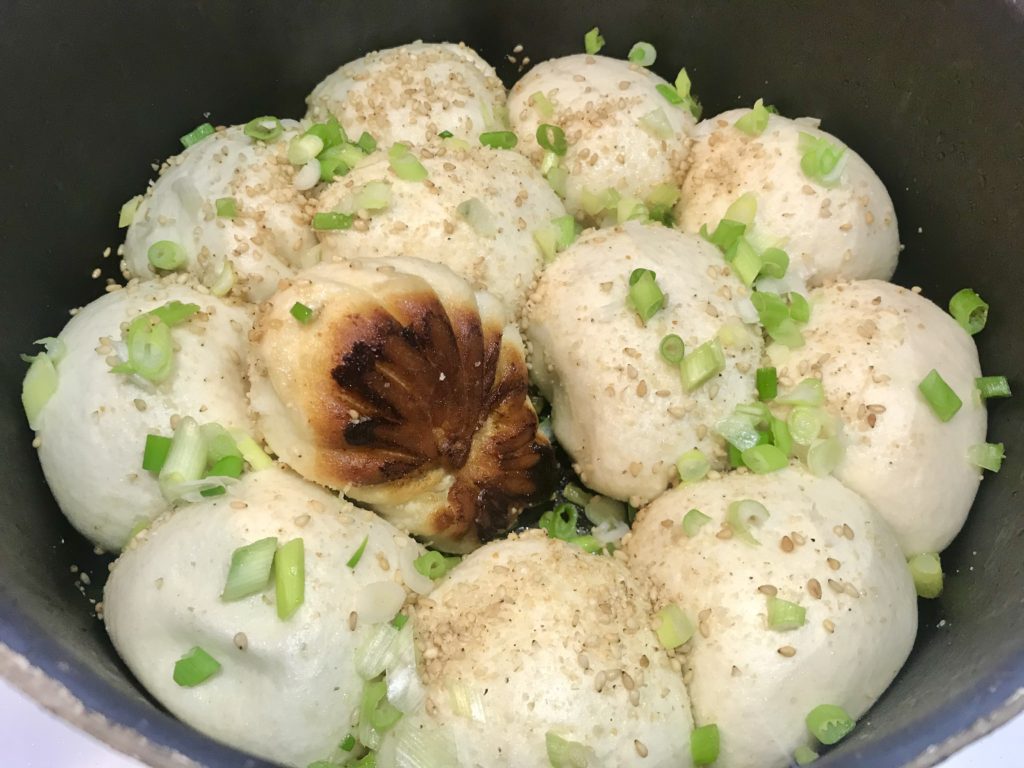
- Step 4: turn off heat, lid remains on till serving so the bun will not collapse as we remove lid right away.
READY TO SERVE!!
RESOURCES
He is just soo good that I didn’t really look at other videos..