
My college friend got engaged on Sep 30th!! She has been dating her partner for almost (??) 10 years. The day they got engaged, was the 150th month, 4567 days since they first fell in love in high school…High school sweetheart walking into marriage together is like dream comes truth, fairytale comes true? I made the matcha red bean chiffon cake, styled as a rose to celebrate their love of a decade, and more decades to come.
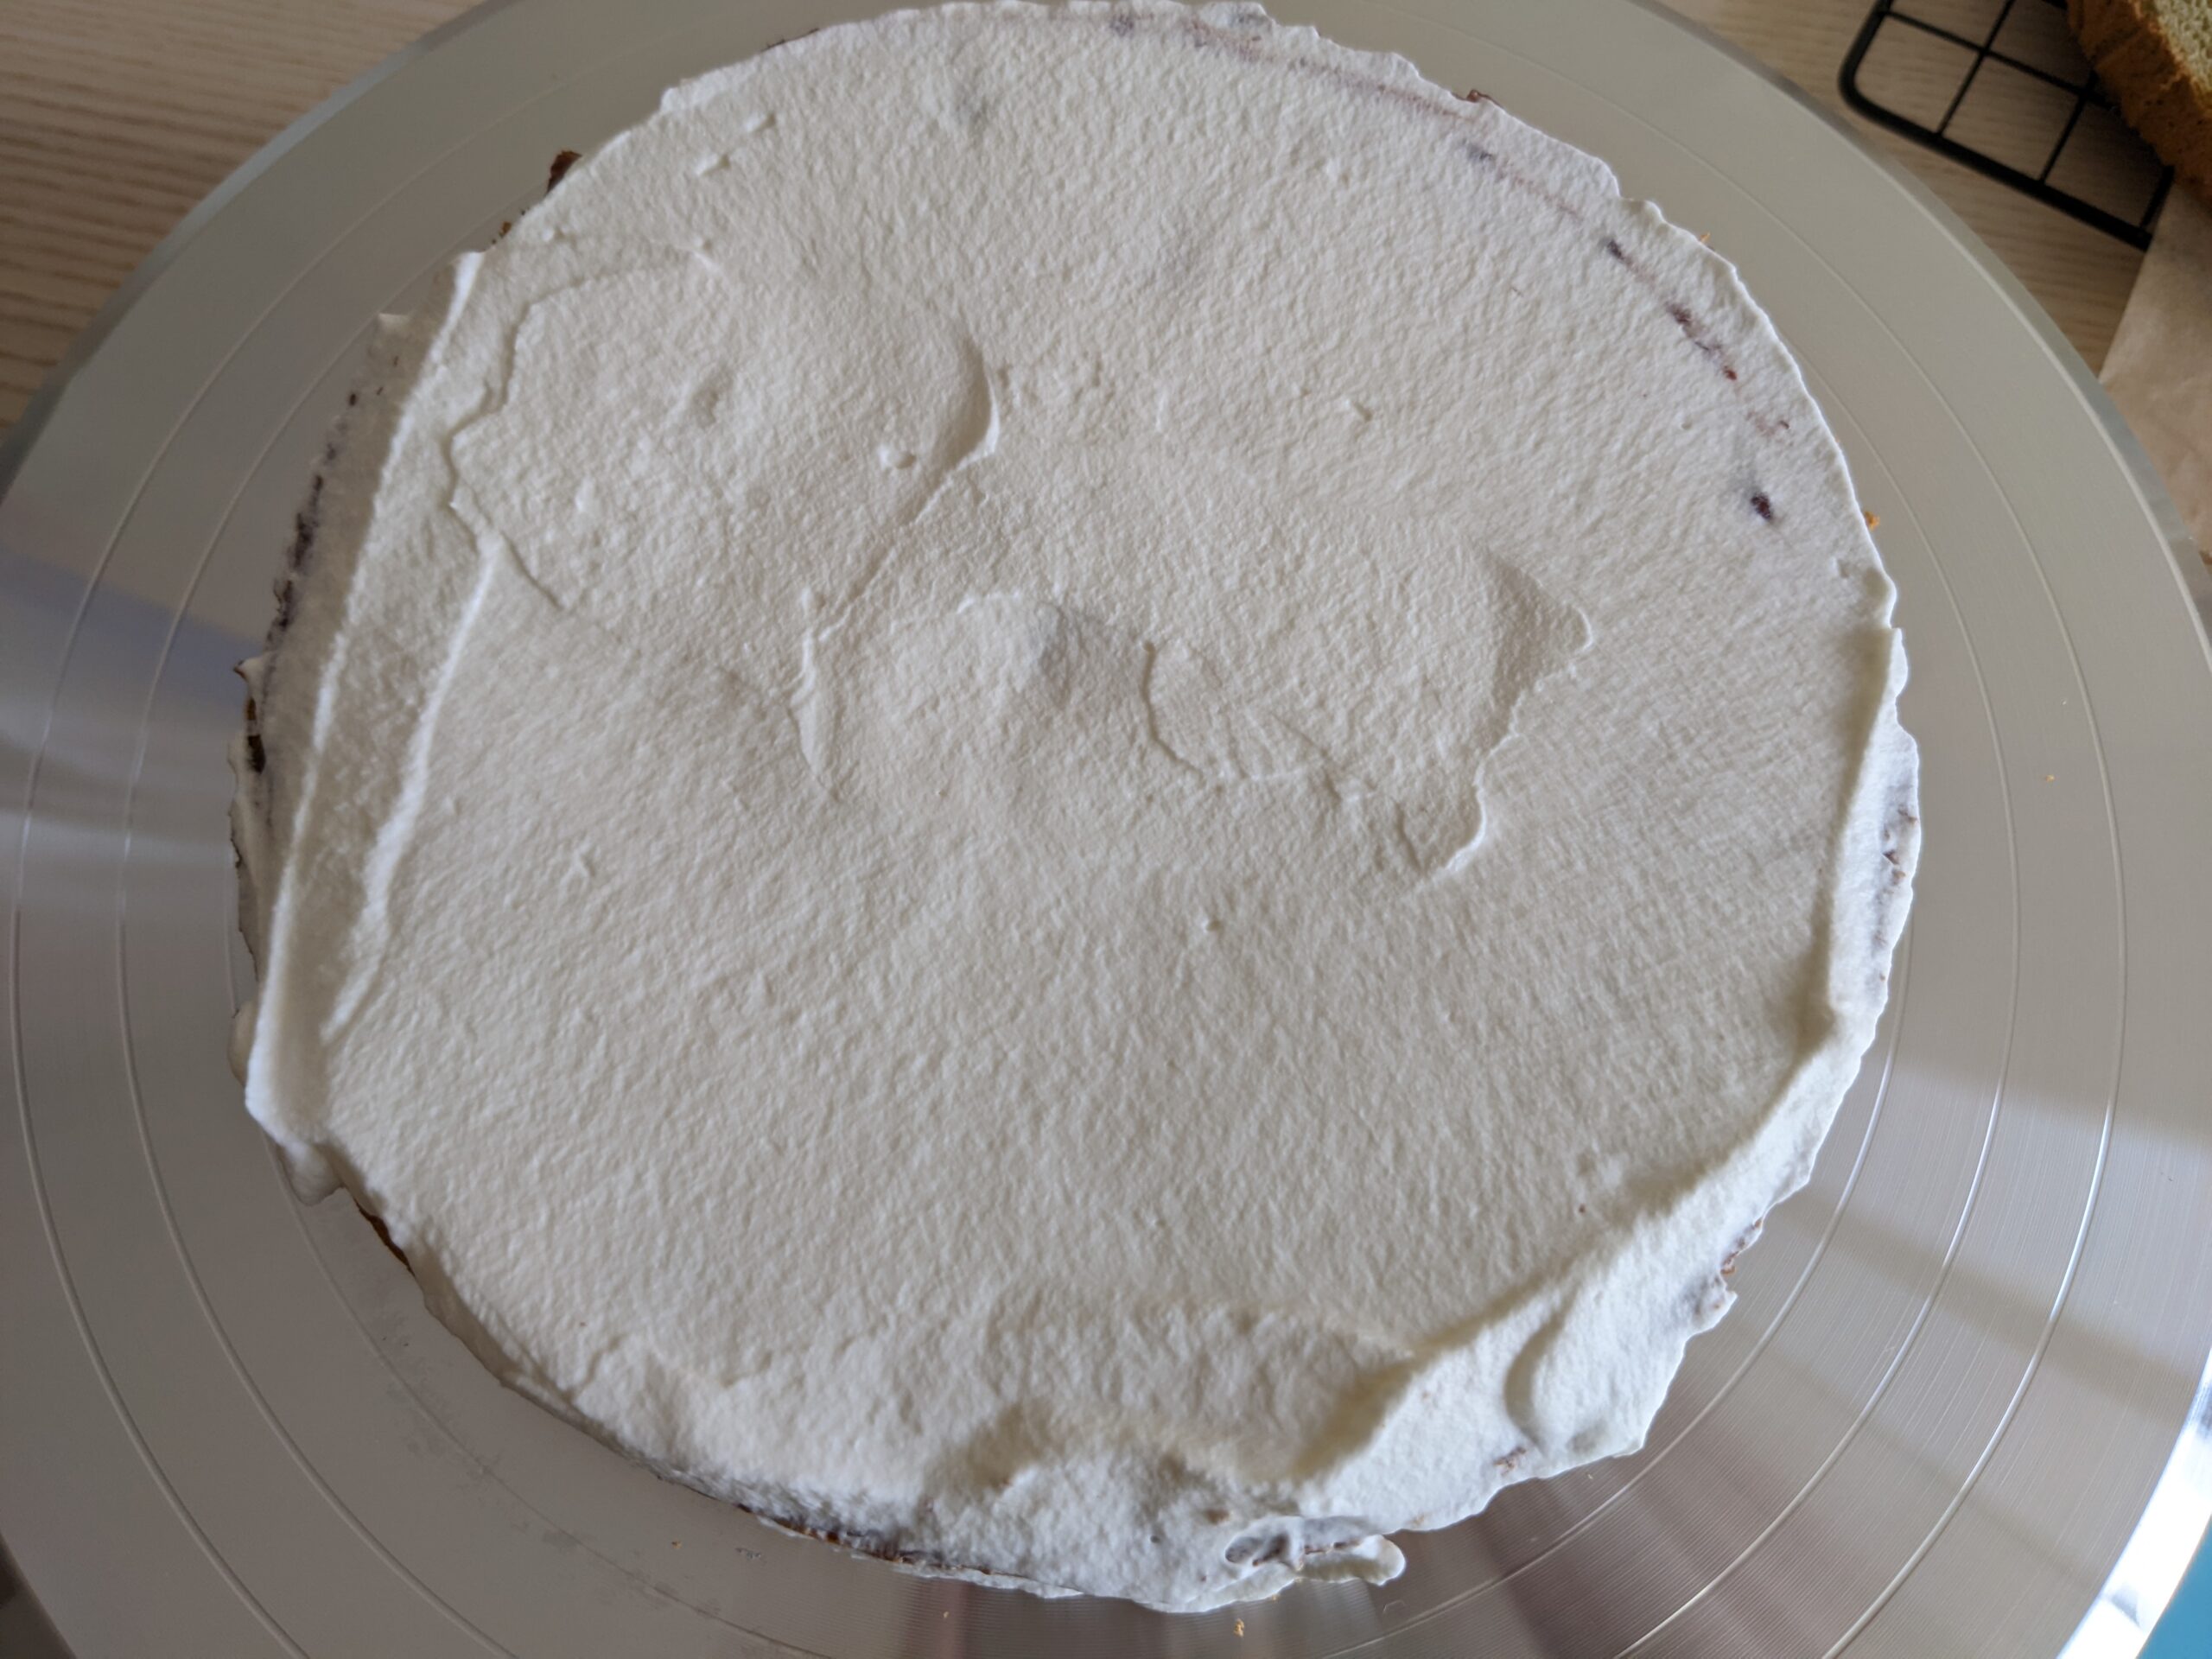
For the cream, I only used heavy whipping cream with sugar, which could be hard for beginners like me to make a smooth cake surface. Next time I will try adding soften butter or mascarpone to the heavy whipping cream for stabilization.
QUICK TAKEAWAYS
- matcha powder absorbs a lot of moisture content, so the liquid in cake could be more than other chiffon cake, and the egg white could be whisked less
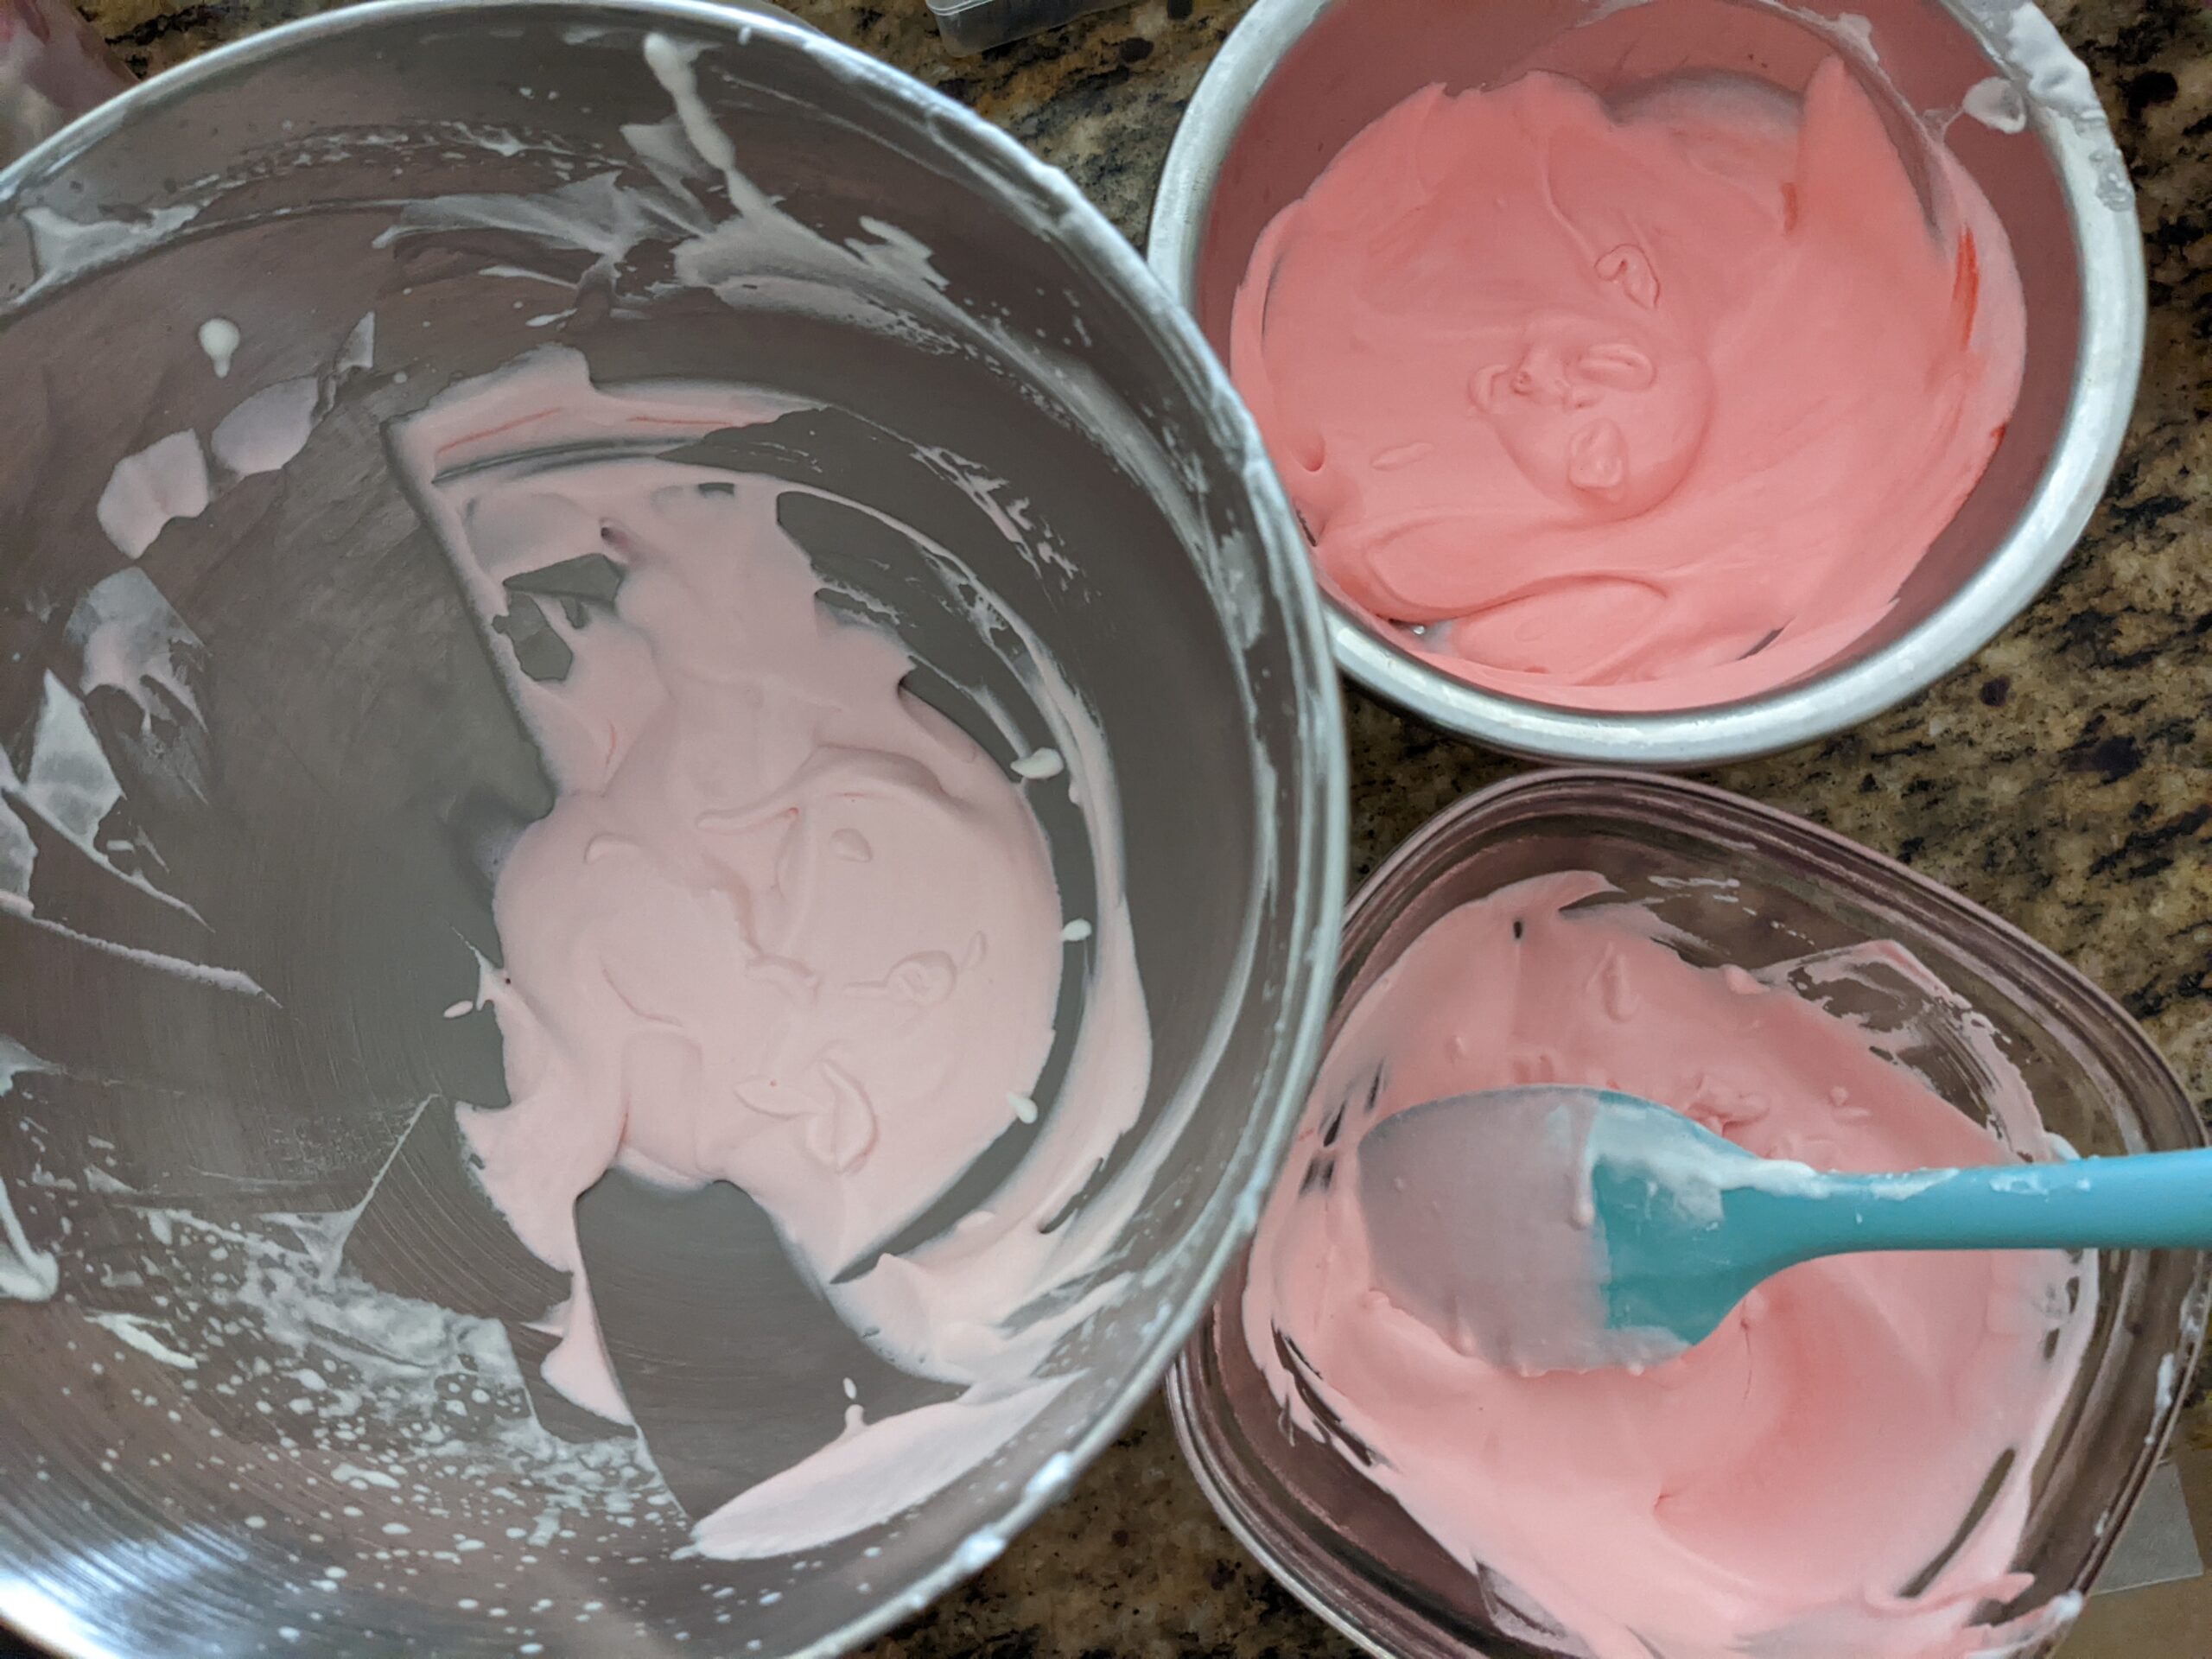
- piping rose petal requires the heavy whipping cream to be firmer, and whisked longer. Adding coloring liquid in the whipped cream could make it more liquidy, and petal would not form shape distinctly but blend into each other
- making gradual color change is not an easy decoration haha!
RECIPE
(8 inch cake mold)
- 5 eggs
- 60g milk
- 50g oil
- 63g cake flour
- 7g matcha
- 50g sugar (15g for cake mixture, 35g for egg white)
- lemon juice / vinegar
cream:
- 300g heavy whipping cream for cream on layers and cake surface
- 200-300g for the rose on top and other decoration (heart on the side)
- 10% sugar:heavy whipping cream
filling:
- red bean paste, I diluted mine in milk for more flowy texture that could spread out easily
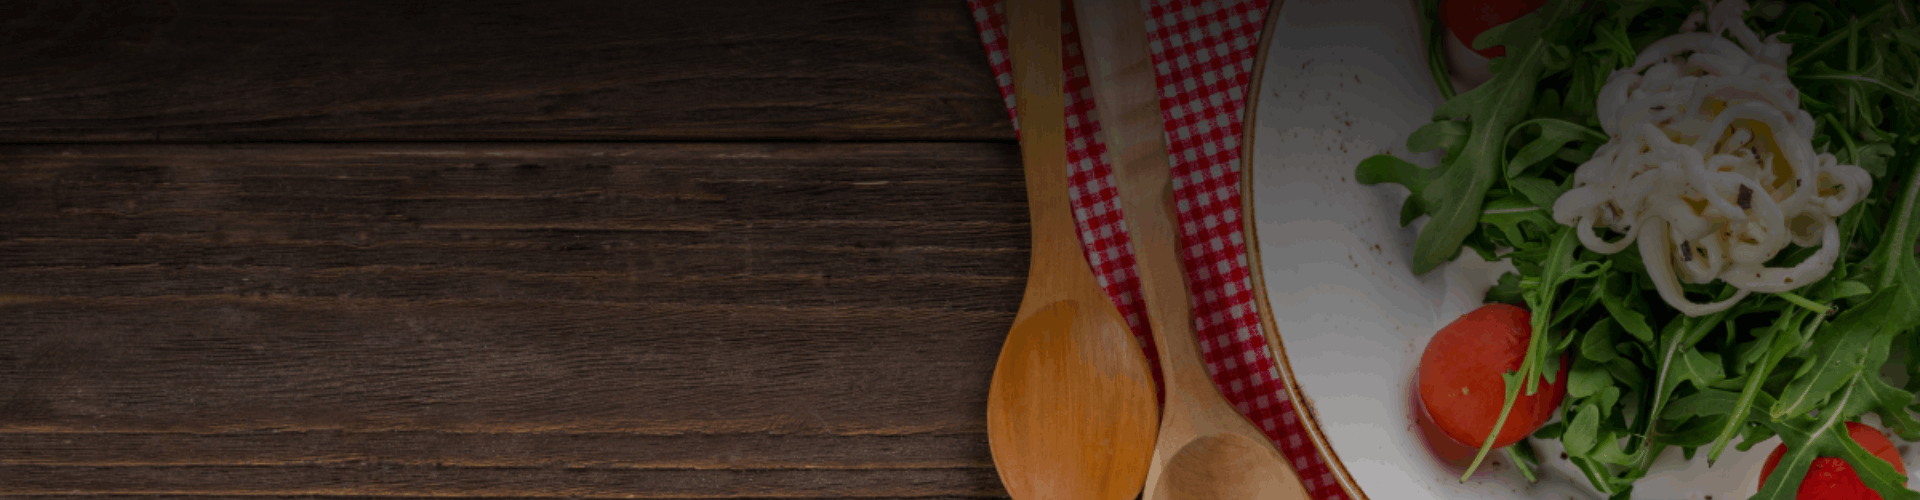
STEP 1: mix 7g matcha powder and 50g oils, whisk till no visible matcha powder chunks
STEP 2: separate egg white and egg yolk; put egg white into the whisking bowl, and egg yolk into matcha oil cake mix. Store egg white in fridge (easier for whisking later)

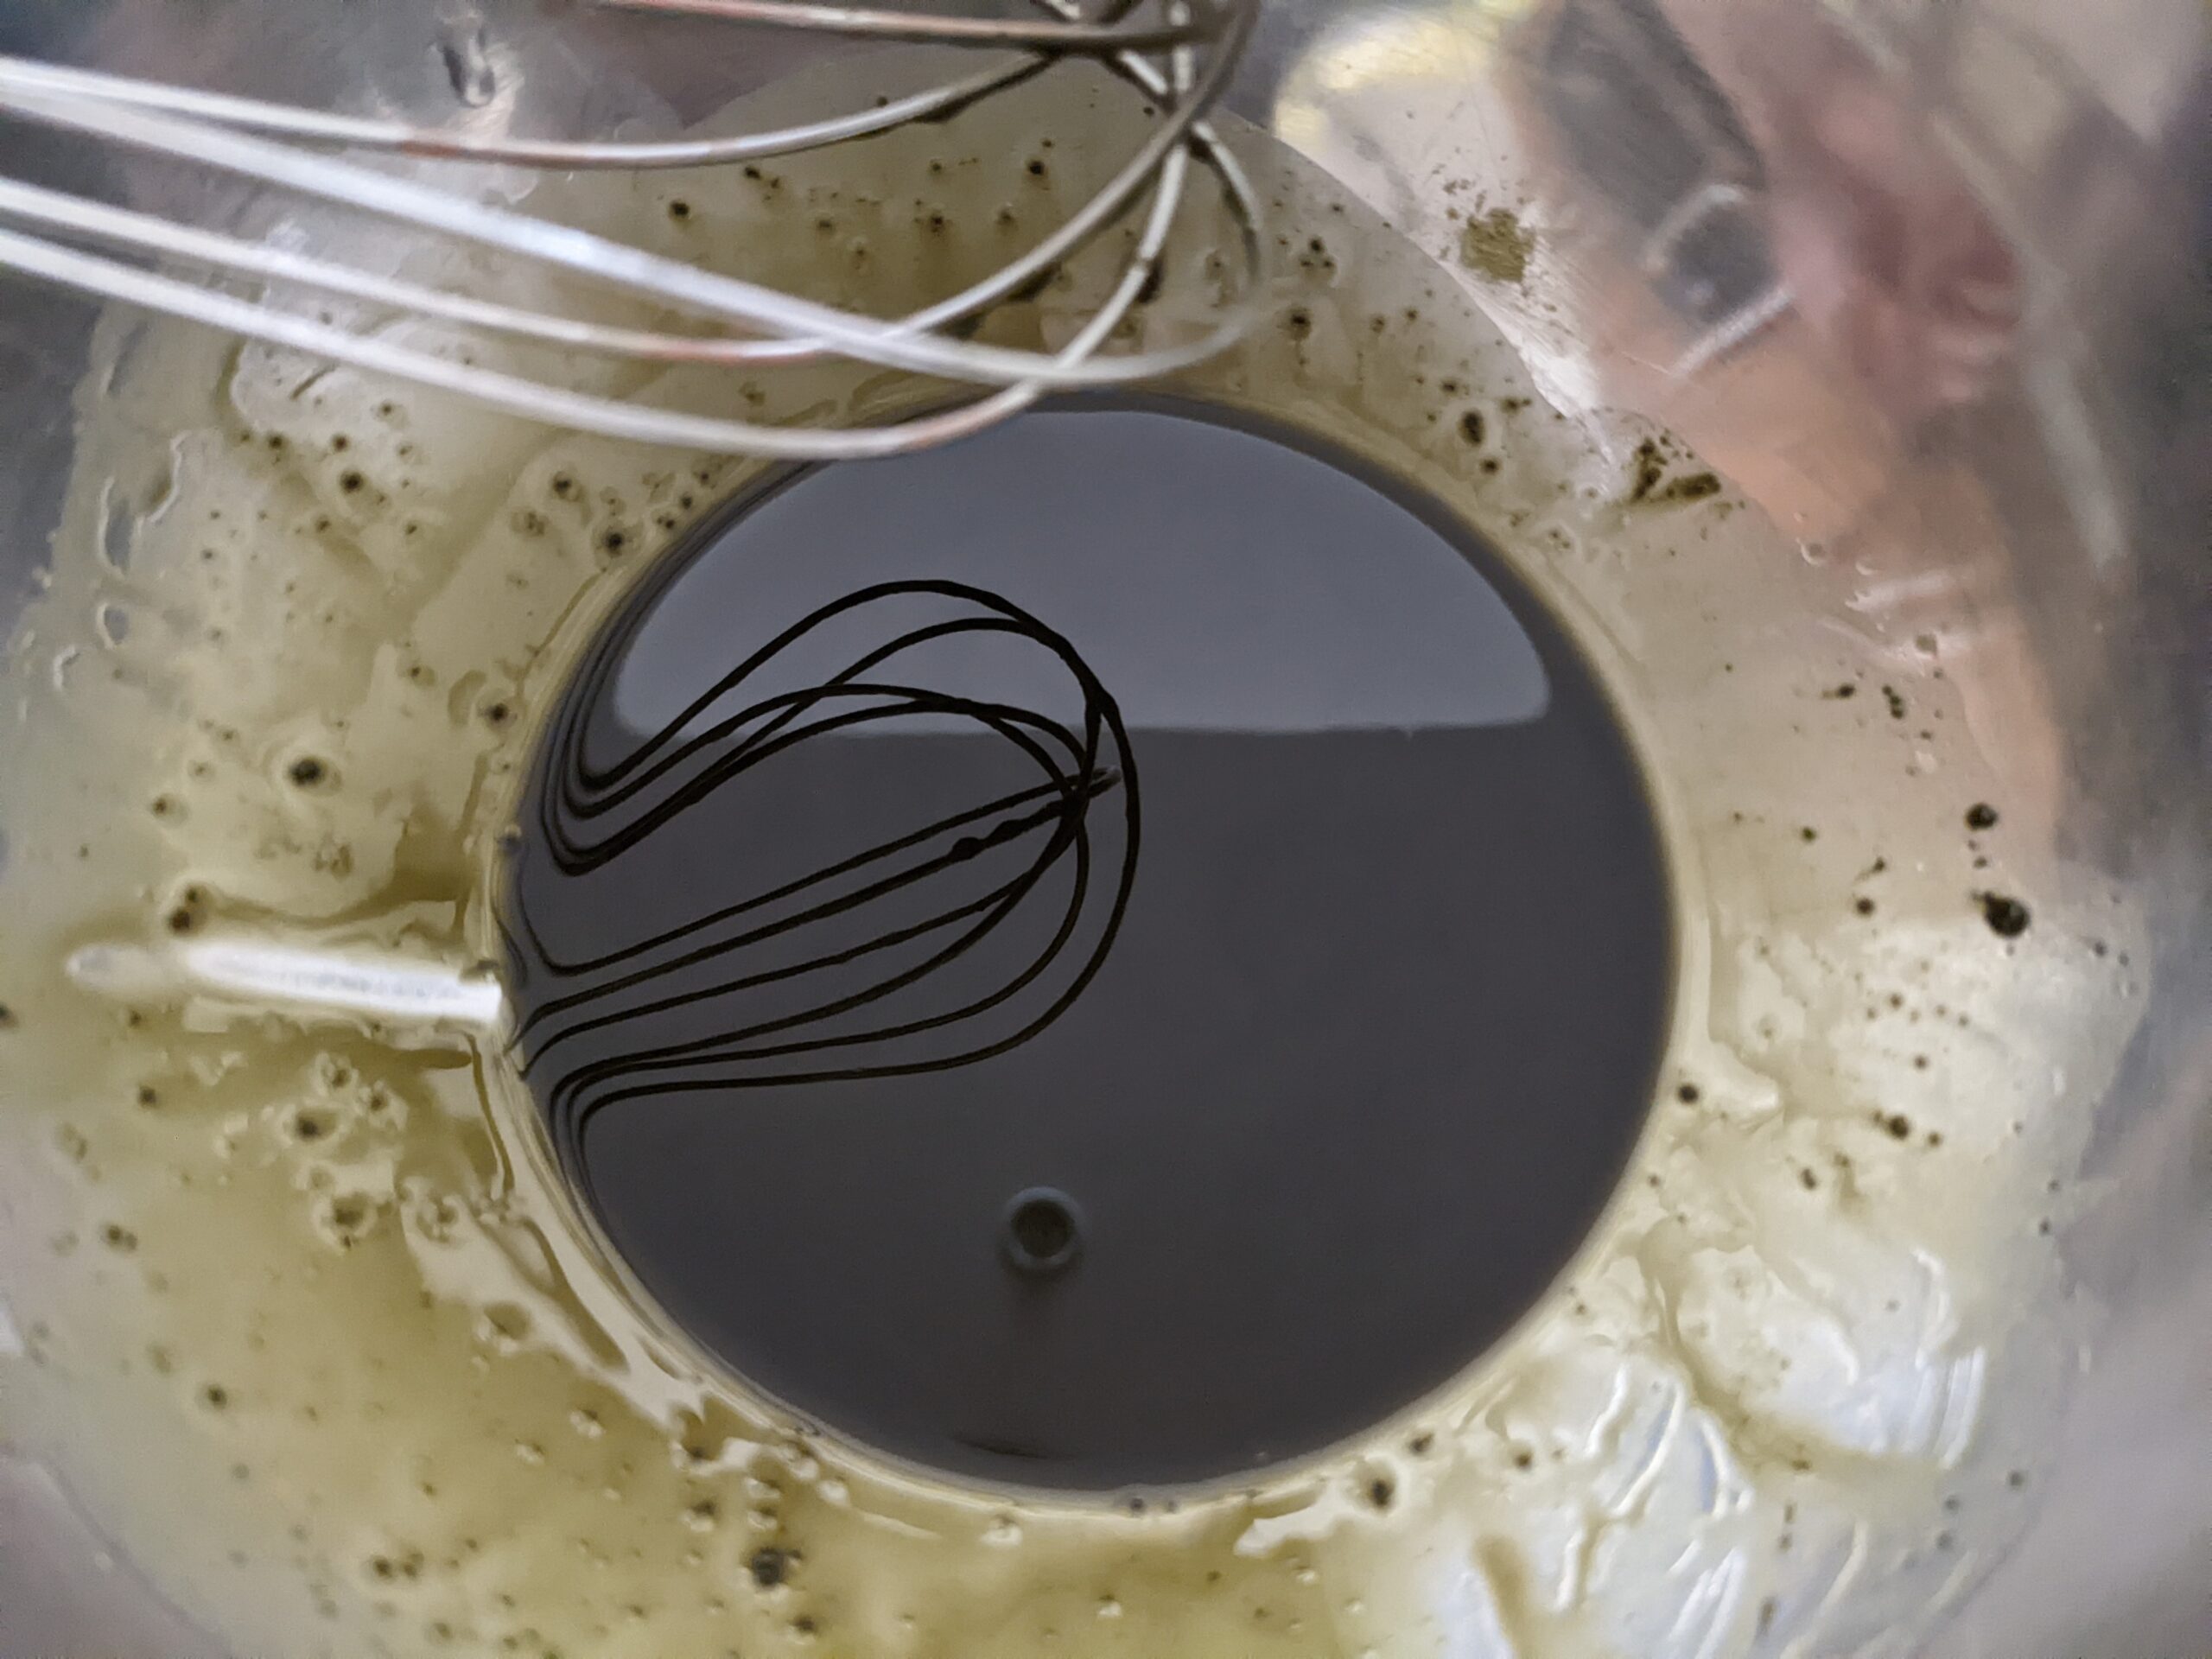
STEP 3: add 60g milk and 15g sugar into cake mix, whisk well till small bubbles form, which means the egg has been sufficiently mixed with the cake mix and help the cake grows later in mold
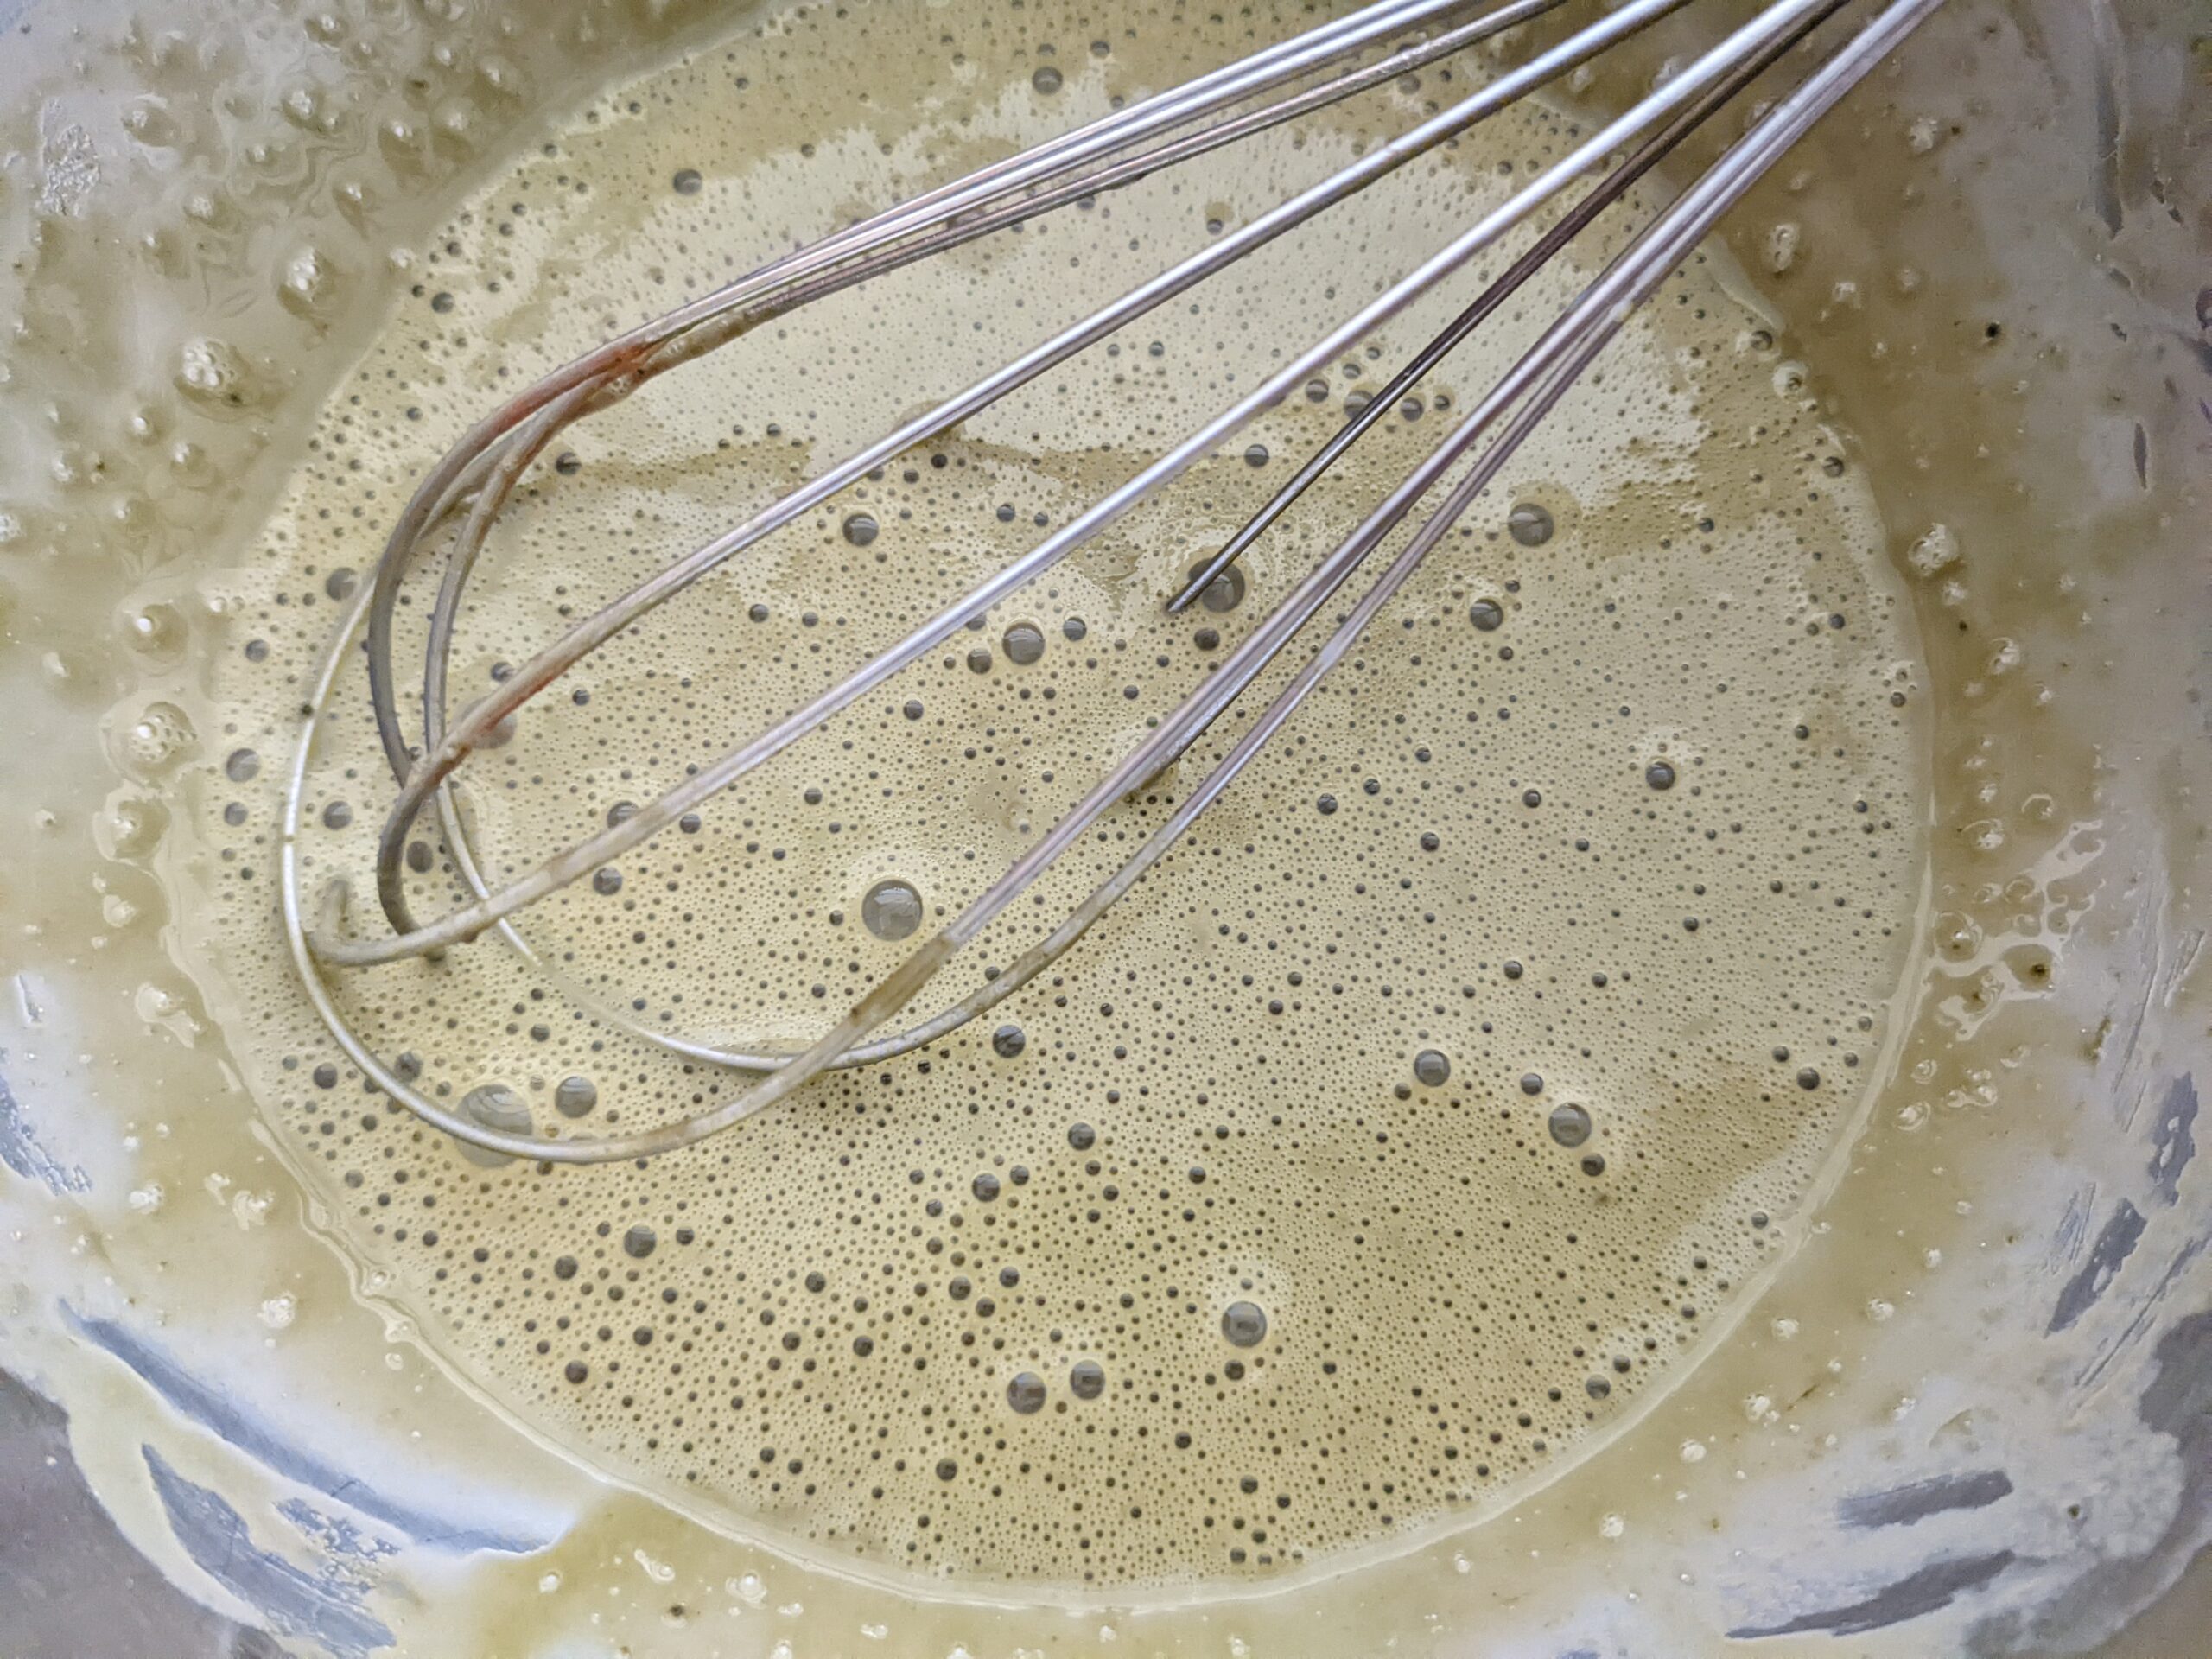
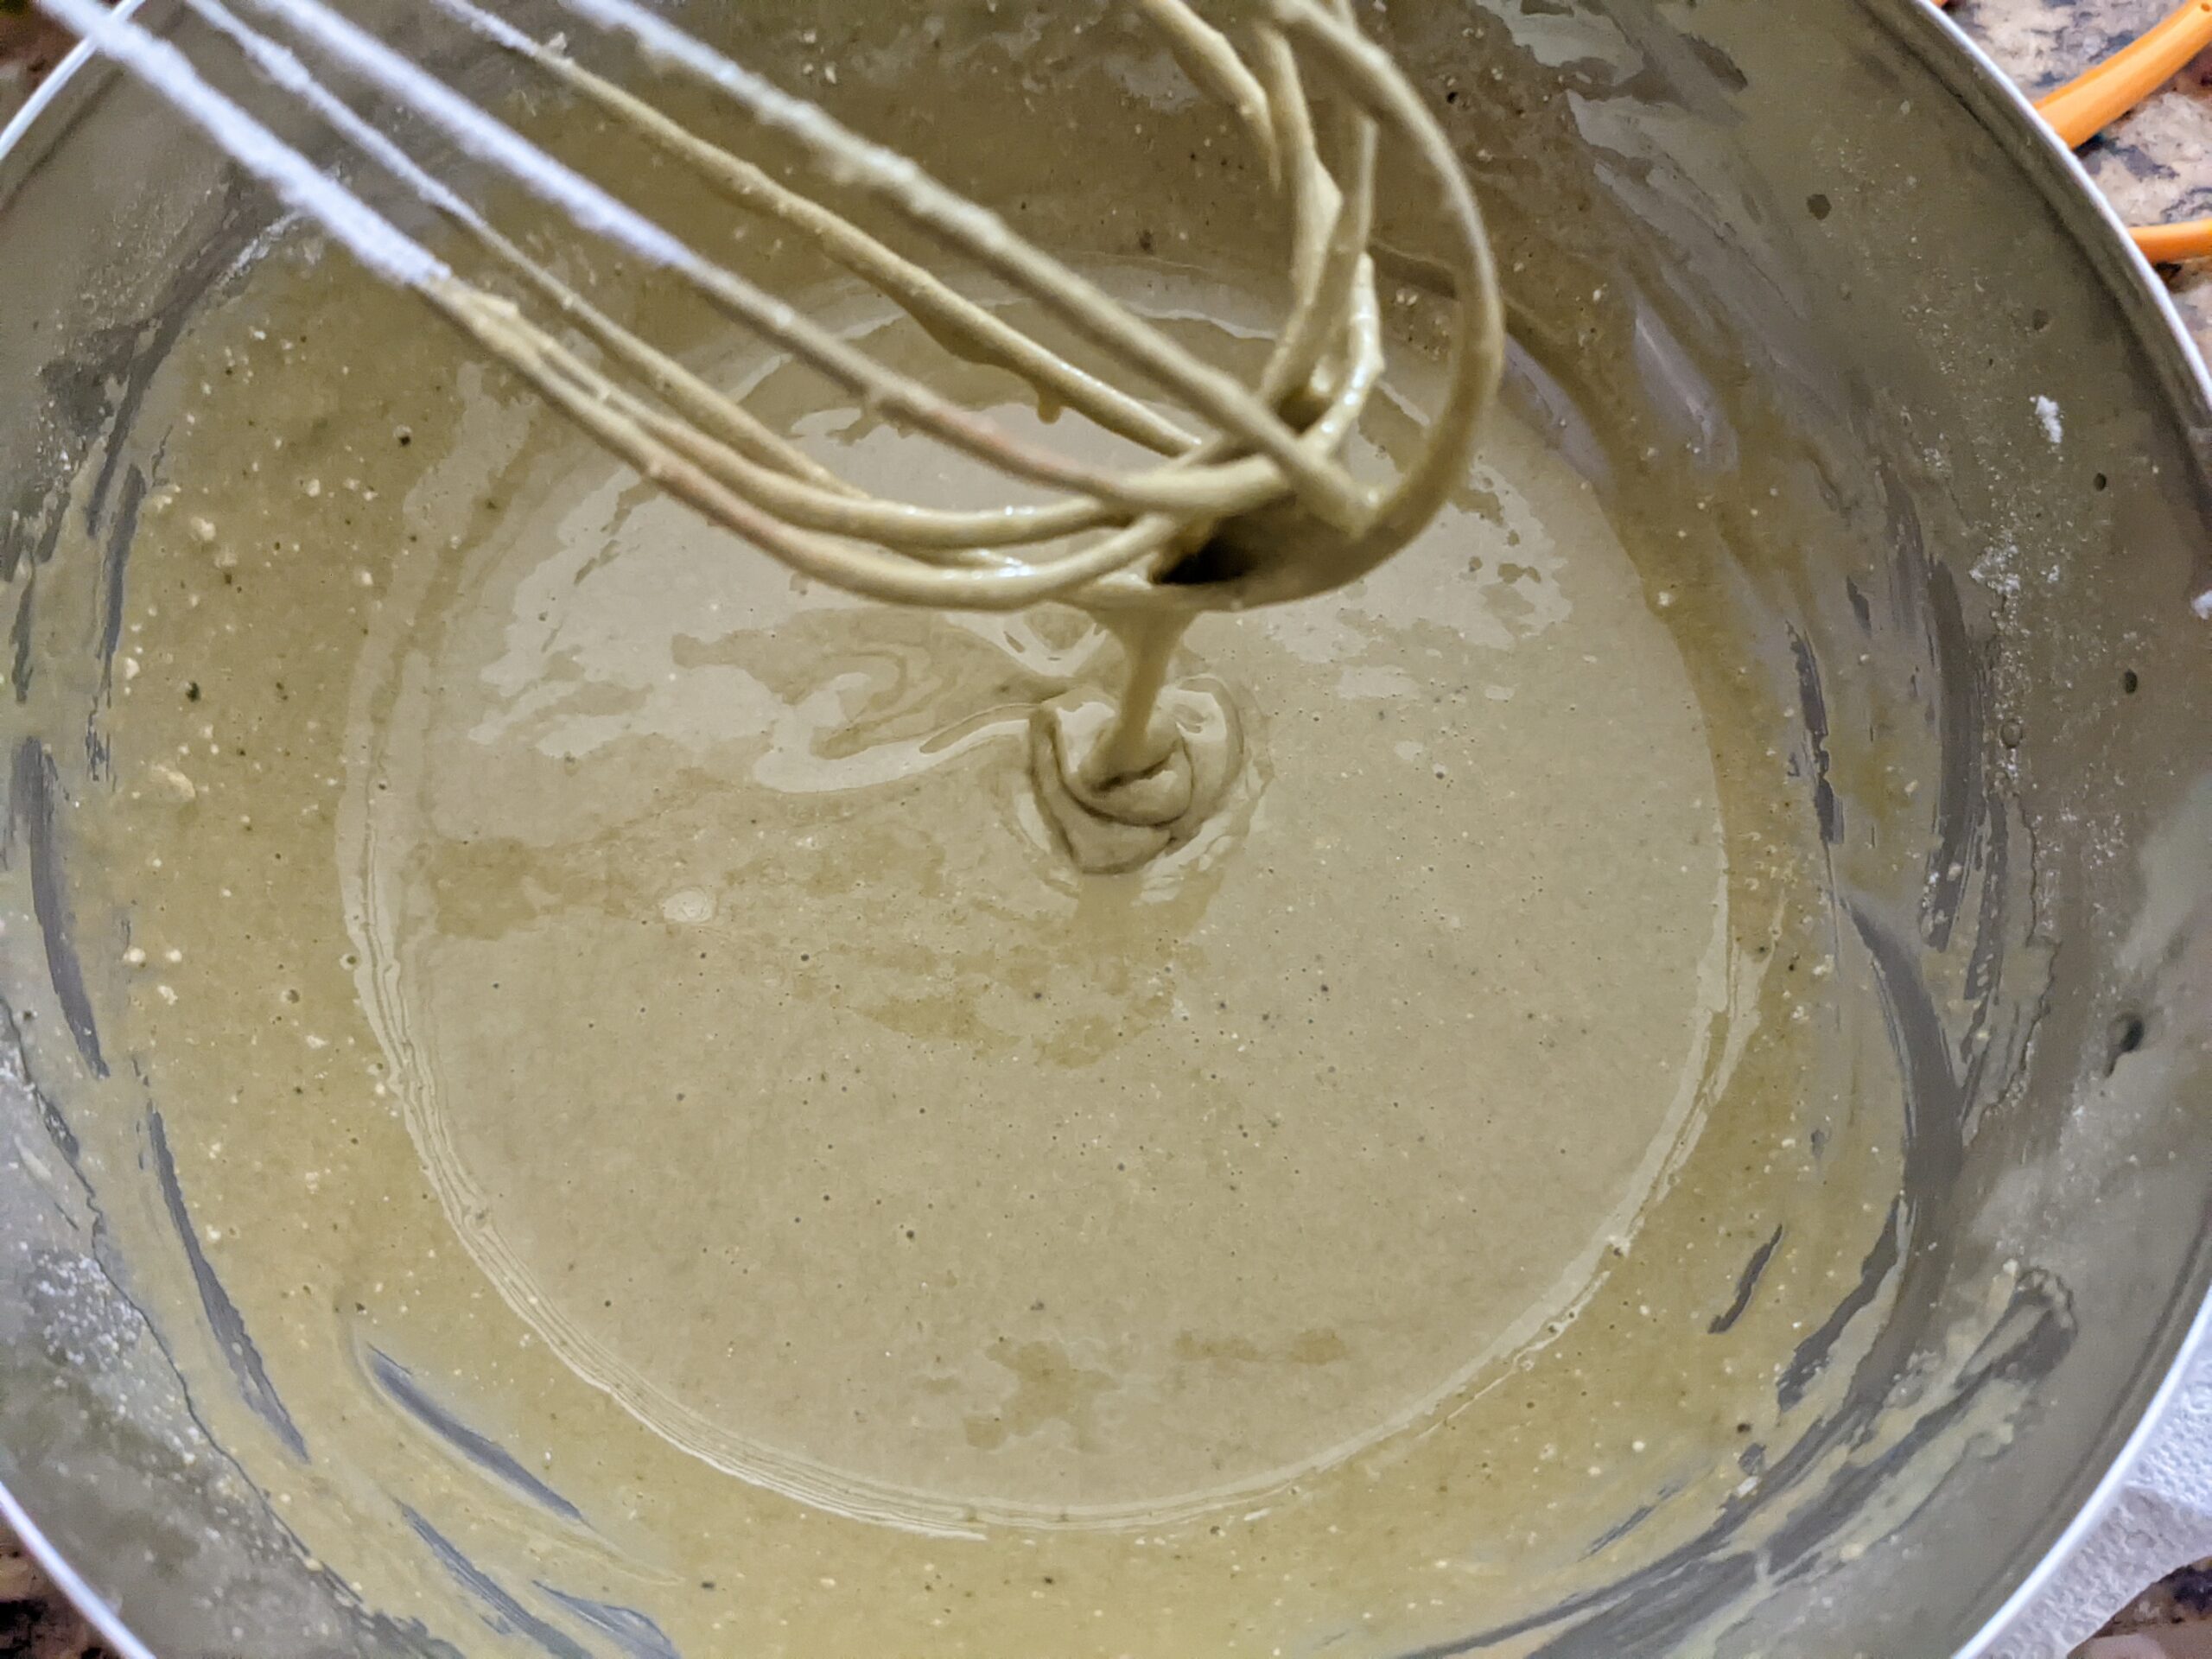
STEP 4: sieve 63g cake flour into the cake mix; draw “Z” to mix till no visible cake flour; cake mix should have flowy texture, with pattern disappears in 1-2 secs
STEP 5: put cake mix back into the fridge and chill. pre-heat oven to 140C or 284F. line the cake mold with parchment paper, use butter to help parchment paper lined up closely to the cake mold
STEP 6: bring out egg white, drip a few drops of vinegar/lemon juice which accelerates whisking and stabilize egg white
STEP 7: start whisking at mid-speed to bring in air, then turn to high speed. add in 35g sugar in 3 times: when large bubble forms, soft pattern forms, and firmer pattern forms. Stop whisking till small hooks form and bend when lifting the whisk from egg white
STEP 8: transfer 1/3 egg white into the cake mix, mix well; transfer everything back into the white egg, mix well till no egg white chunks
STEP 9: slowly pour the cake mix from 5-8inch height, to get rid of more bubble as the cake mix fall. After all is transferred, drop the cake mold from 2-3inch height to get rid of air bubbles

STEP 10: bake at 140C/284F for 70mins or till surface is golden, and toothpick is not stuck with cake mix when insert and withdraw from center of the cake
STEP 11: remove cake from oven, chill upside down for 1-2 hours.
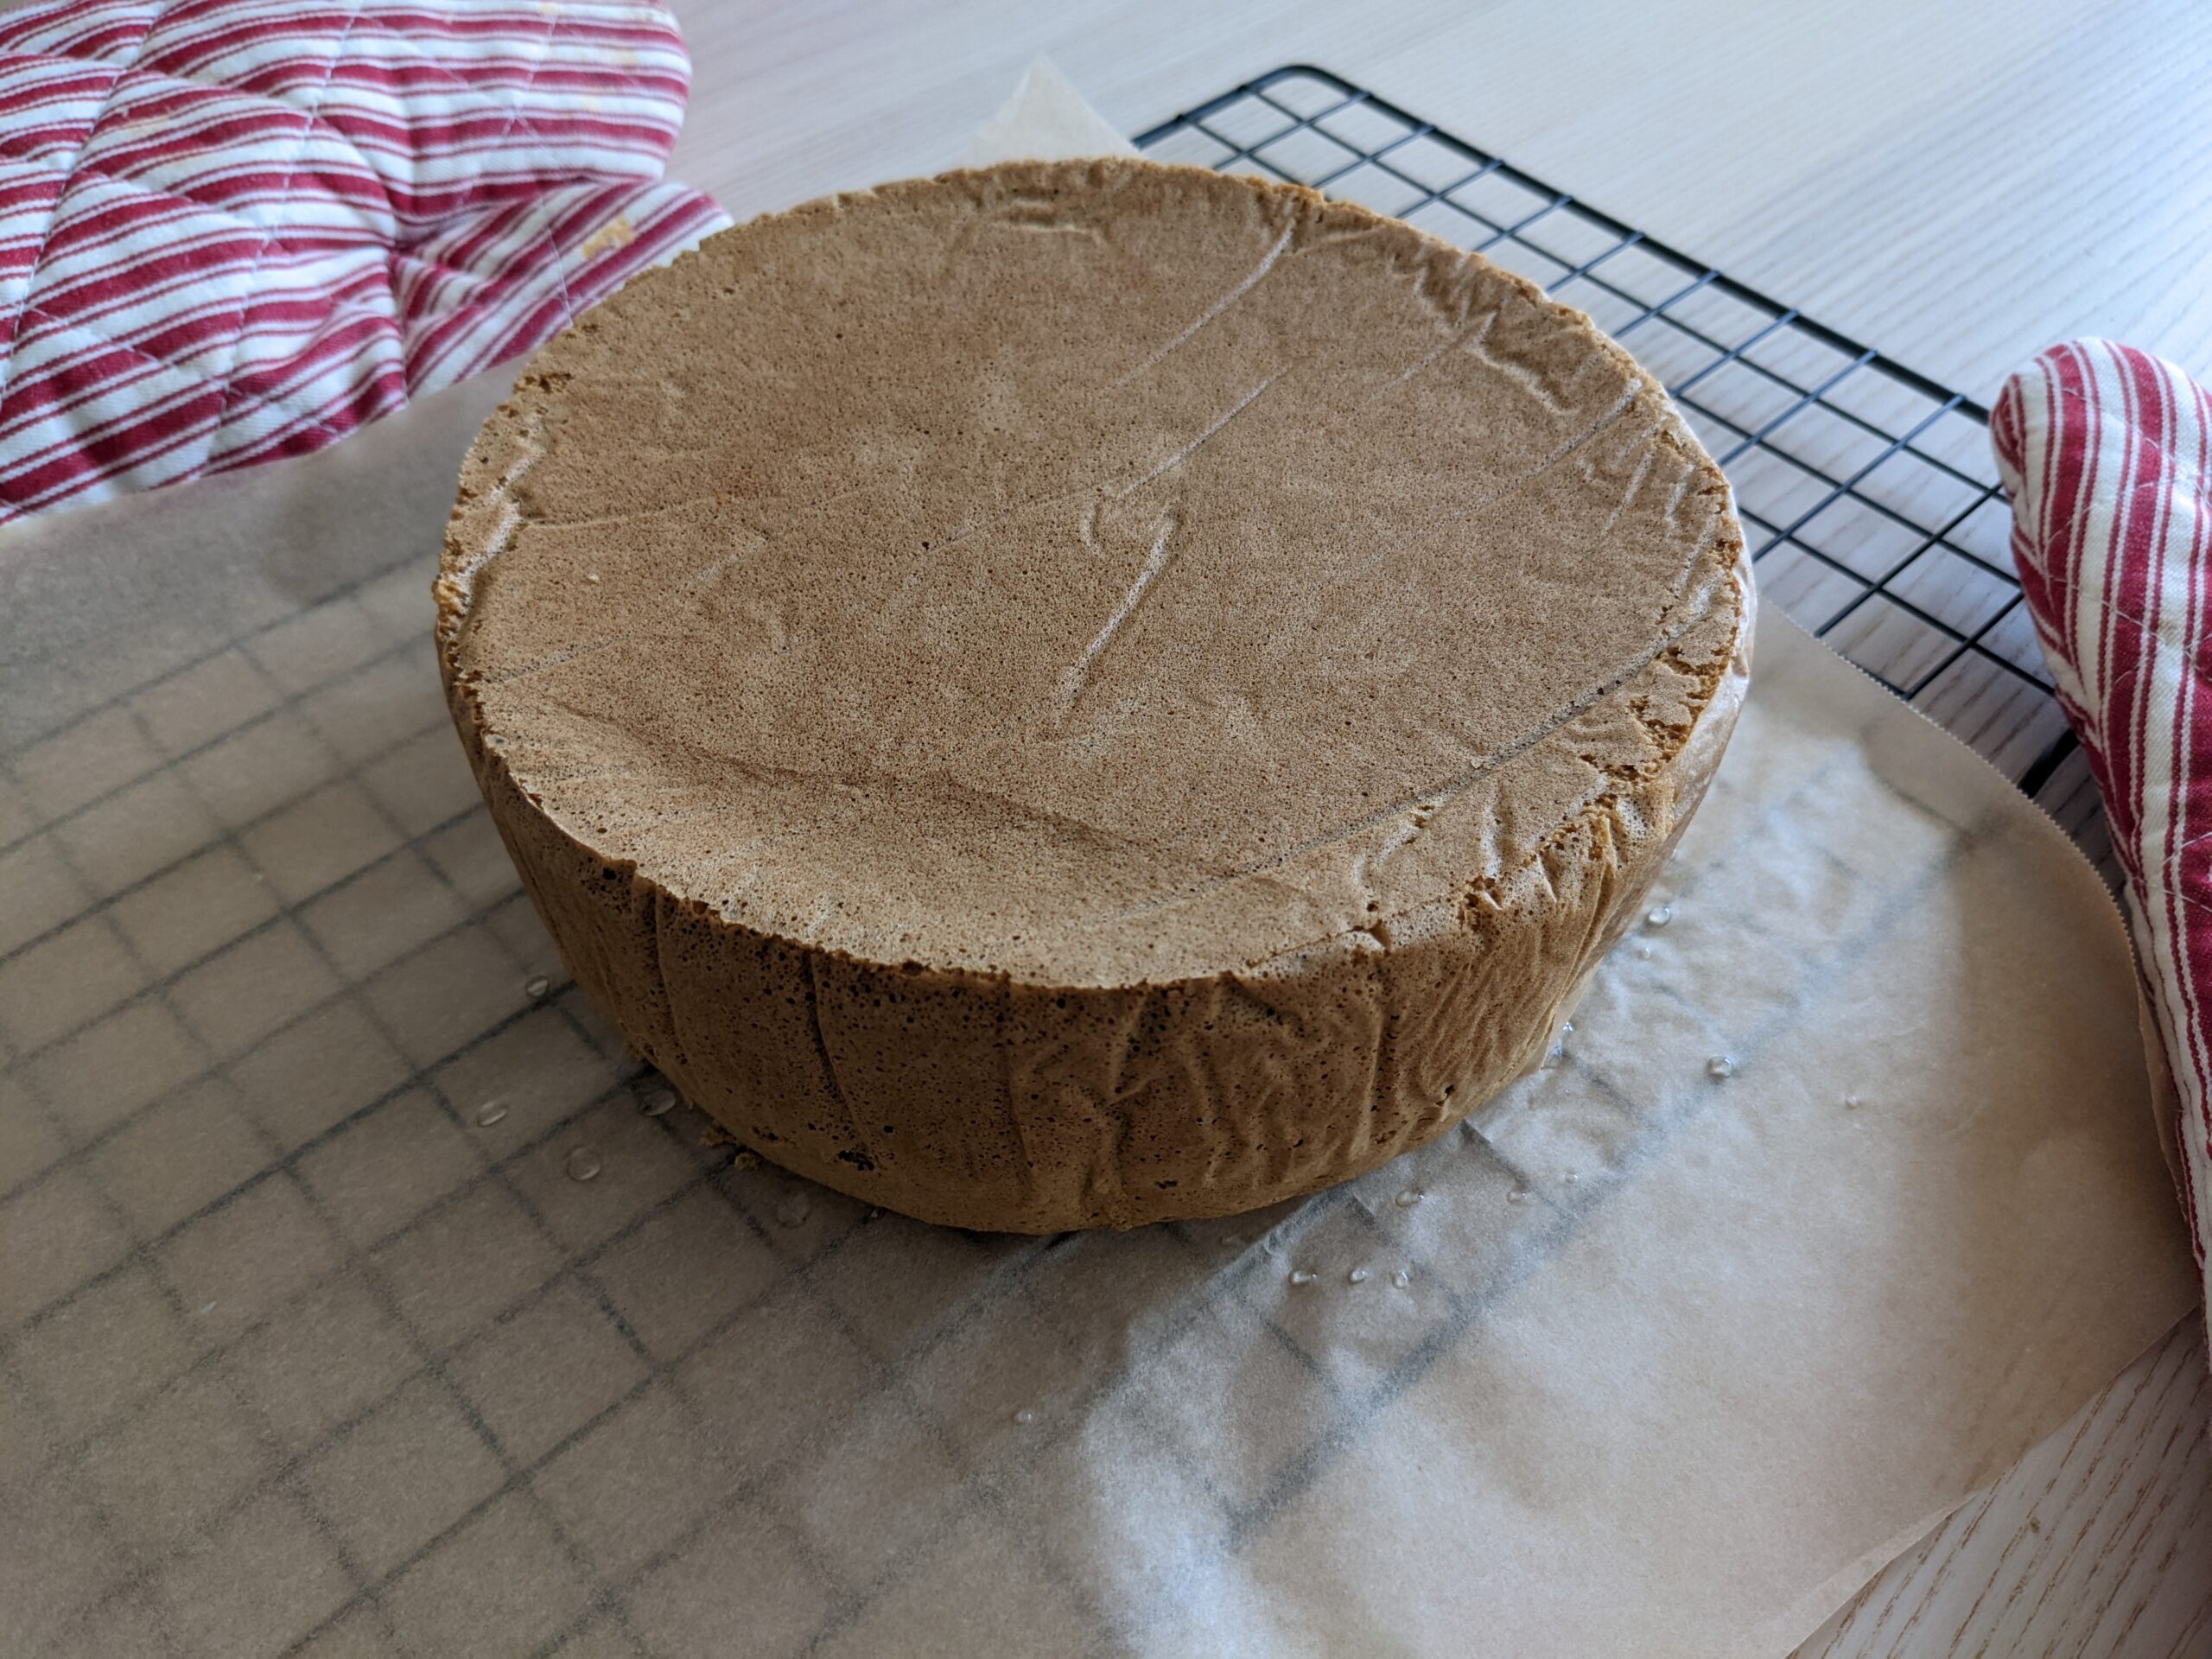
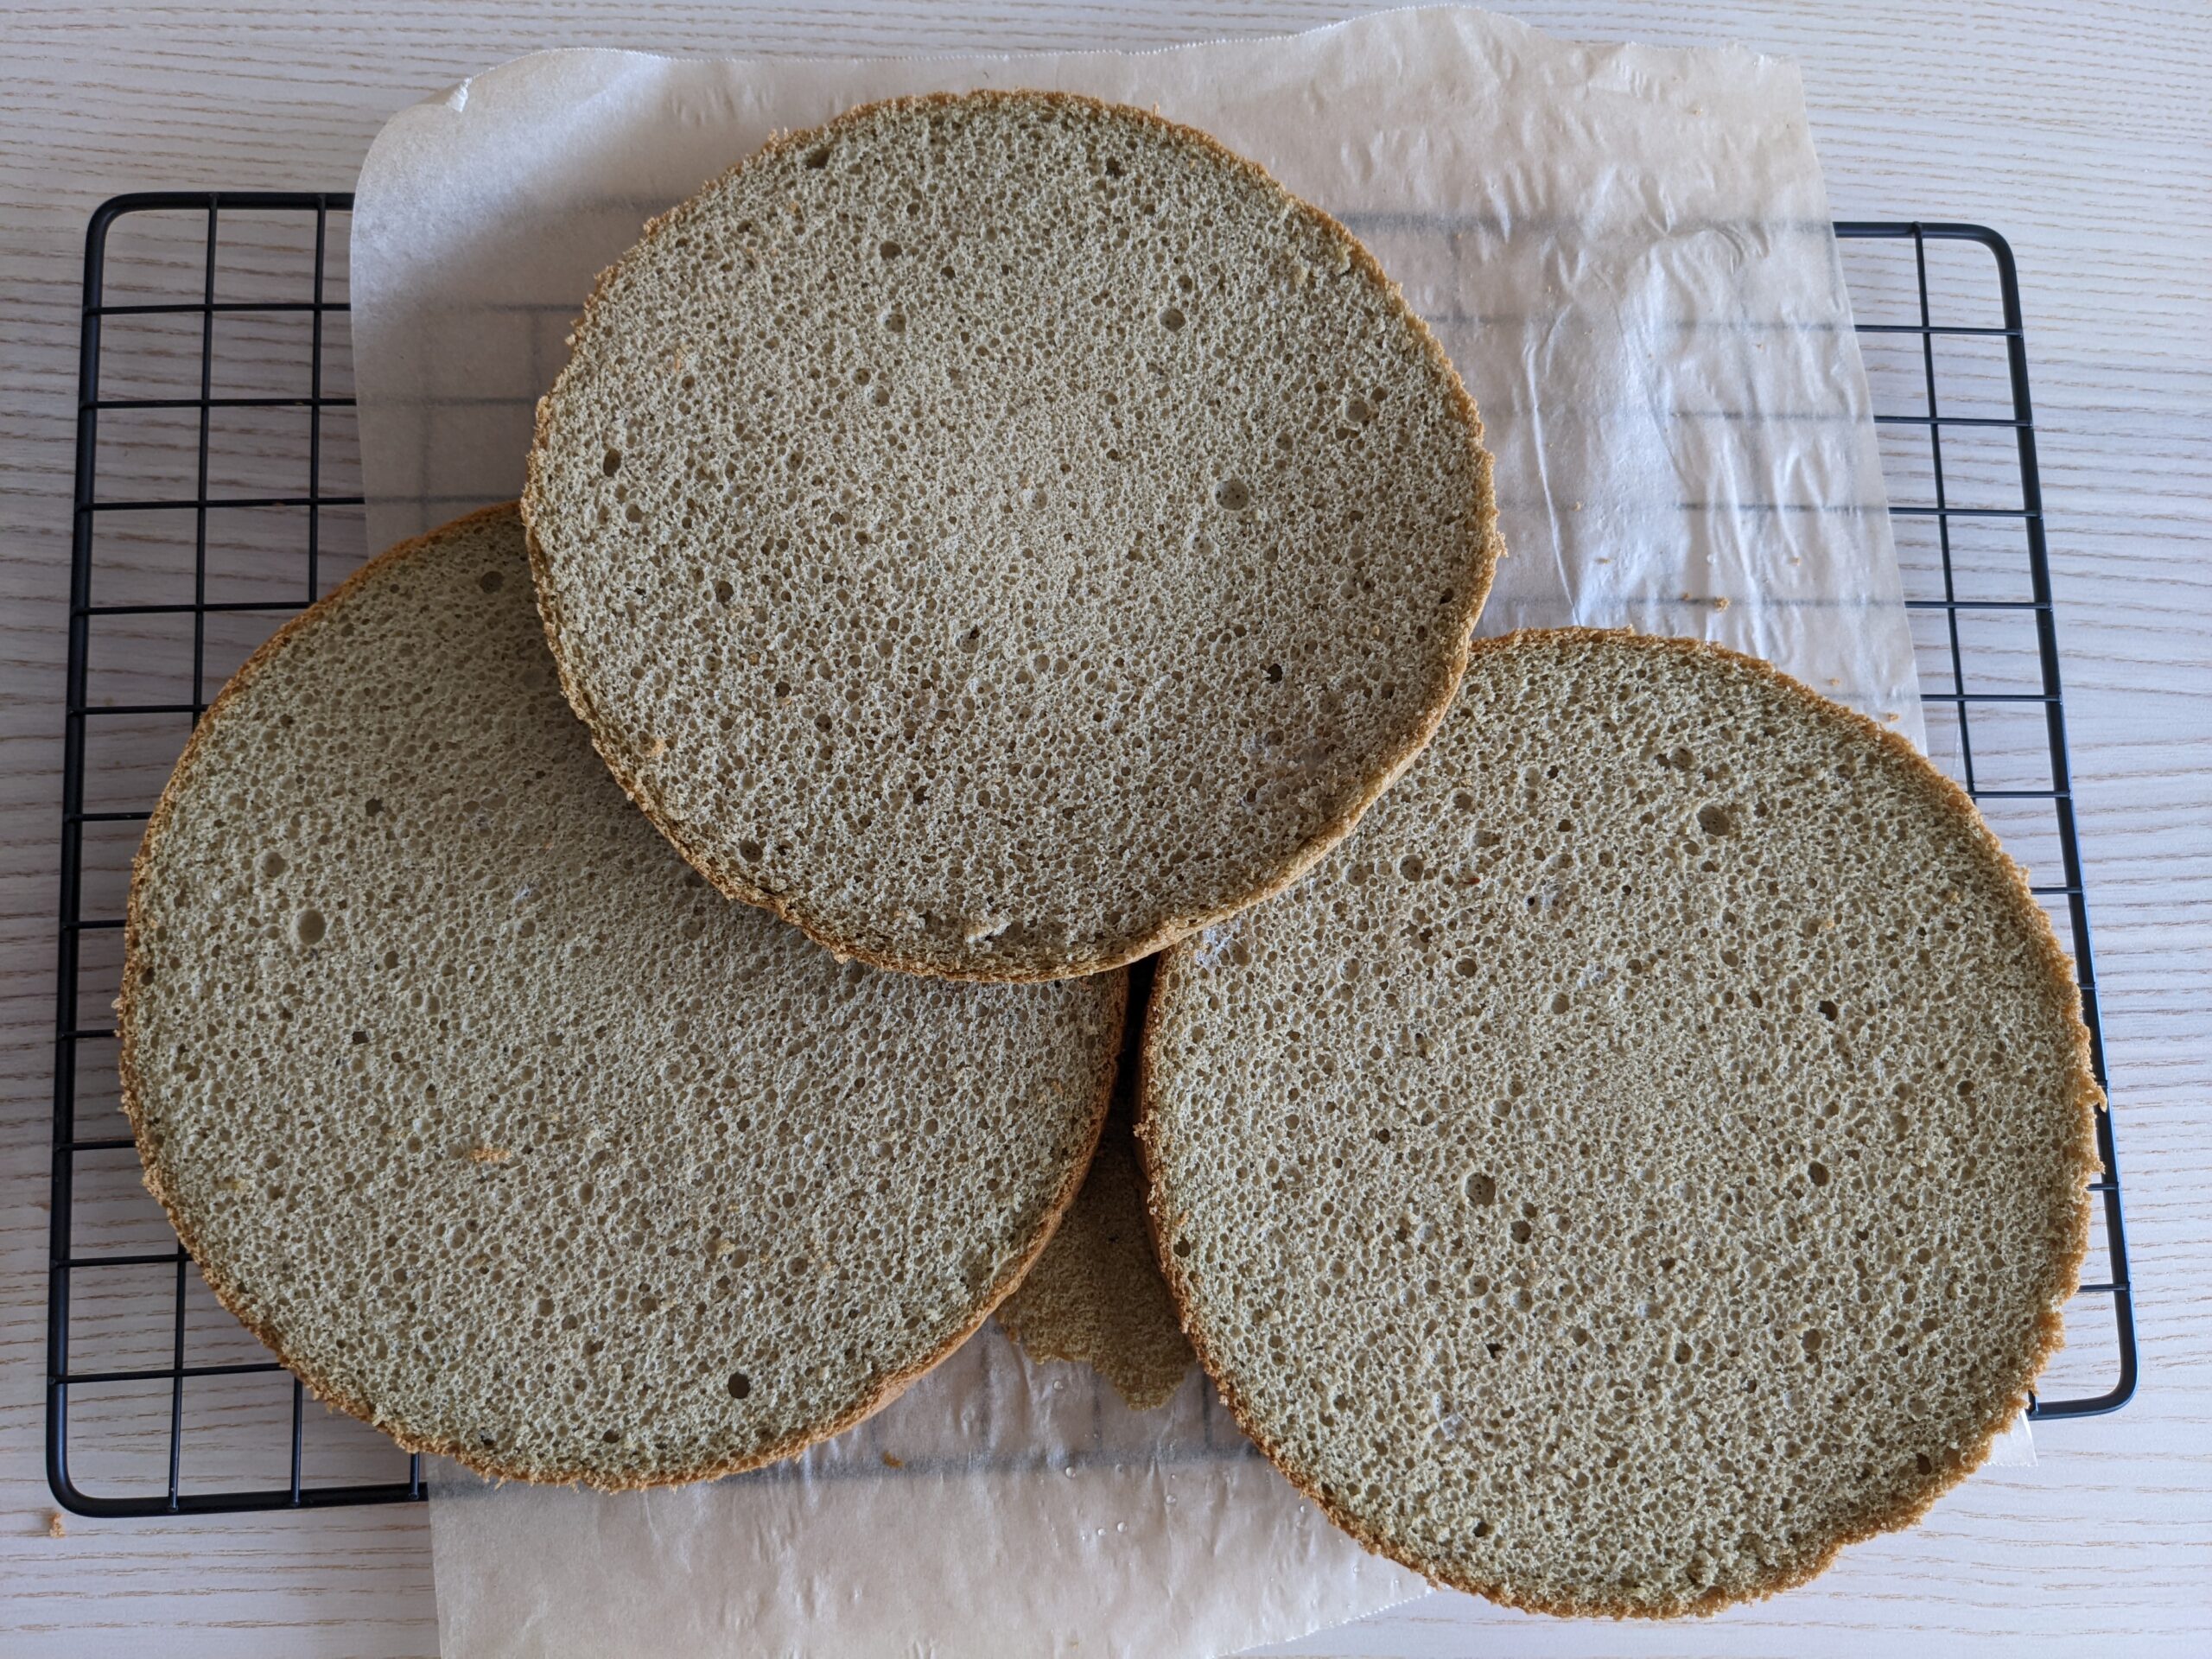
do not rush to slice cake till it cools down
STEP 12: when ready to decorate, transfer heavy whipping cream, whisking bowl, other utensil used for decorating into freezer so they are cold and help stabilize the whipping cream for at least 10mins
STEP 13: whenever needs to whisk cream, add cream, 10% sugar, food color, use spatula to mix them well first, so the sugar is not sunk at the bottom instead of blending into the cream
STEP 14: start whisking with mid speed, to bring in air. As large bubble forms, start whisking at mid-high speed till softer hook forms for layering cream in between cakes and for cake surface, whisk till firm hook forms when lifting whisk up (for piping flowers)
STEP 15: decorate! don’t be afraid / hesitant to pour back the cream for more whisking if they get soft. As I said, piping the rose with gradual color change is A LOT OF WORK. But it will worth the time and effort when it’s all done!
STEP 6: chill cake when done decorating

READY TO SERVE!