
Walk into almost any Asian bakery and you never fail to find milk bread lined up next to its siblings: milk bread with raisin, taro, red bean, matcha, and so many more. But the OG plain milk bread is always the most versatile.
Growing up, grandpa always kept a loaf at home. In the mornings, he’d spread a thick layer of margarine on salted milk bread, or peanut butter on the sweet kind. Looking back, I think he already knew the secret sauce to delicacy – the magic of sweet & savory combinations, LOOOOONNNGG before it became trendy. At the time, I didn’t realize how much of a luxury it was to always have a loaf of soft, fluffy milk bread, margarine, jars of peanut butter, even Nutella, especially in Guangzhou 30 years ago. I simply took for granted all the gifts grandpa and his friends brought back from their travels around the world.
What I did know, even as a kid, was that milk bread, sweet or savory, was always softer and milkier than other breads.
After the pandemic, I finally got a stand mixer. Yet for years, I didn’t dare attempt milk bread. Every recipe and video made it look intimidating: kneading until the dough stretches like a glove with thin membrane, precise liquid-to-flour ratios, dough temperature, proofing temperature and timing, even the loaf tin type, all of it matters.
But at the end of 2025, I decided it was finally time. It was the first holiday I spent at the Bay without travelling, and it was perfect to bake all day, cozy up in the well-lit apartment while it was rainy, cold, and windy outside. I’m still far from mastering the OG milk bread (not to mention the flavored or filled versions), but I want to share this recipe anyway, to encourage friends to try it, or at least be my very willing guinea pigs 🙂
Ingredients
- 250g bread flour
- 10g milk powder (or substitute with 10g more bread flour)
- 30g sugar
- 3g dry yeast
- 1 egg (~50 g)
- ~130g milk (total liquid = egg + milk ≈ 180 g)
- 2g salt
- 25g butter, softened
Instructions
(Speed references are for a KitchenAid stand mixer)
Prepare & Knead the Dough
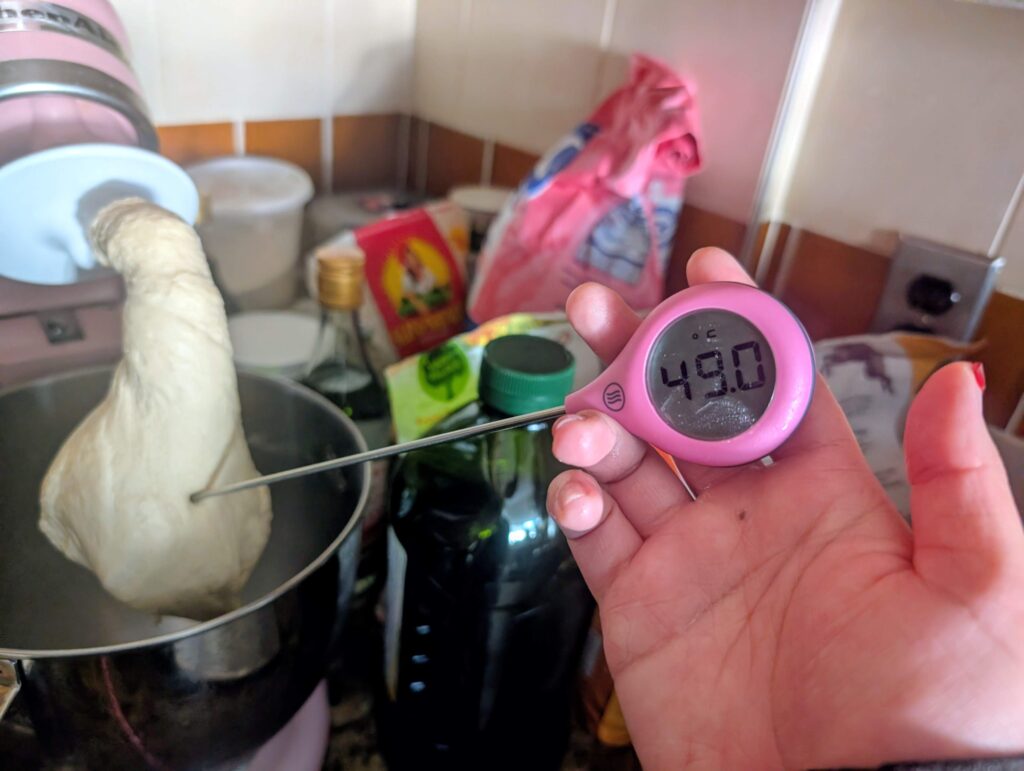
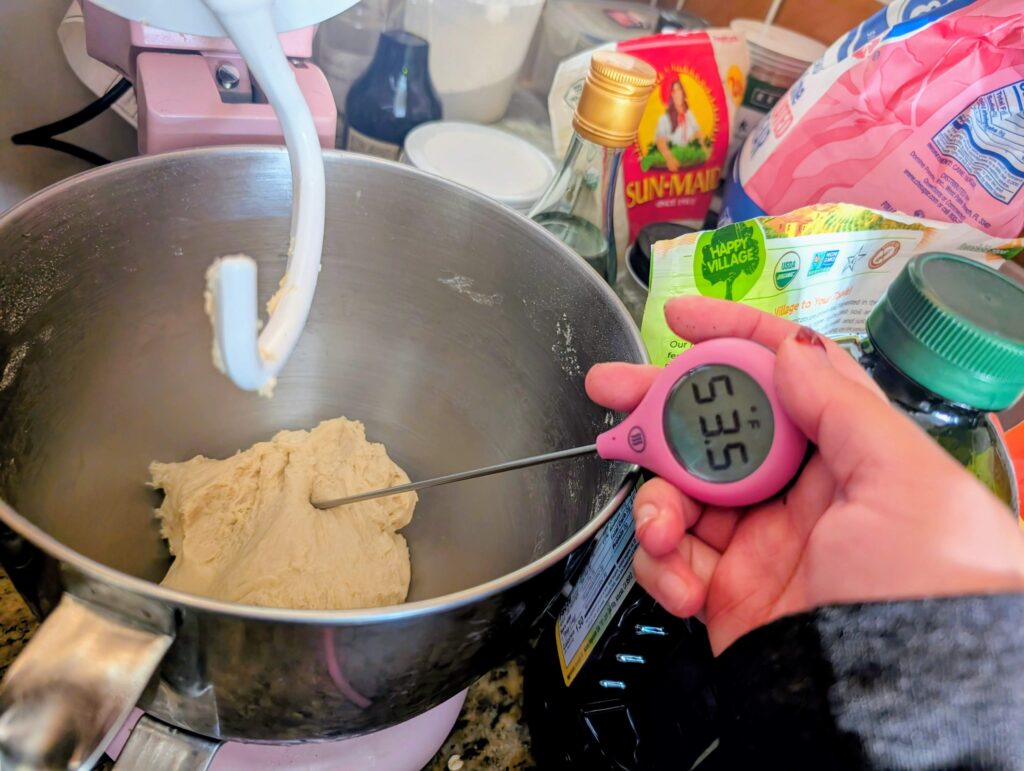
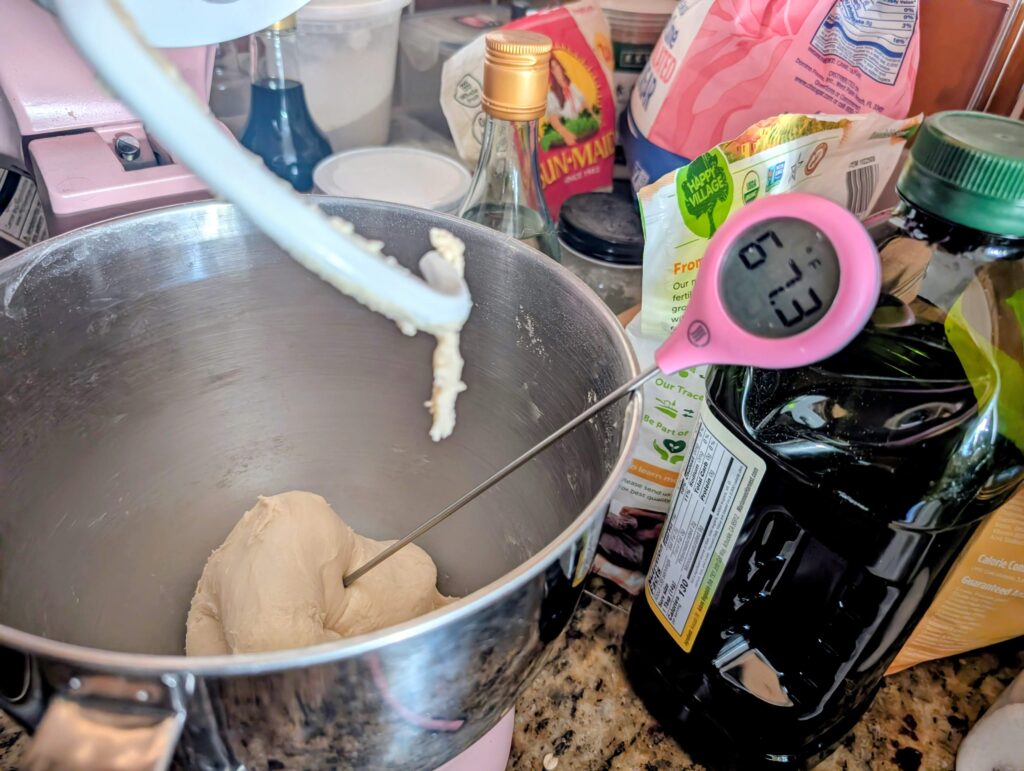
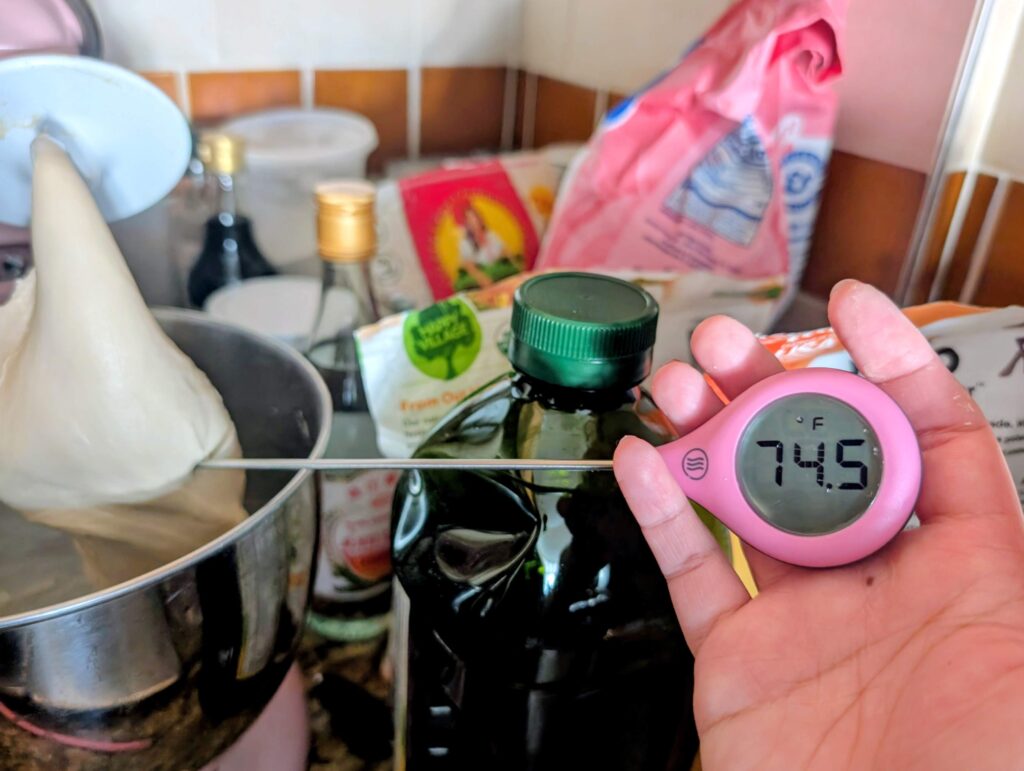
Step 1: The night before baking, place the bread flour, milk powder, sugar, whisk, and mixing bowl in the freezer. Cold ingredients slow down dough warming and allow longer kneading before the dough reaches its ideal temperature (24–26°C / 75–79°F).
Step 2: Freeze about 150g milk for 1–2 hours. Since one egg weighs ~50g, we’ll need about 130g milk.
Step 3: Remove the bowl, whisk, and milk from the freezer. Add milk, egg, and dry yeast to the bowl.
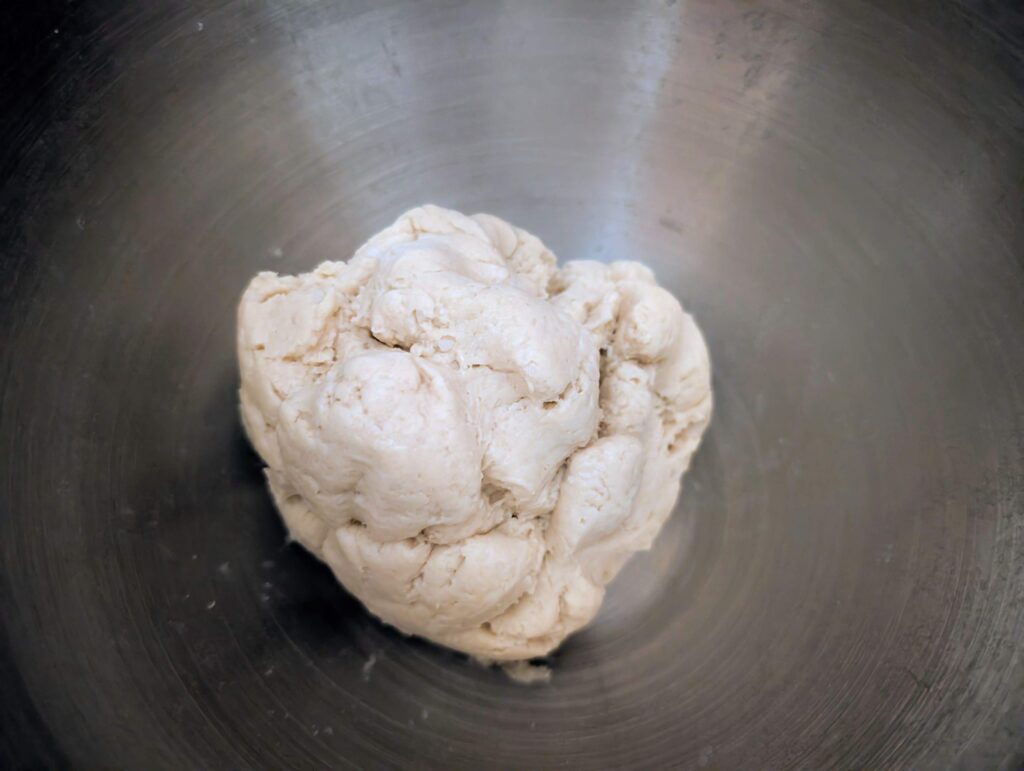
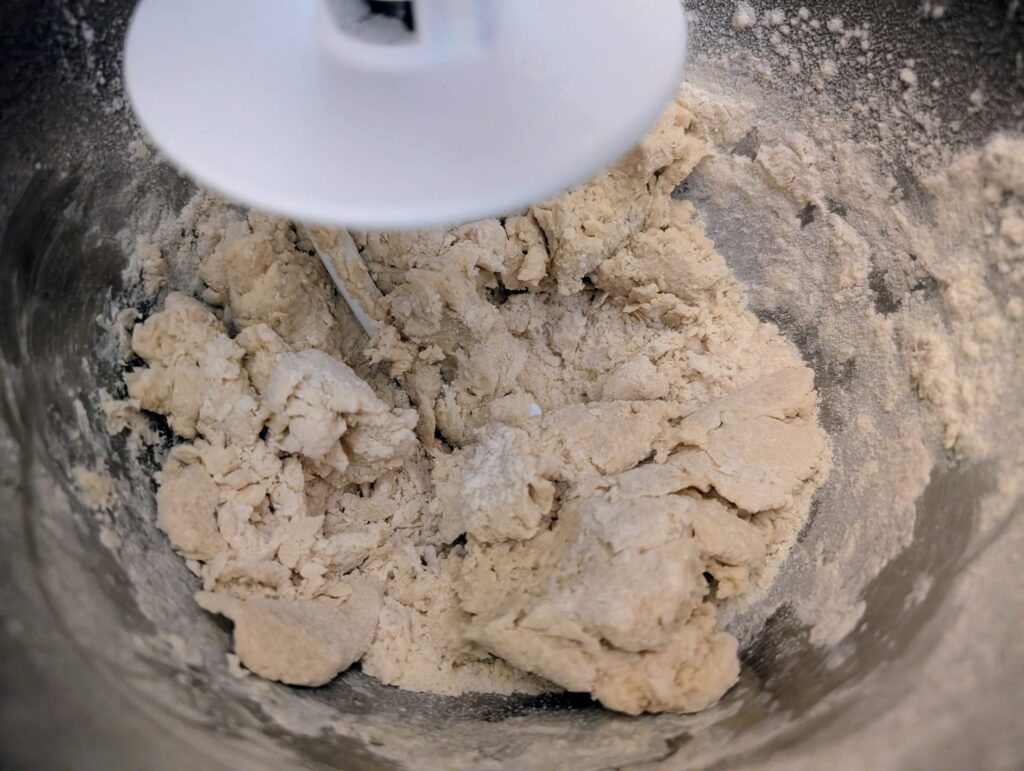
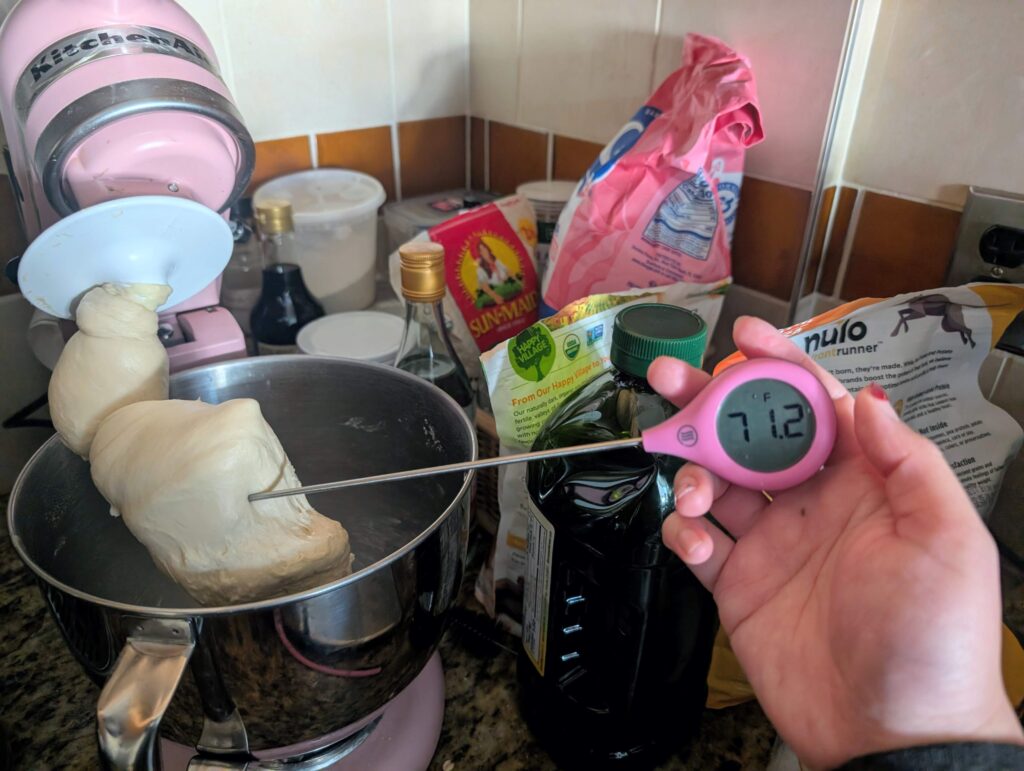
Step 4: Knead at speed 2 for 2–4 minutes until a dough forms and no dry flour remains. Increase to speed 4 and knead for about 10 minutes. Check dough temperature.
Step 5: Transfer the bowl, whisk, and dough to the freezer and rest for 10 minutes. This helps gluten develop without overheating.
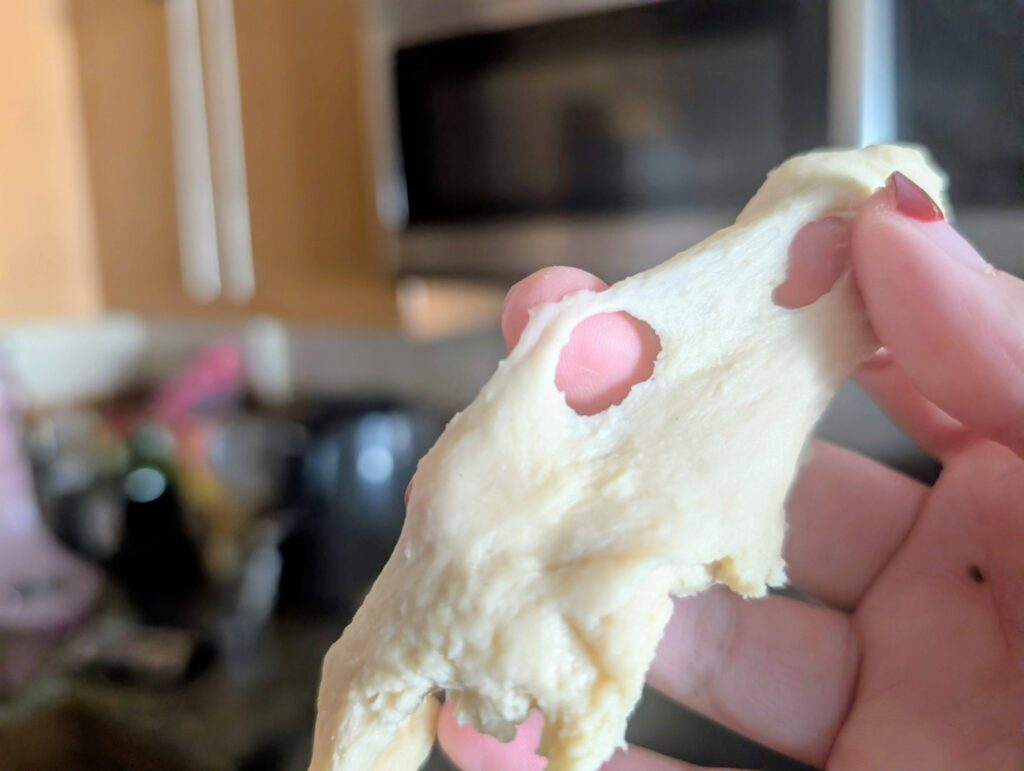
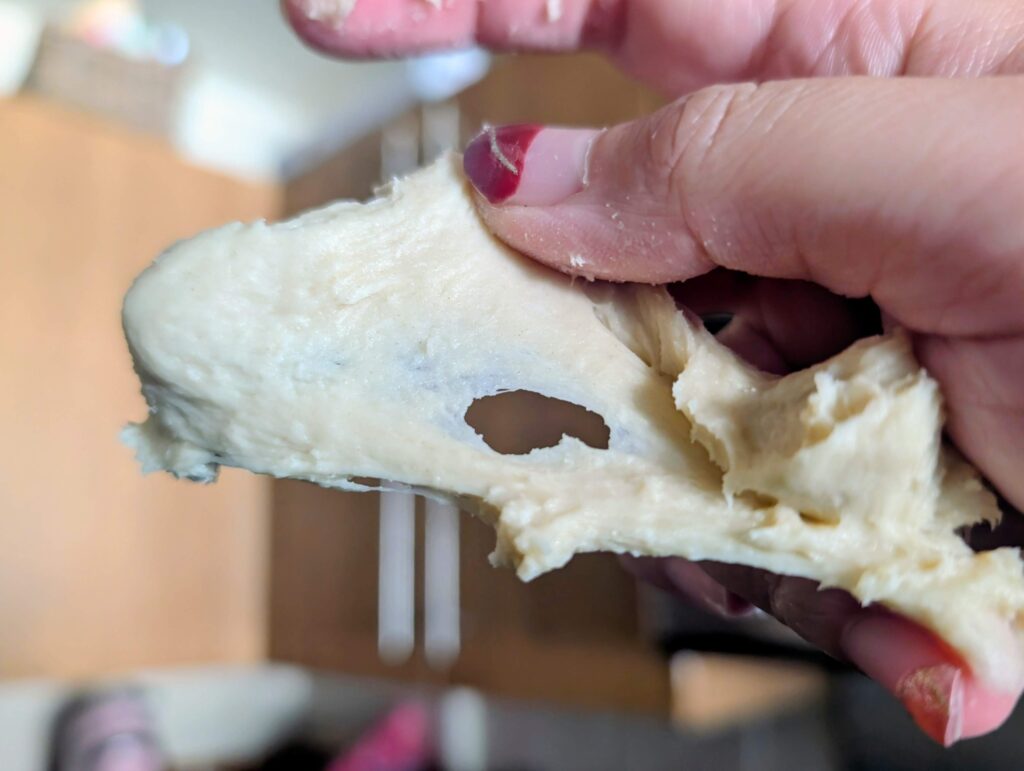
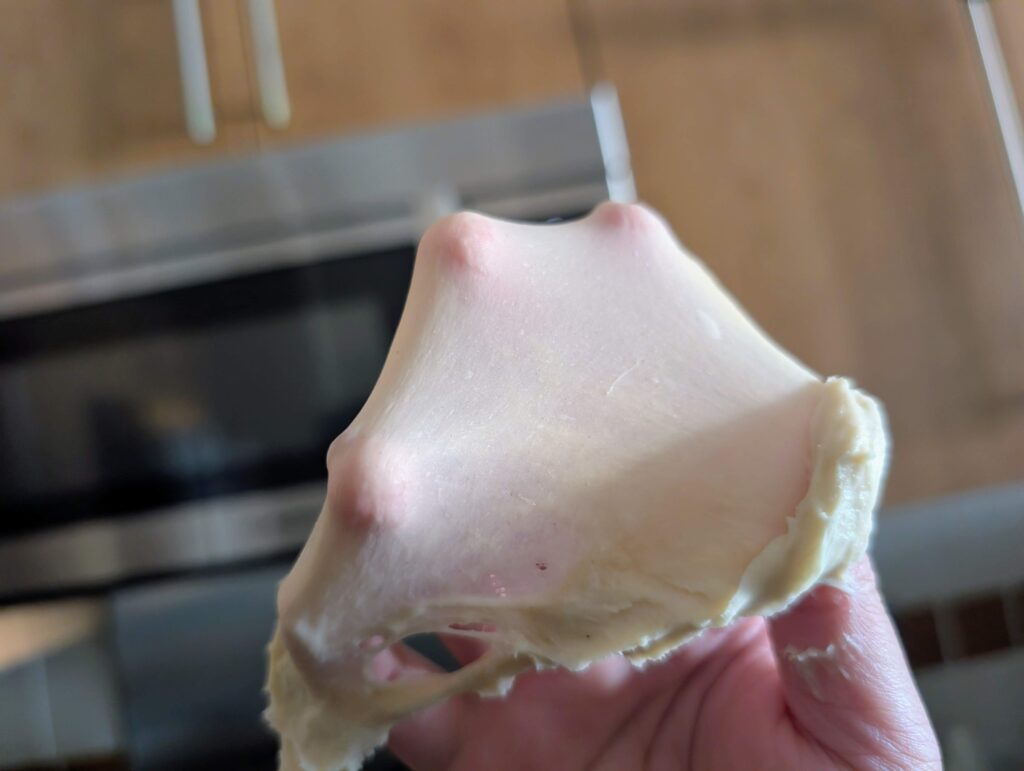
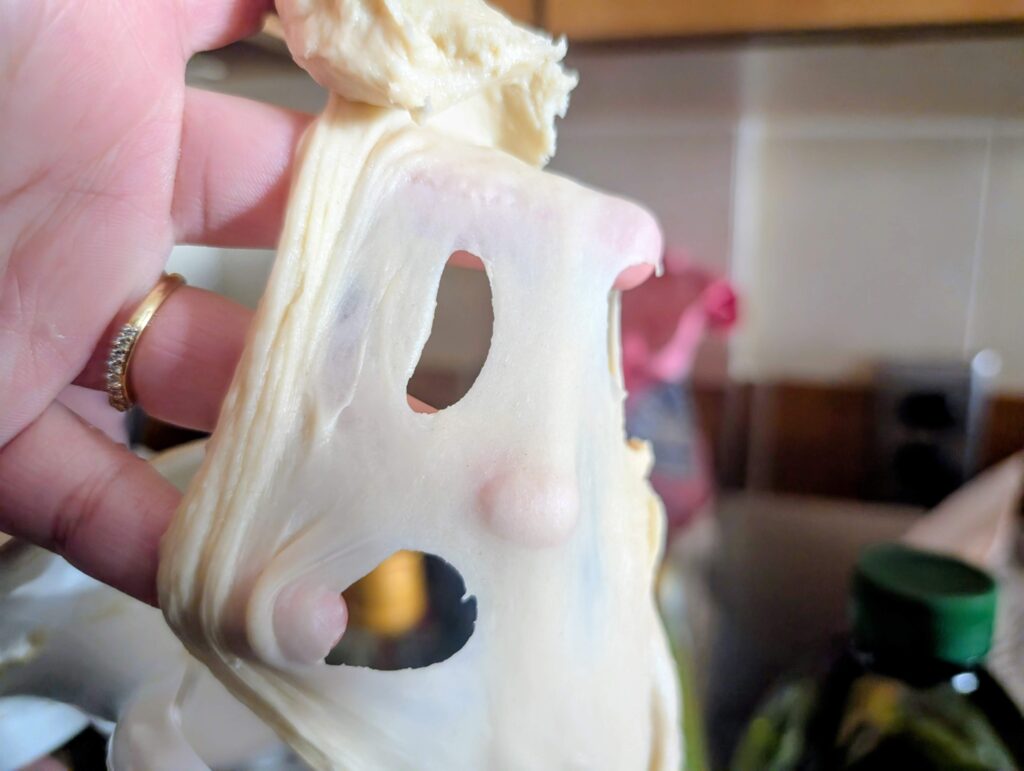
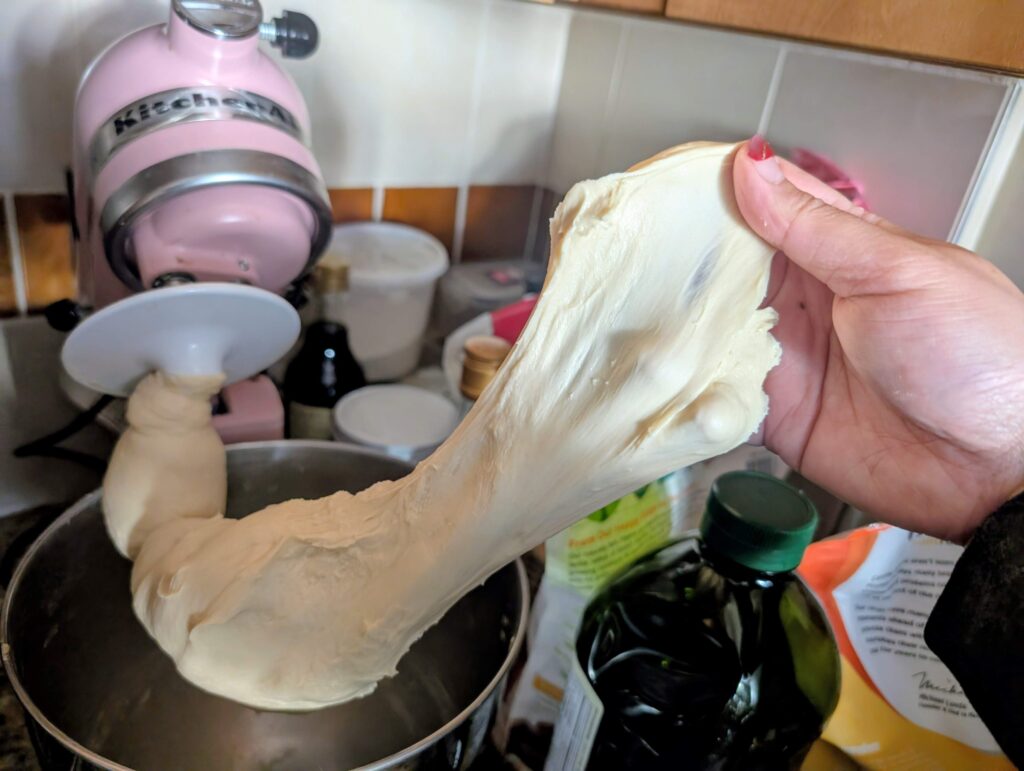
Step 6: Knead again at speed 2 for 1 minute, then speed 4 for 5–10 minutes. Test the dough by stretching a small piece and poking a hole. If it stretches thin enough to see your fingers through and has some mid-size “tears” (saw-like edges), it’s about 70% kneaded. Rest in the freezer for another 10 minutes.

Add Butter & Finish Kneading
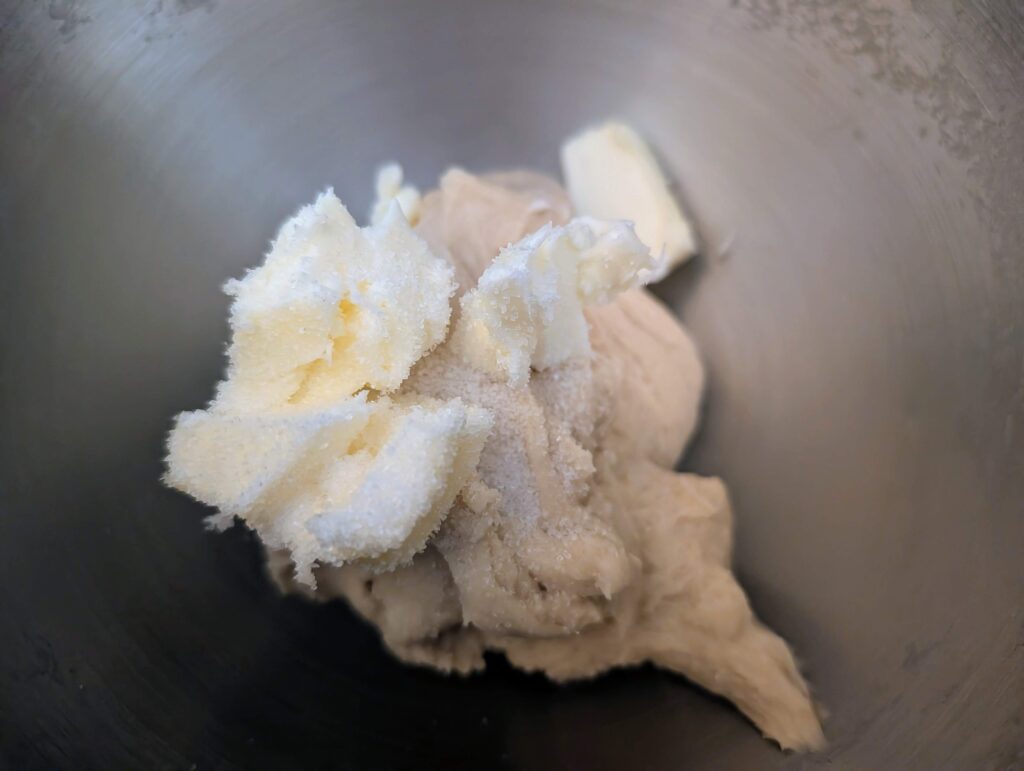
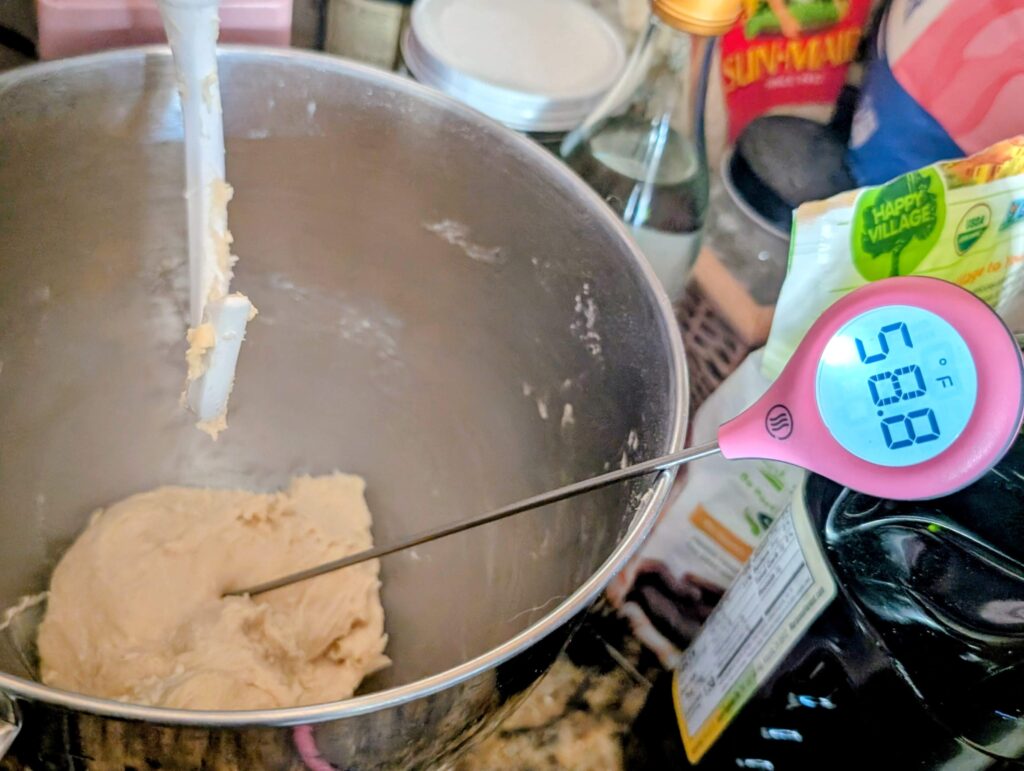
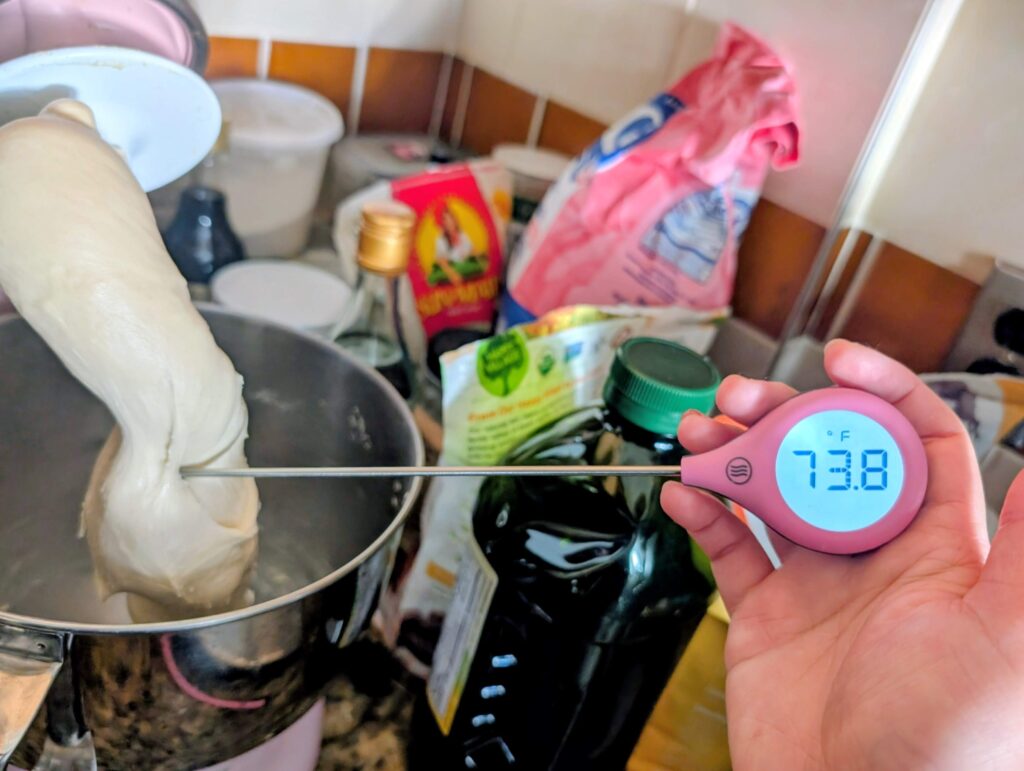
Step 7: Add butter and salt. Knead at speed 2 for 2 minutes until incorporated, then increase to speed 4 and knead for 5–10 minutes. Monitor dough temperature, make sure it’s less than 21°C/70°F, rest in freezer for another 5-10mins if the dough is heating up.
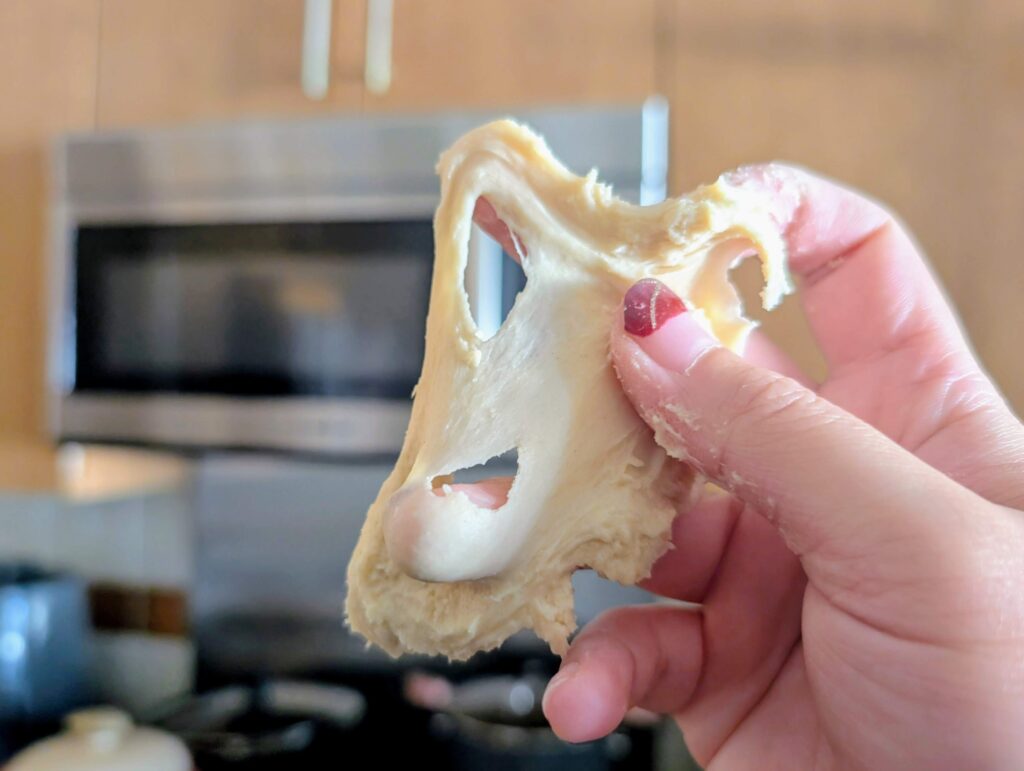
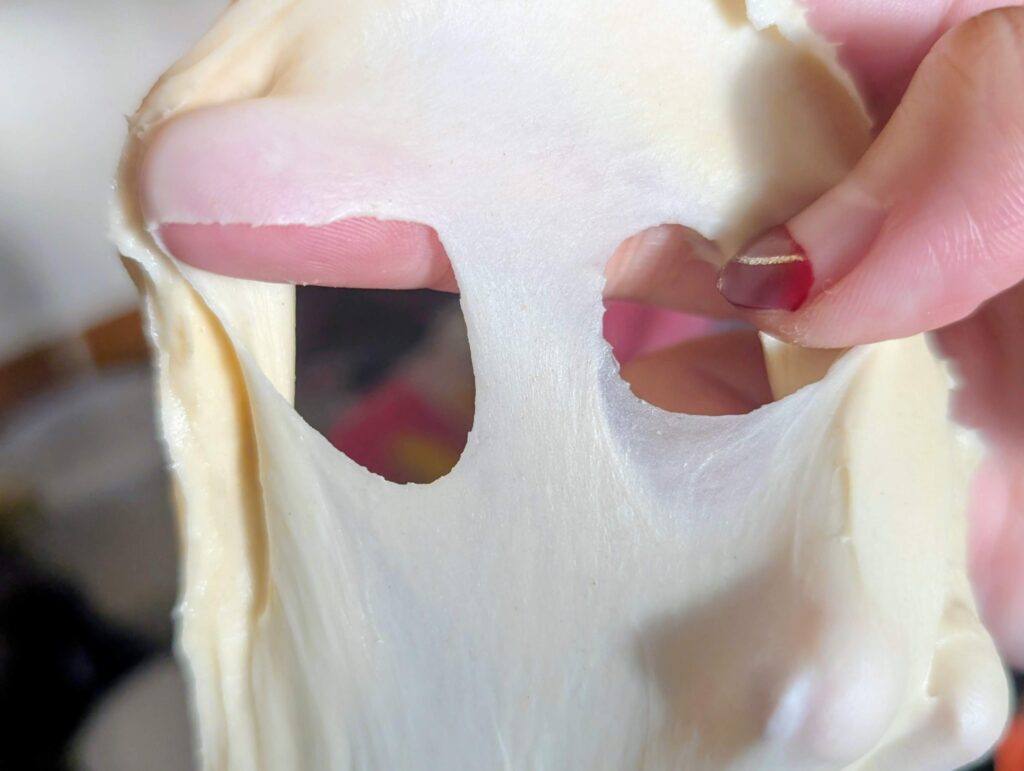
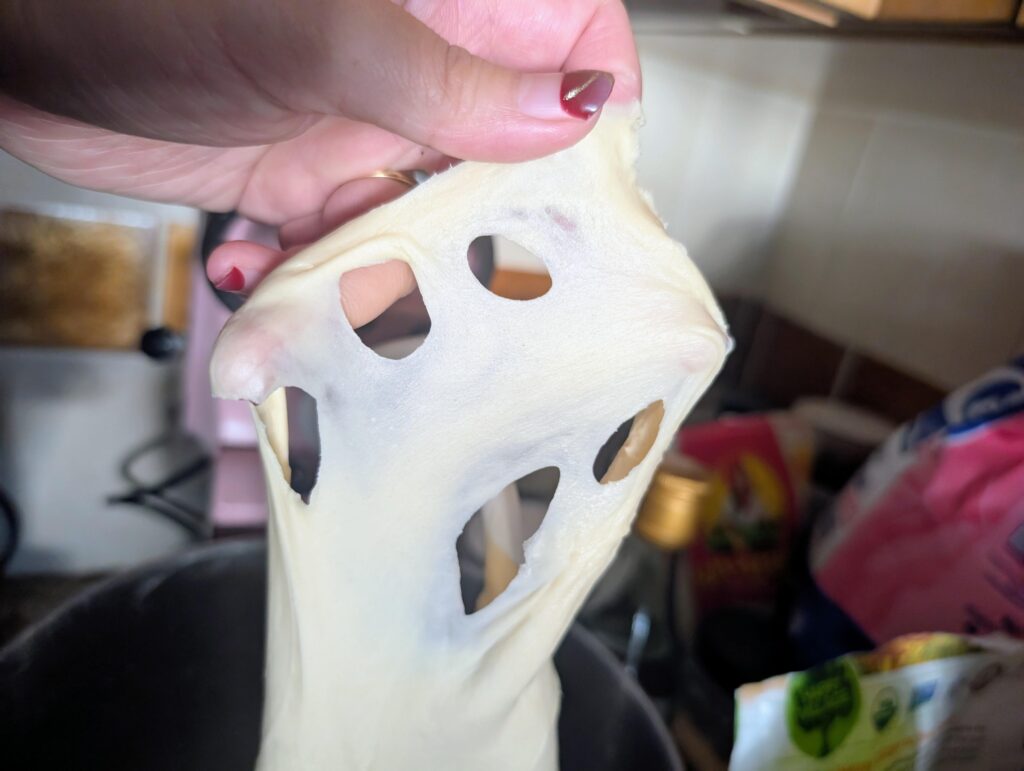
Step 8: The dough is fully kneaded when it stretches into a thin, smooth membrane (like a glove) and forms a clean circle when poked without any jagged edges/saws. If the dough becomes very shiny or looks “liquid,” it may be over-kneaded.


First Proof
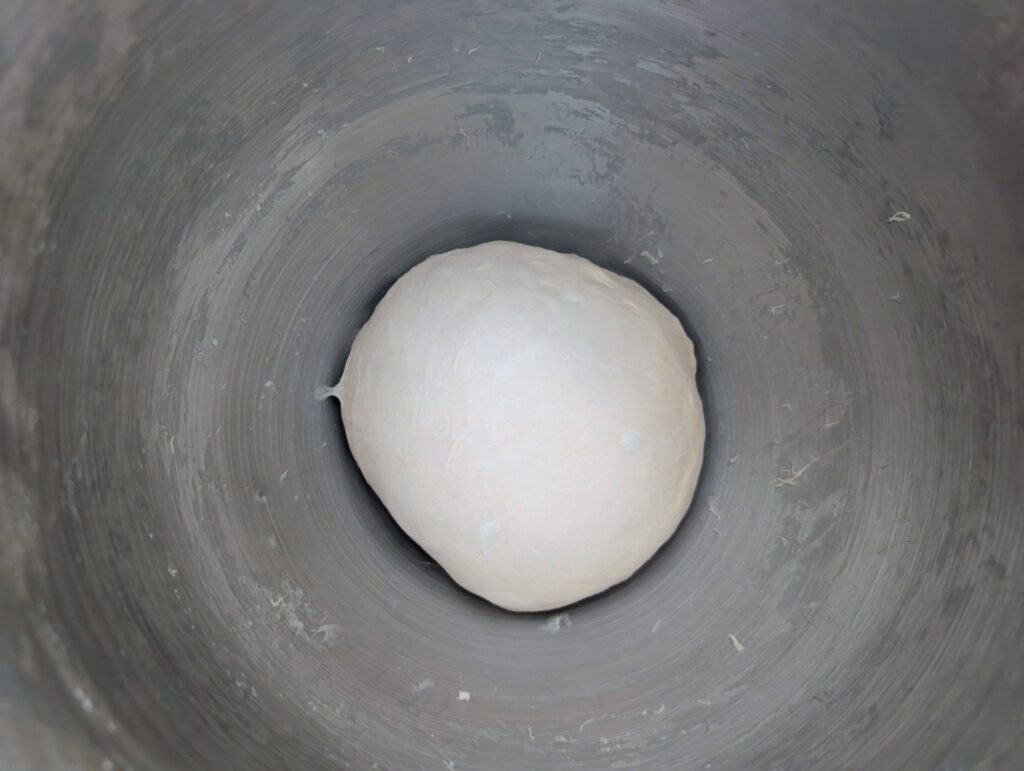
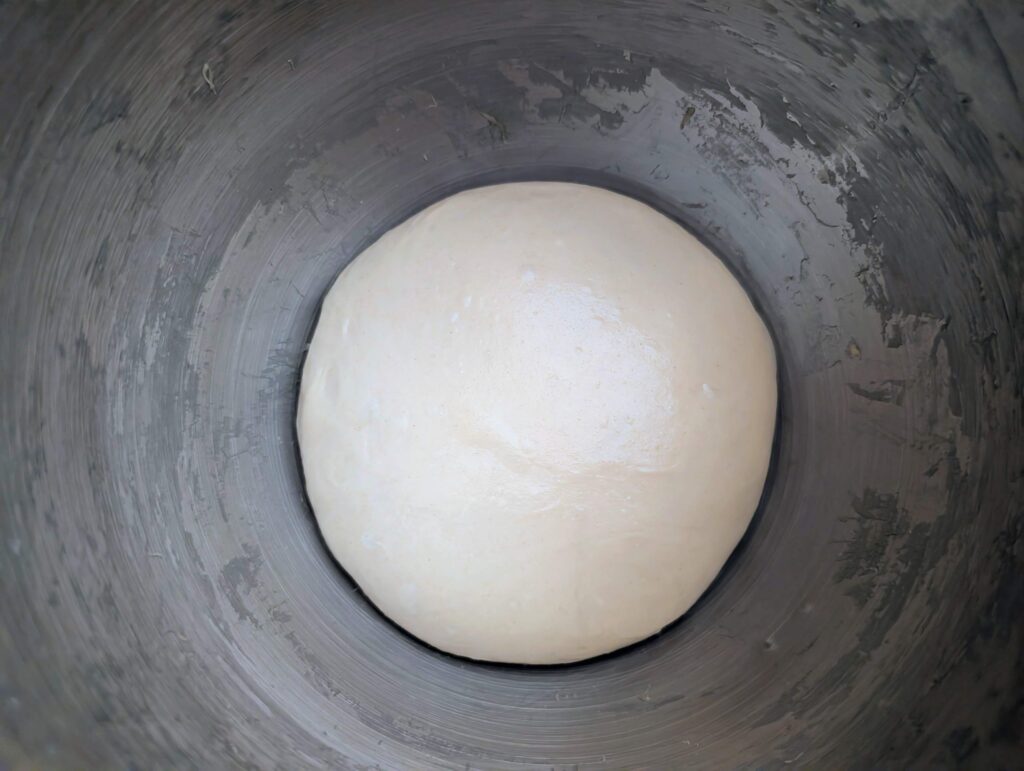
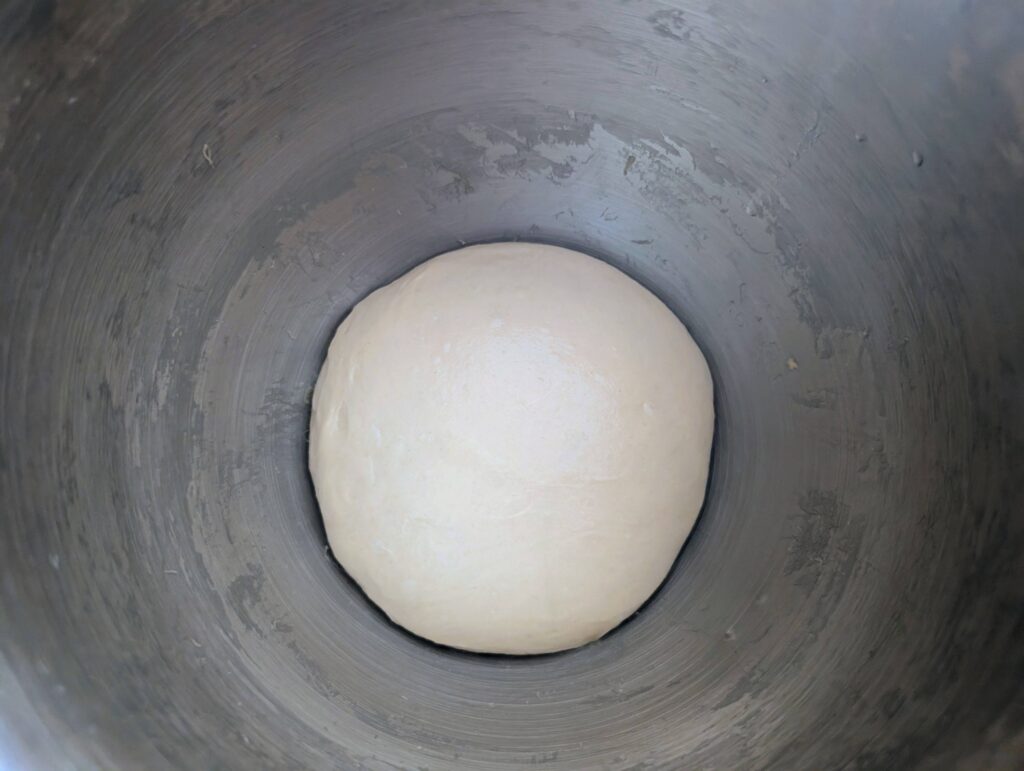
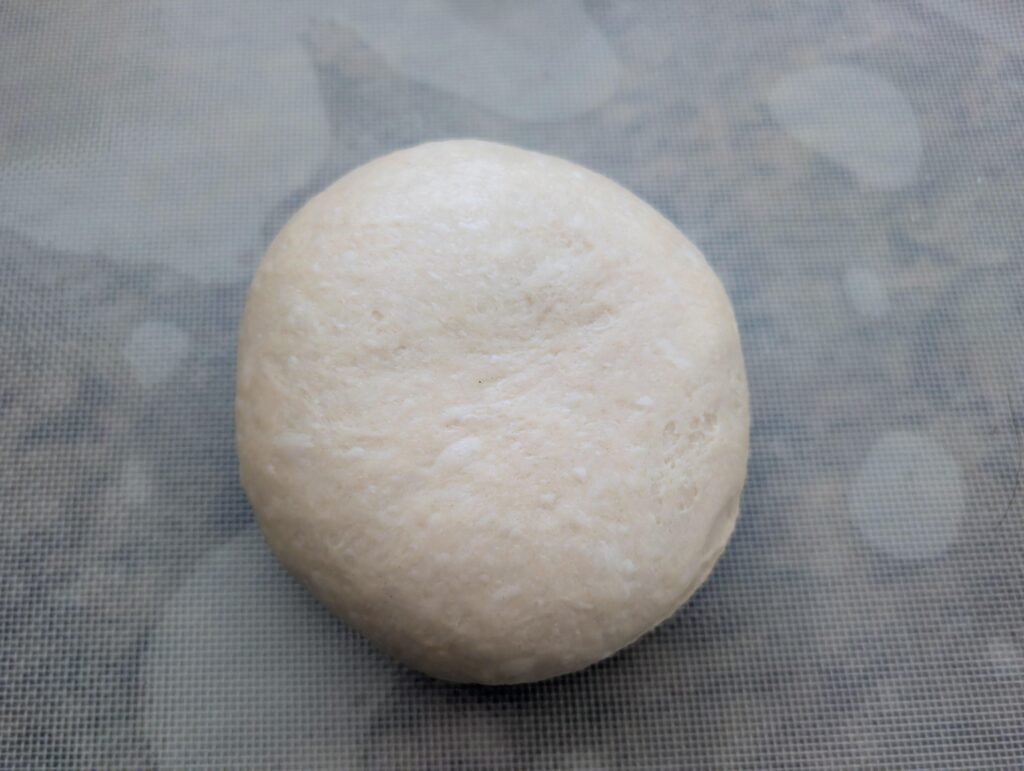
Step 9: Round the dough and leave it in the bowl. Proof in a closed oven with a pot of boiling water to maintain 28°C / 82°F for 60–90 minutes, until doubled. Check proofing is complete by dusting some flour on the proofed dough, stick a finger in and out, and the hole does not shrink much. Avoid over-proofing which can lead to a collapsed milk bread, or one with too little air bubbles.

Shape the Loaf
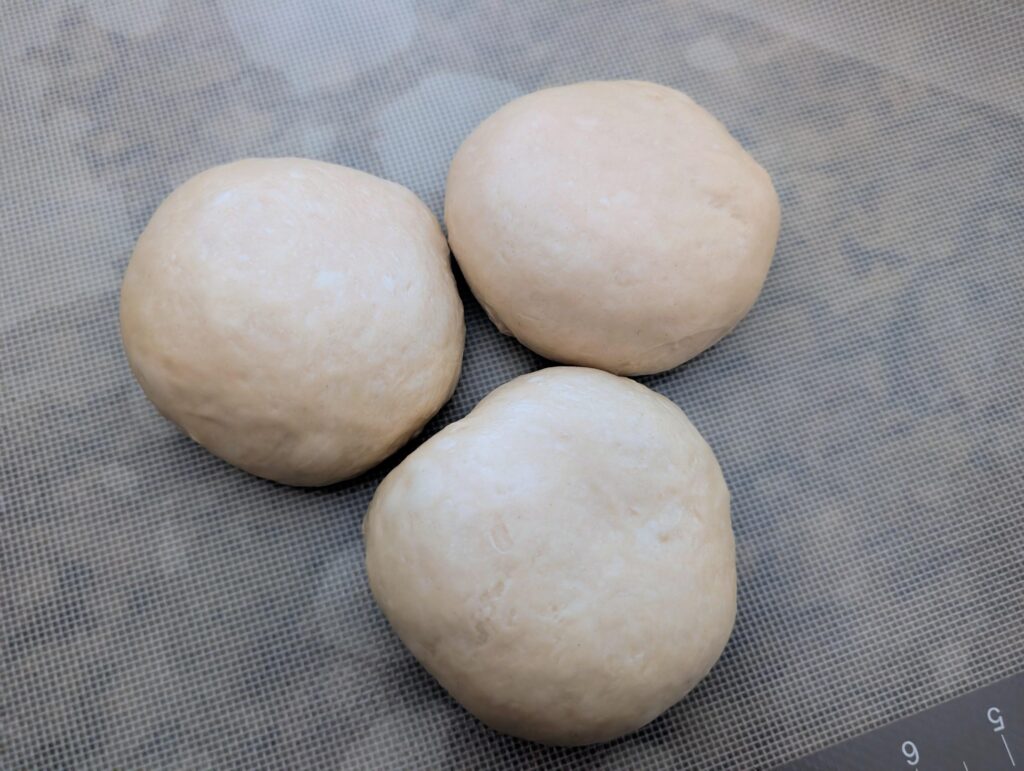
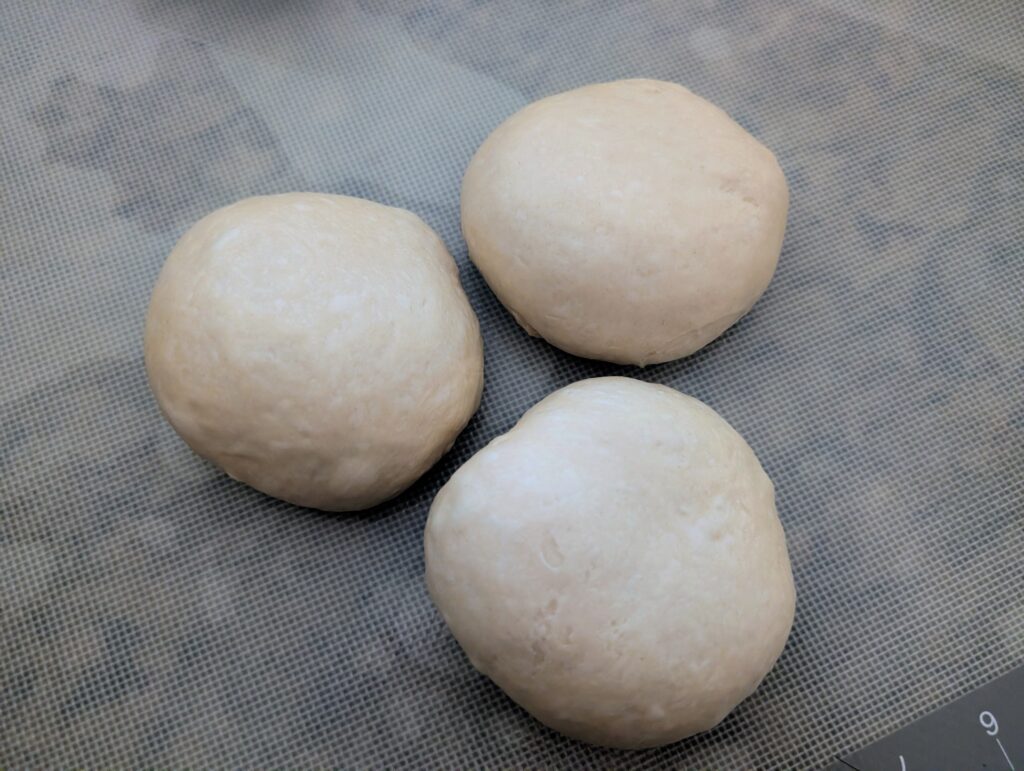
Step 10: Divide dough into 3 equal pieces. With the smooth side down, fold edges inward with the palm, flip smooth side up, shape into balls, cover, and rest for 10 minutes.
Step 11: Gently press each piece to pop the air bubbles, slap the dough and flatten slightly into a rectangle. With the smooth side down, fold left and right sides toward the center like a sandwich, flip smooth side back up, cover, and rest 5 minutes.
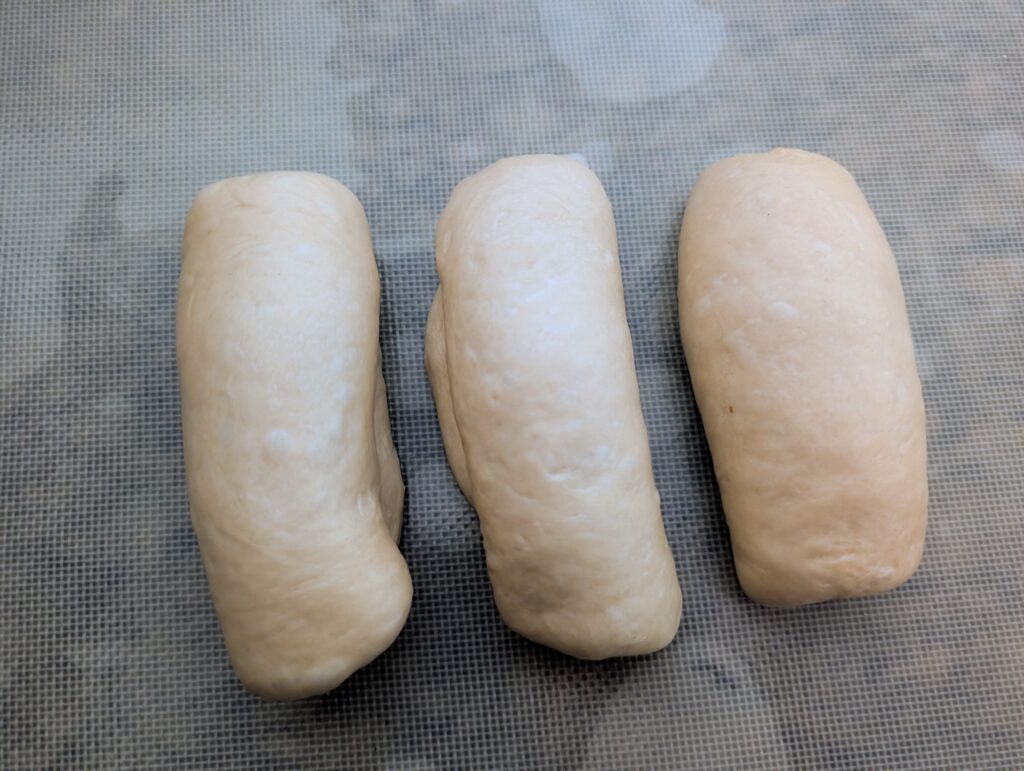
Step 12: Dust a rolling pin with flour to avoid it sticking on the dough, and use it to roll from center upward, then center downward, pushing out air bubbles. Repeat for all pieces, keeping lengths even.
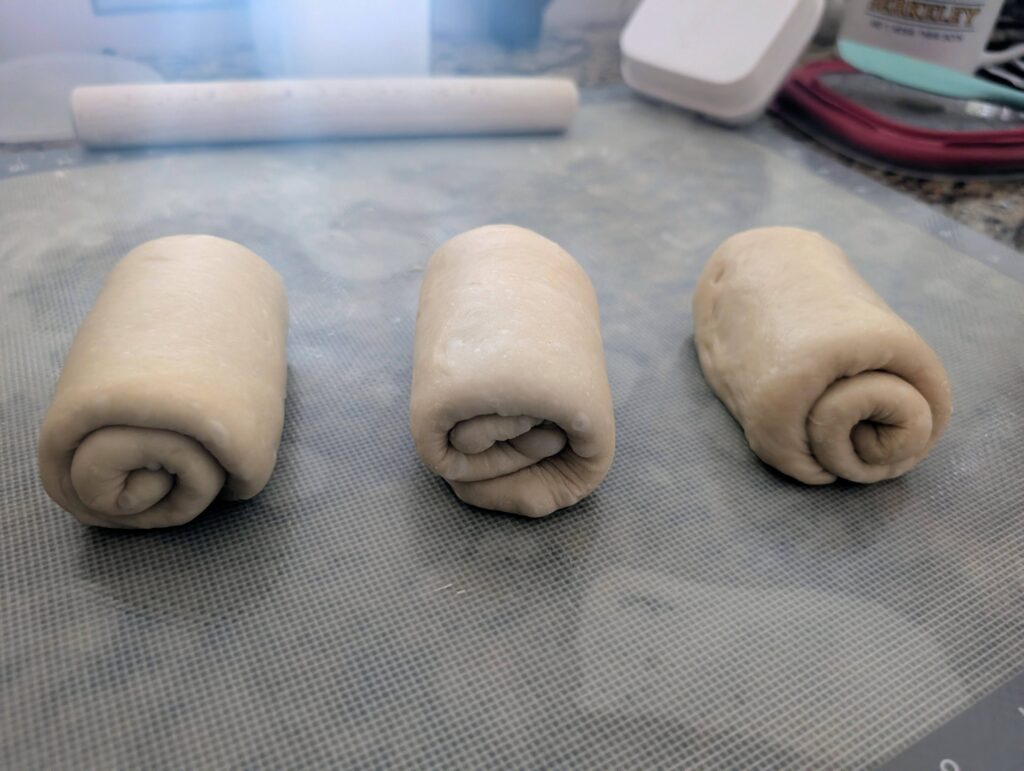
Step 13: Flip smooth side down and gently roll each piece from one short end to the other. Adjust so all rolls are similar in width.
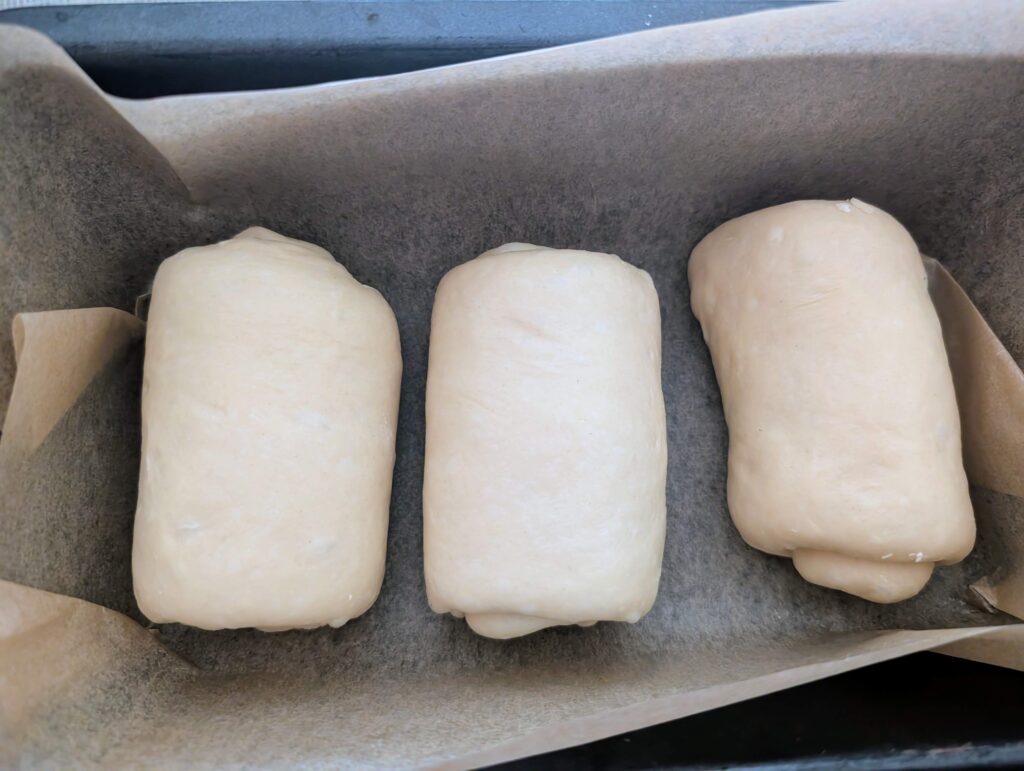
Step 14: Place rolls into a lined or buttered loaf tin, evenly spaced.

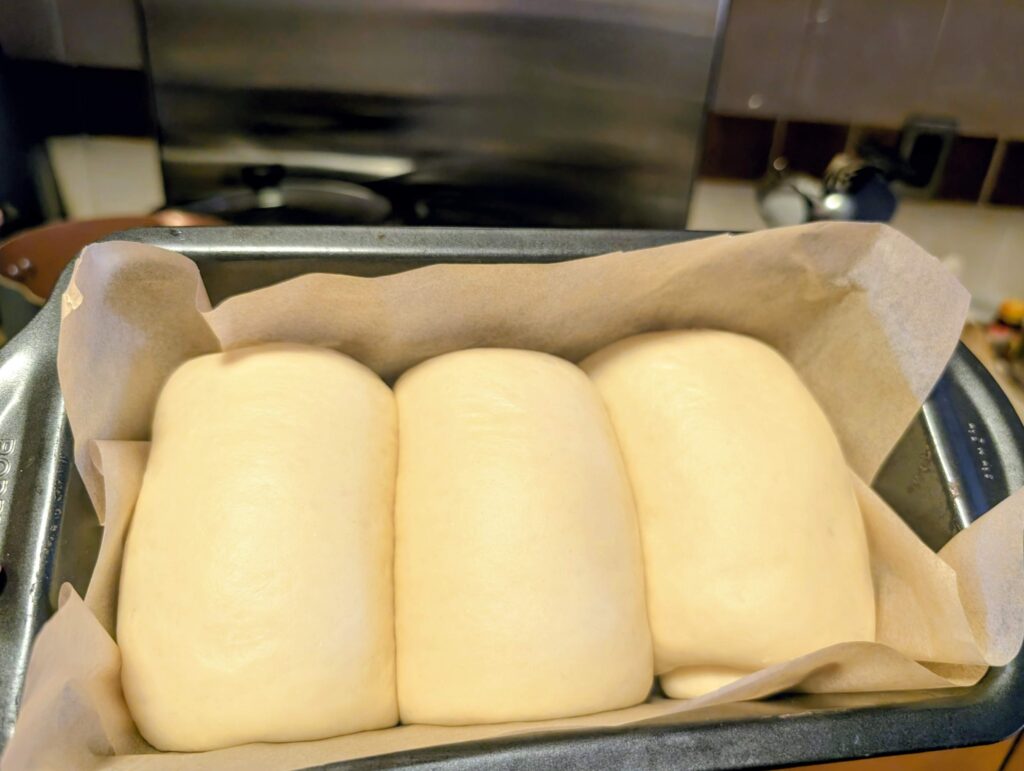
Second Proof & Bake
Step 15: Proof in a closed oven with two pots of hot water at 34°C / 93°F for 60–90 minutes, until the tin is about 80–90% filled.
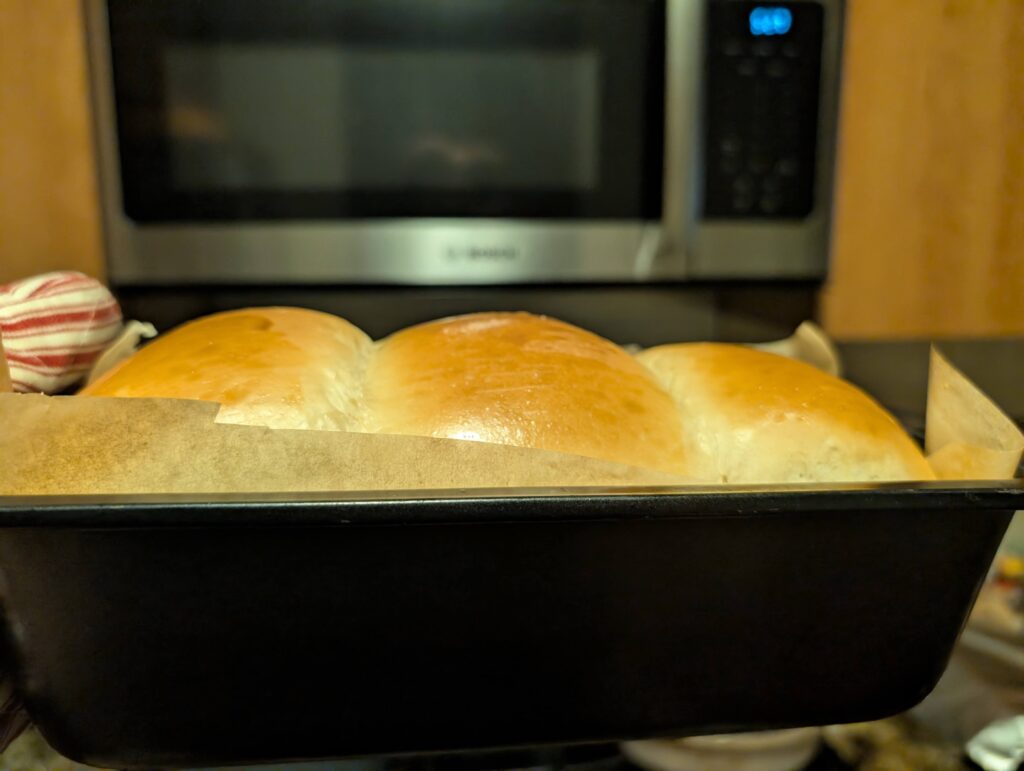
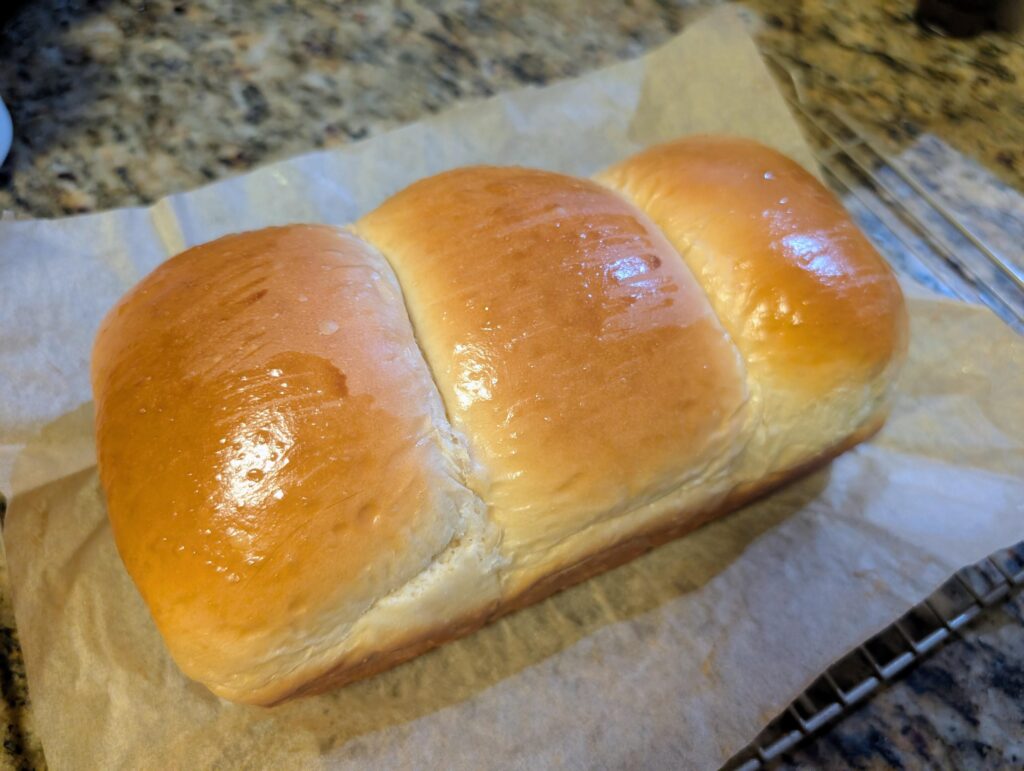
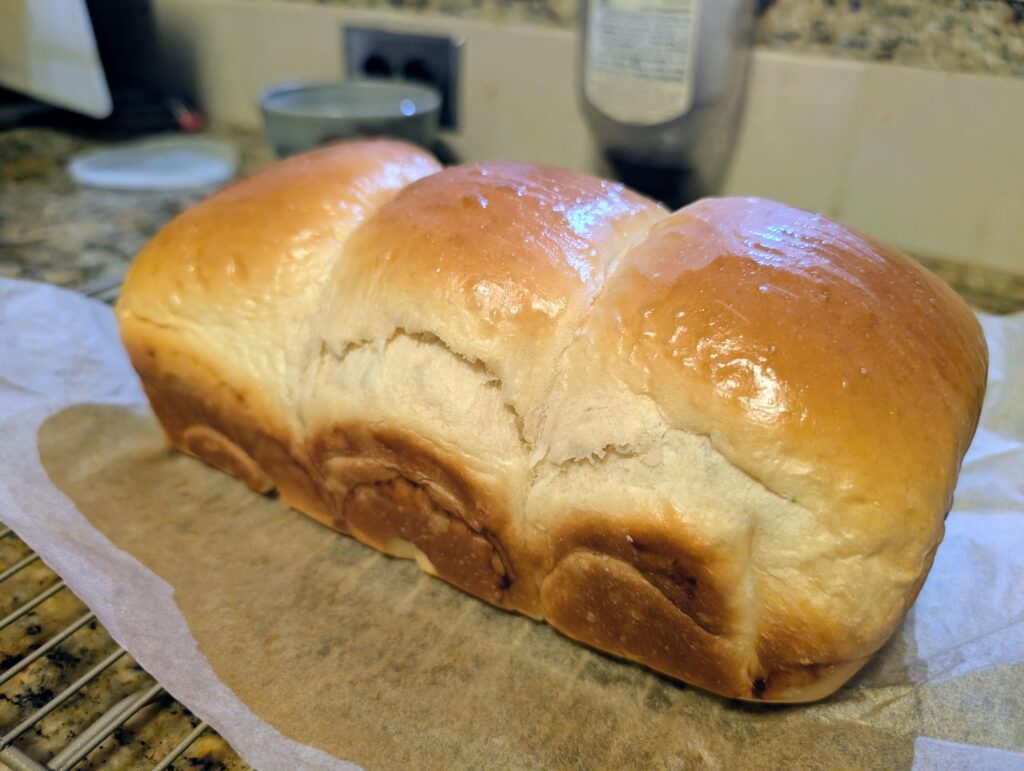
Step 16: Brush with egg wash. Bake at 315°F (157°C) for 20–25 minutes. Cover loosely with foil if the top browns too quickly. The loaf is done when a skewer comes out clean.
Step 17: Remove loaf from oven and gently drop the tin on the counter a few times to release trapped air. Cool completely before slicing.
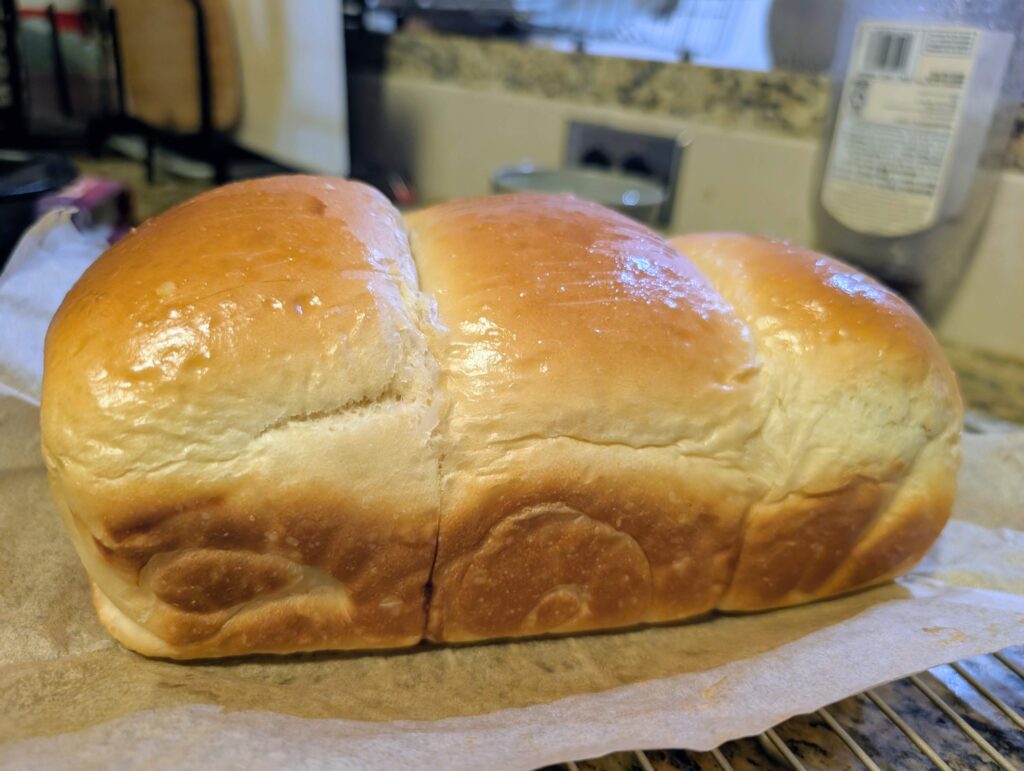
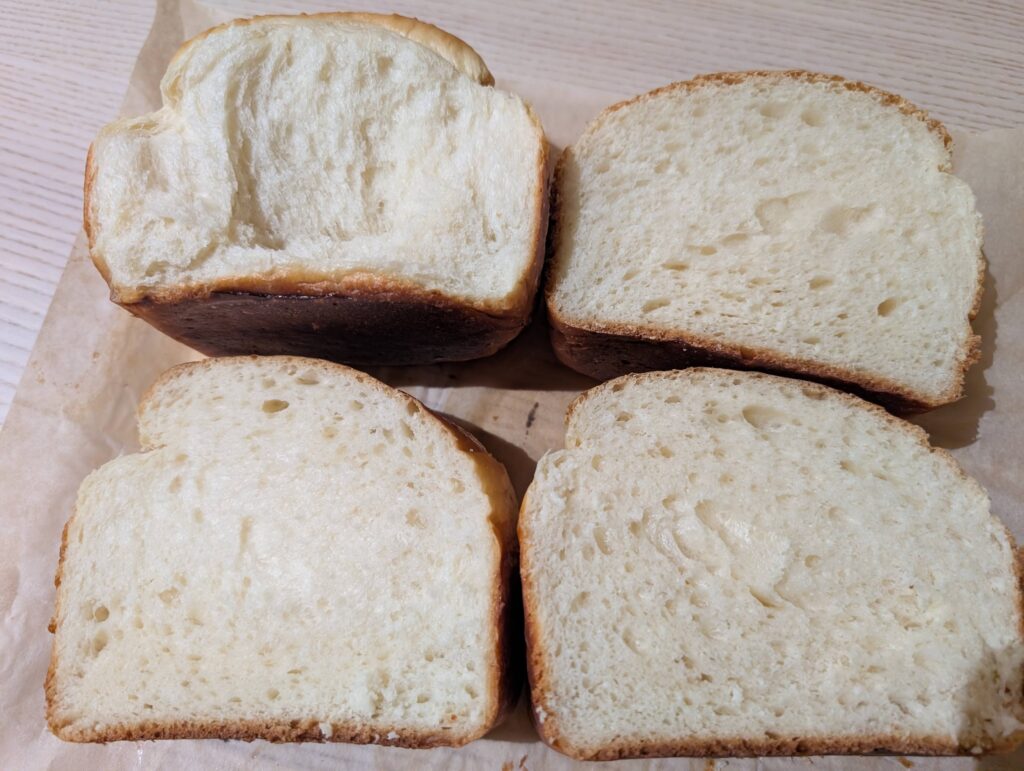
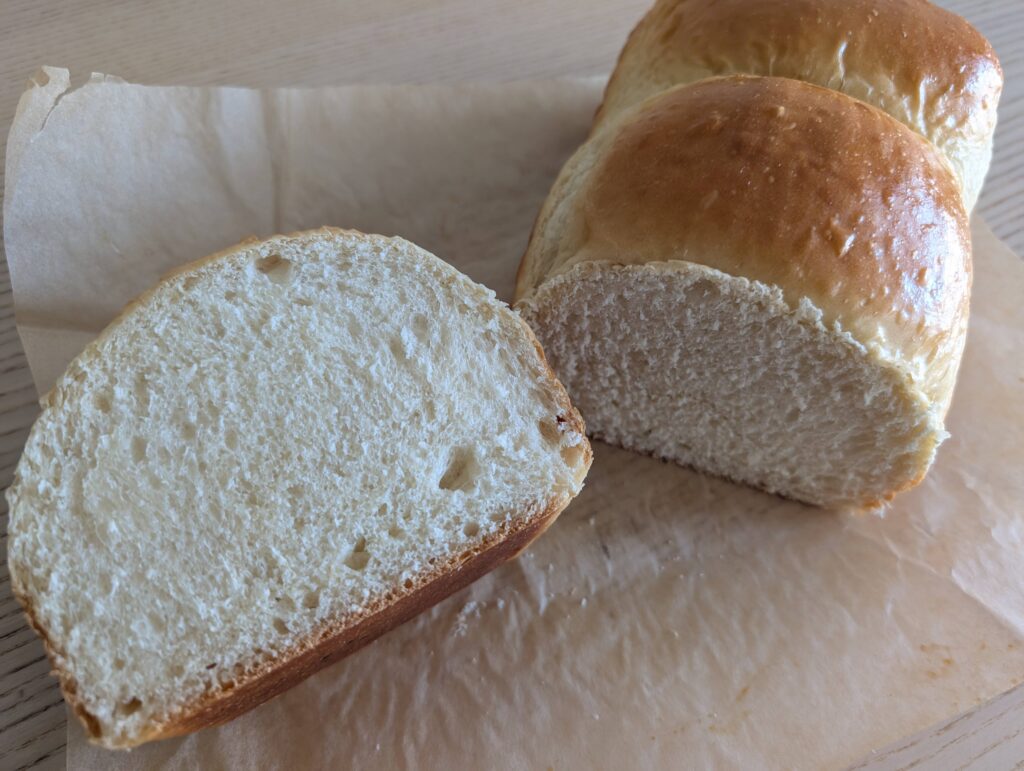
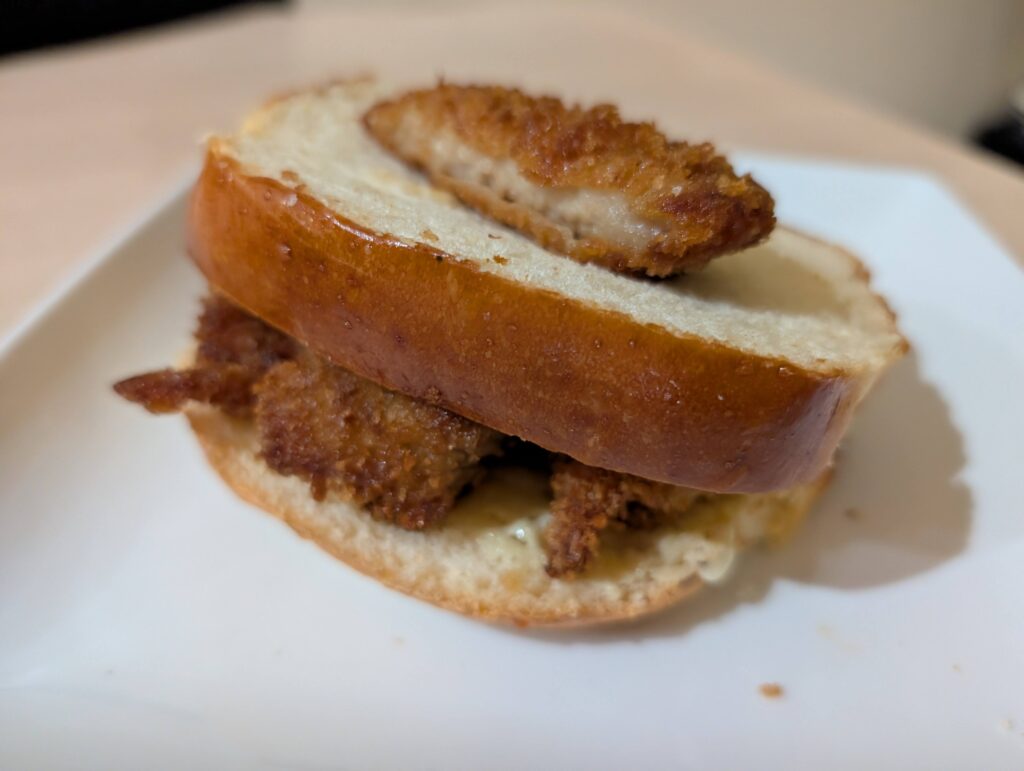
Enjoy this soft, milky loaf however you like—plain, toasted, as a katsu sando, or turned into French toast!