

This is my croissant 1st attempt report including mistakes made and next experiment design.
Direct recipe from 小高姐, handling process refers to two other videos linked below. 小高姐’s lamination process is easier to handle and less layers than the other two. I will practicing and refine with her recipe till I have a beehive structure in croissant, then move on to try advanced lamination and more layers.
QUICK TAKEAWAY
- Dough and butter needs to be same softness when starting lamination, so butter can distribute evenly. Butter should be bendable without breaking apart. 麵糰和牛油一定一定一定要軟硬程度一致, 便於黃油在開酥時均匀分佈. 牛油能彎曲但不會被掰斷.
- If dough becomes too soft after rolling out, refrigerate for 5-10mins for resting.
- BE QUICK when rolling out dough, otherwise butter will melt and dough will rise
- Add a little salt might help egg white and egg yolk mix better for brushing
- Tip of croissant faces down when put on baking pan.
- Rise croissant in ROOM TEMPERATURE for 2+ hours or till its size doubles.
MY MISTAKES! 🙁 🙁 🙁
- Used extra creamy butter instead of European Style butter! 🙁
- I dried cutting board in sun as it was wet before I rolled dough out for final croissant forming; but the cutting board was very warm after sun-drying… fasten butter melt and had dough layer broke… 🙁
- Rising croissant in oven, with a tray of HOT WATER beneath in summer might be too warm that ALL THE BUTTER in croissant just melted out… 🙁
RECIPE
This recipe yields around 8-10 croissants
Step 1: Dough forming
- mix 2g yeast + 155g room temperature water
- mix dry ingredients:
- all-purpose flour 330g
- sugar 30g
- salt 4g
- butter 20g
- + yeast/water to dry ingredients
- I added 5g more water
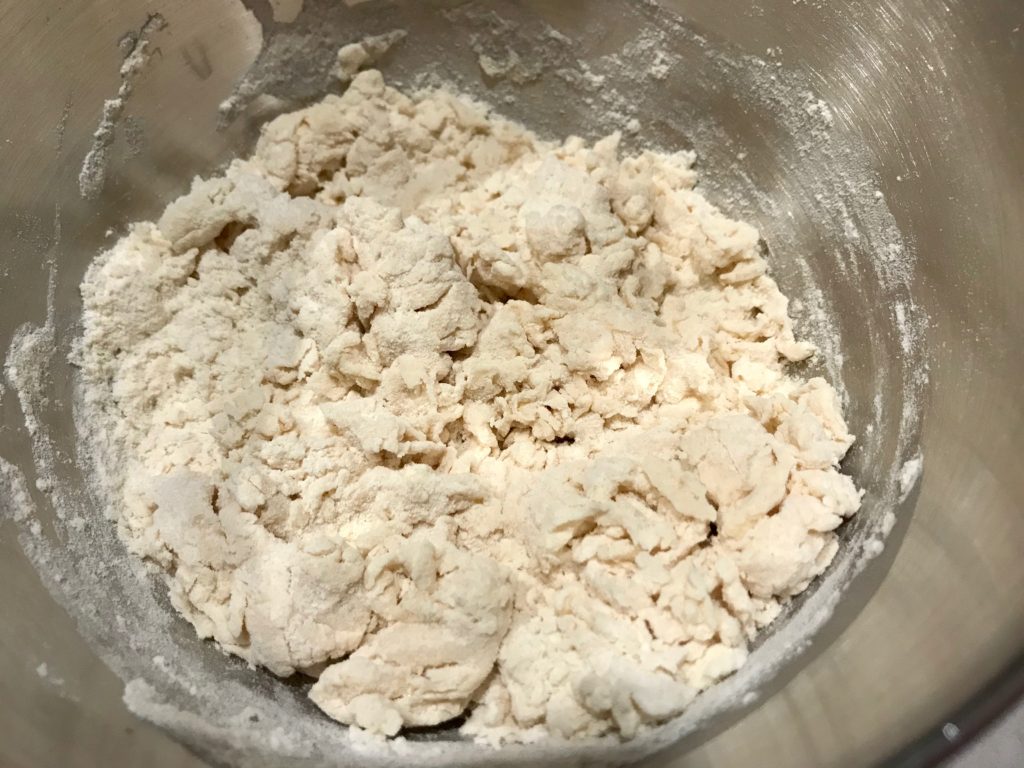
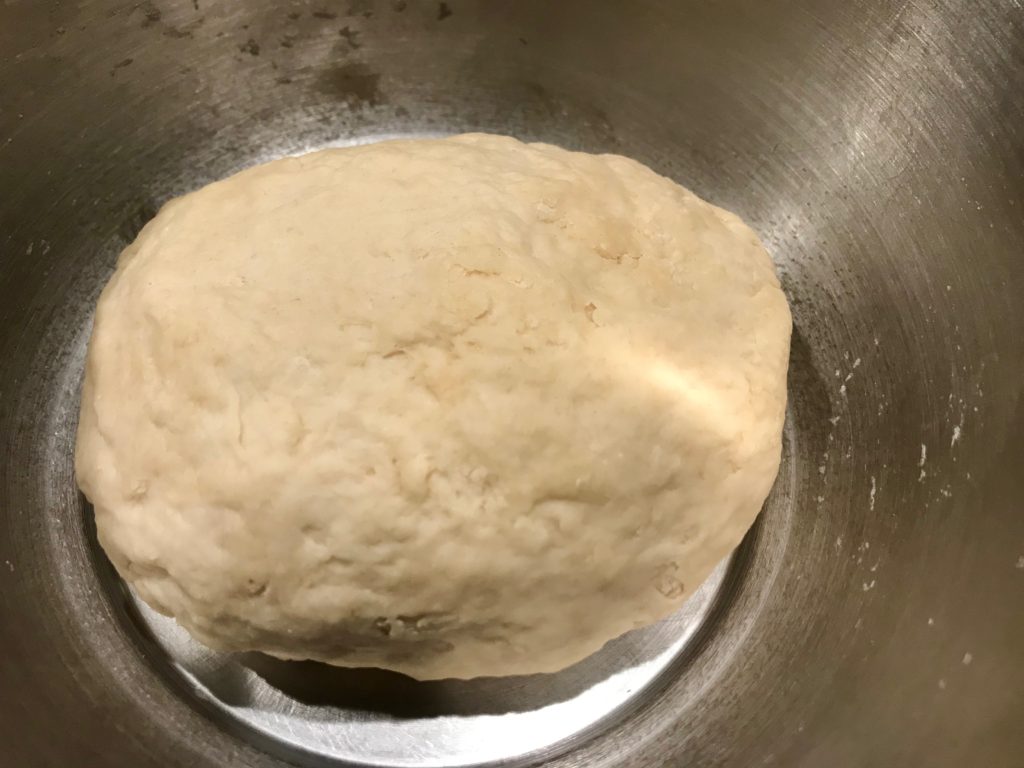
Step 2: rest 20mins, then knead till smooth
- if dough is still rough or easily breaks, rest for 10-15mins more and knead
Step 3: ferment dough for 3~4 hours at room temperature, or till dough doubles its size
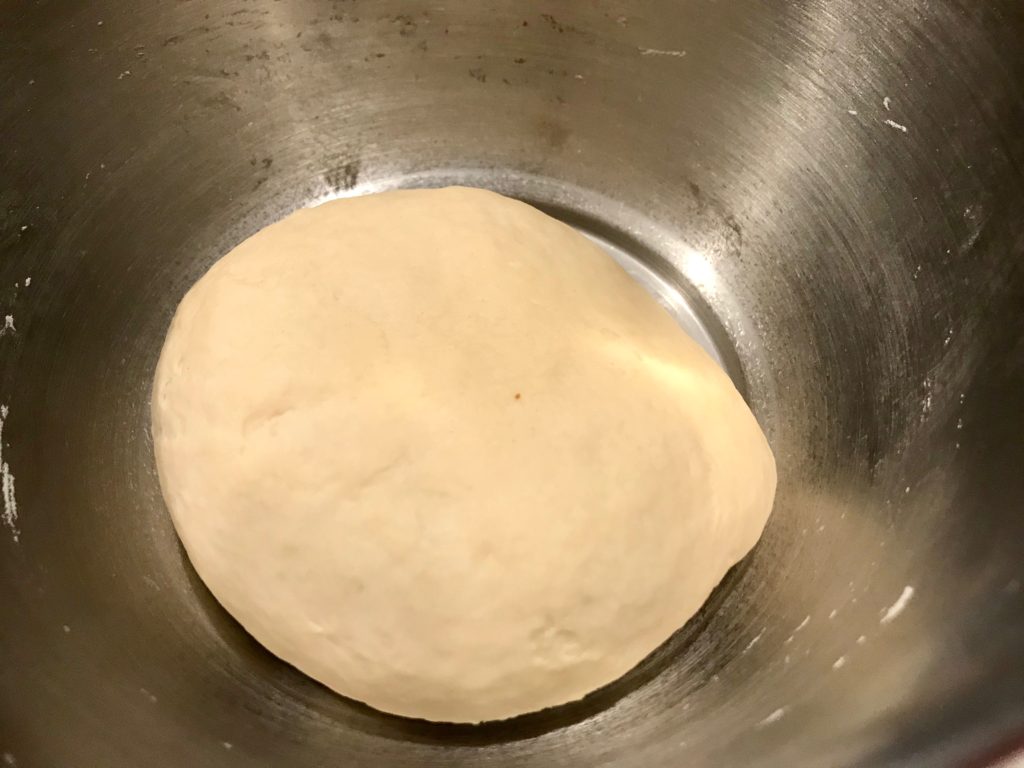
smooth dough 
2x size after 3 hours, RT
Step 3: put dough in freezer for 10 mins, then in fridge overnight to stop rising

small bubble formed after 10mins in freezer 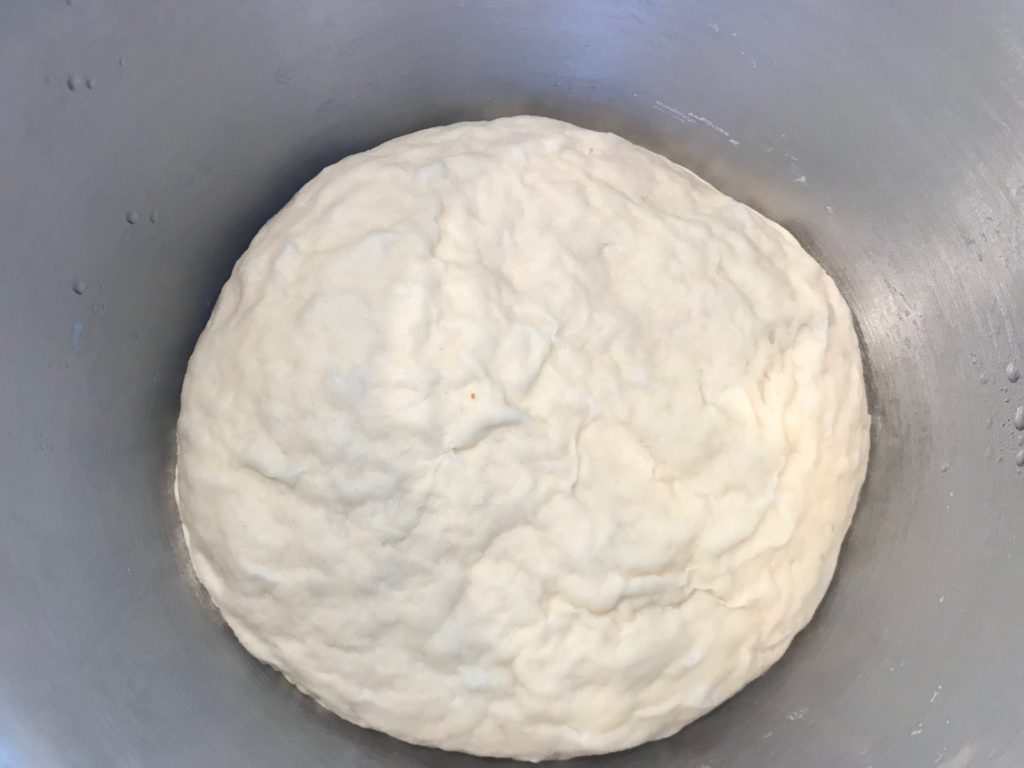
uneven, wrinkled surface after fridge overnight
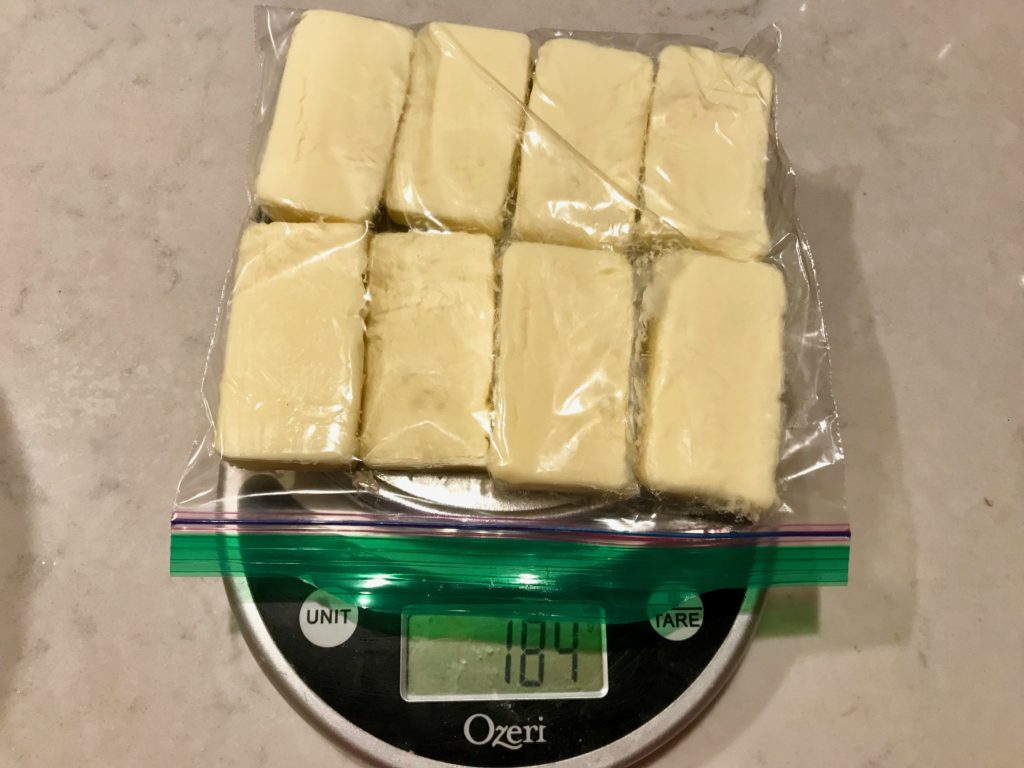
Step 4: Shape 180g European butter into a square with parchment paper/Ziploc sandwich bag
- Why European style butter?
- higher fat content
- higher melting temperature thus holds together during lamination
- would not break easily
- less water
- if shape butter right before lamination, put in fridge for 5-10mins to harden it
- if shape butter the night before, put back in fridge overnight, but take it out a few minutes before lamination so butter can soften till same softness as rolled-out dough
hammer to soften 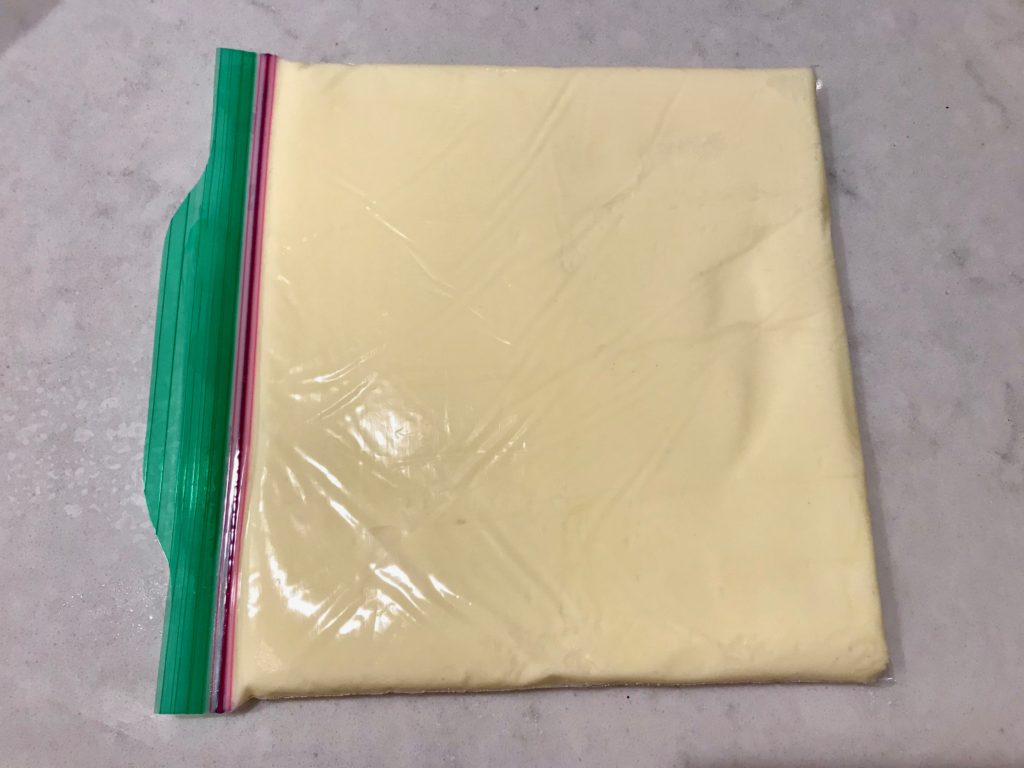
Step 5: Next day, roll dough into bigger square that when folds, can cover butter (the last 2 videos show more advanced lamination and dough shape)
- roll dough large enough to cover butter! this step took longer than I thought, as I measured size wrong a few times. Rolling a dough into square is also not as easy
- place butter so that butter square’s vertex is on the midpoint of dough square’s edge.
- do not seal the dough over butter until has press the dough a few times, letting air out.
- seal butter inside dough, start rolling out dough into a rectangle
- BE QUICK! otherwise butter will start to melt and dough will start to rise
- 3 fold dough
- rest in fridge for 30mins

Step 6: roll dough towards the shorter side, long enough to have 4-fold “blanket” shape; rest in fridge for another 30mins


Step 7: Cut Dough and Form Croissants
I did not take photos this part as temperature is rising and butter is melting
- each croissant should be rolled from isosceles triangle
- base: 12 cm or 4.7 inches
- height: 25 cm or 9.8 inches
- since our recipe can make 8-9 croissants, so:
- long end should be 4 * 12 cm = 48 cm/18 inches
- short end should be 25 cm/9.8 inches
- roll dough into 48cm x 25cm rectangle
- make small mark with knife on every 12cm base for croissant on both long edges, so can cut easier later (refer to videos for this step)
- cut dough into isosceles triangles
- cut the midpoint of each triangle’s base, slightly stretch out, start rolling from base to tip (2nd video)
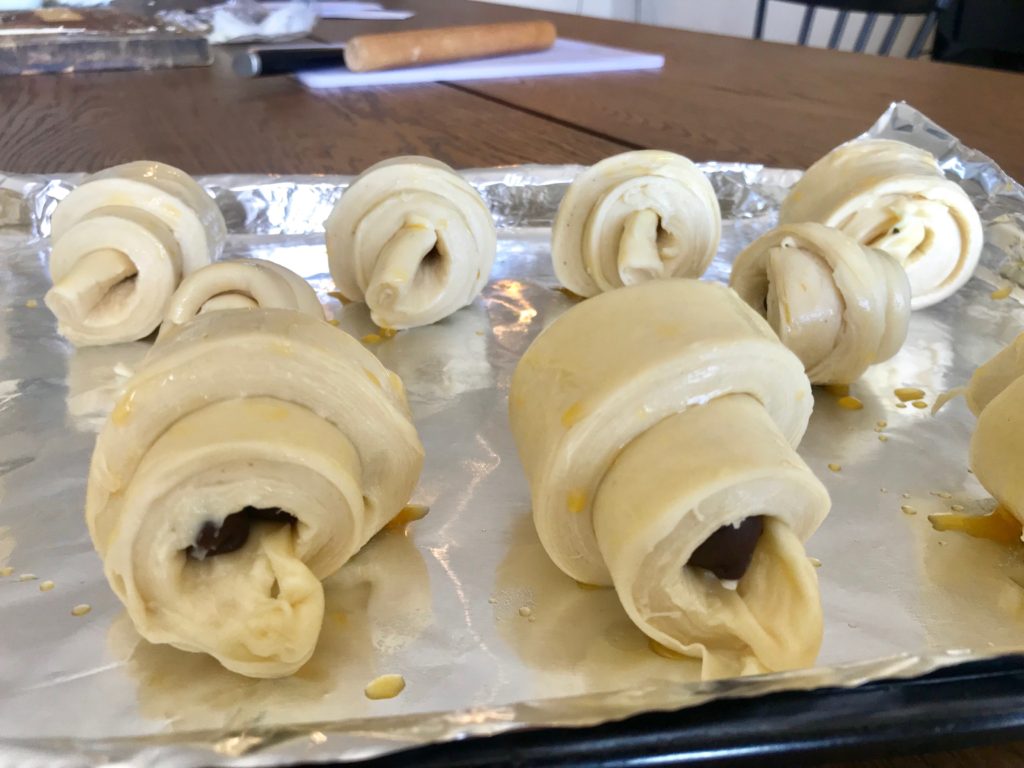
- can add chocolate
- croissant tip should face down in baking pan
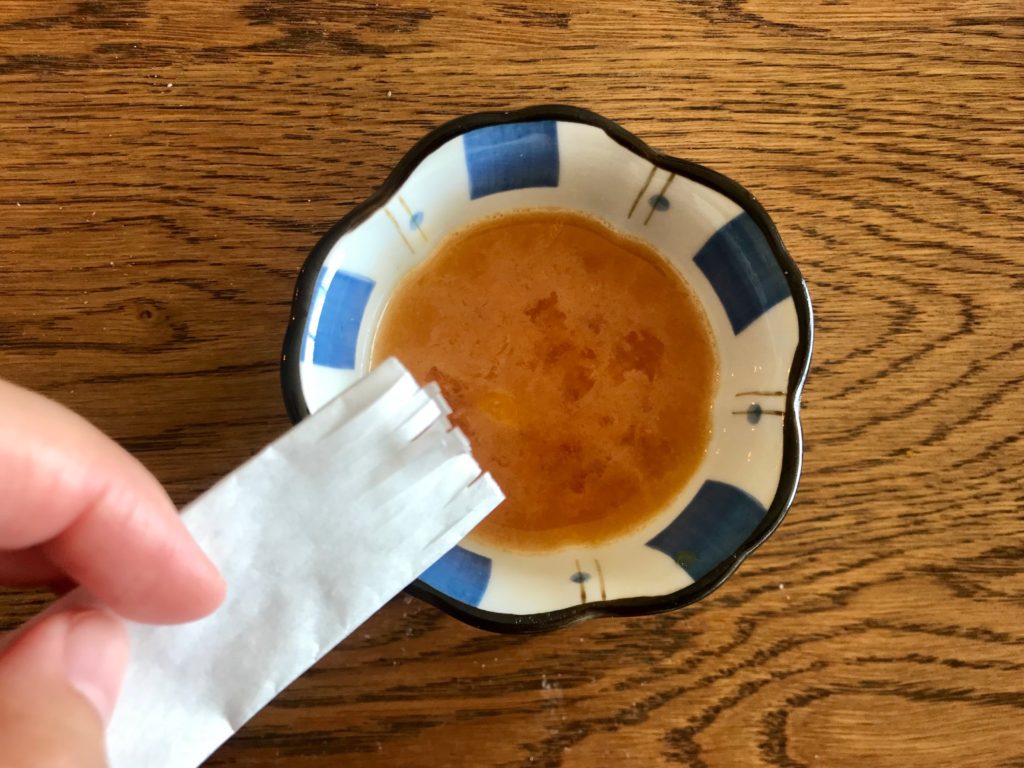
- brush with egg
- cut bristle in parchment/wax paper to make a brush if you don’t have one like me!
- add a little salt might help egg white and egg yolk mix better for brushing
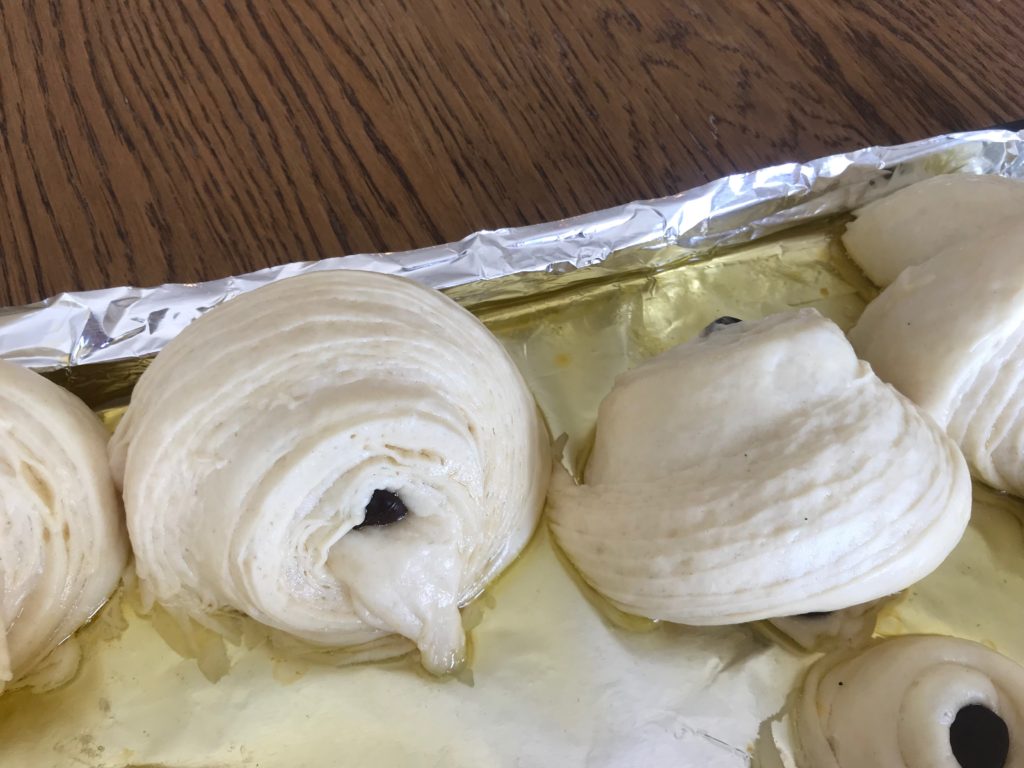
- do NOT brush the side with multiple mini layers (help rising), just brush the top surface of croissants;
From close-up look, the lamination with butter gives clear layers. DO NOT brush lamination layers

Step 8: rise for 2-3 hours or till size doubles
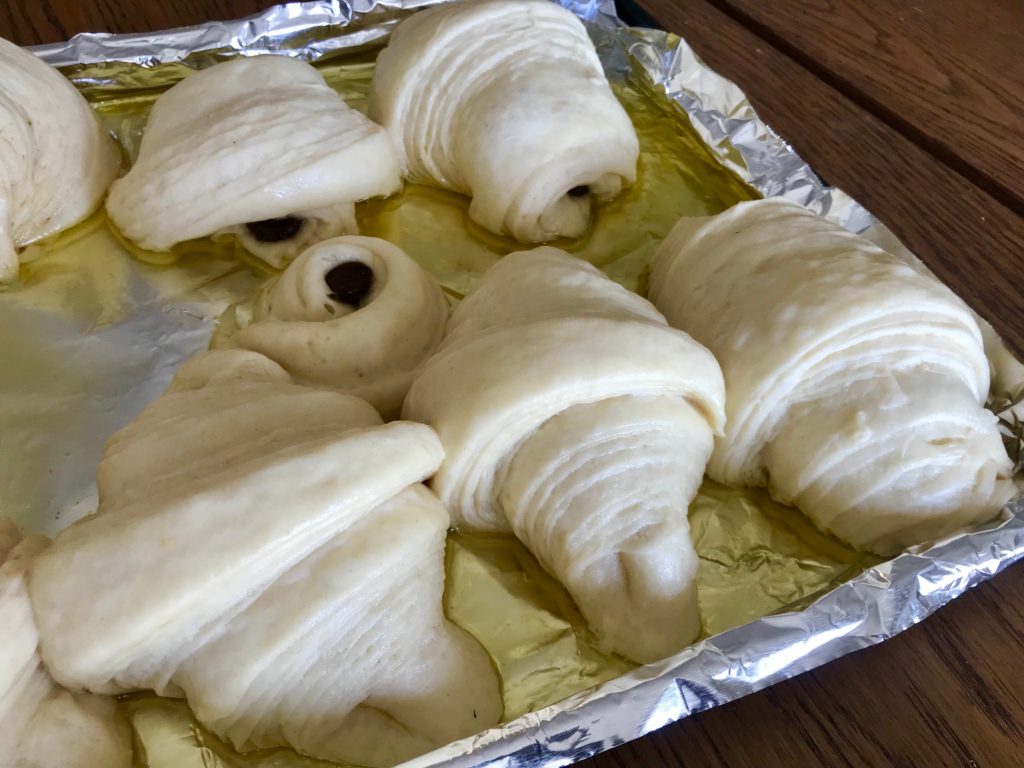
- I put croissants in closed oven, with a tray of hot water beneath for rising 1 hour…. BUT!! all my butter melted and my croissant swam in butter ocean as showed below.
- Lamination is very pretty though, layers come out

Step 9: brush again and bake
- 小高姐: 425F for 10mins, then 375F for 12-14mins, which is what I did this time. But I think I overbaked it.
- 2nd video: 375F/190C for 20mins (I will bake with this temperature next time)
TIME TO REVEAL!
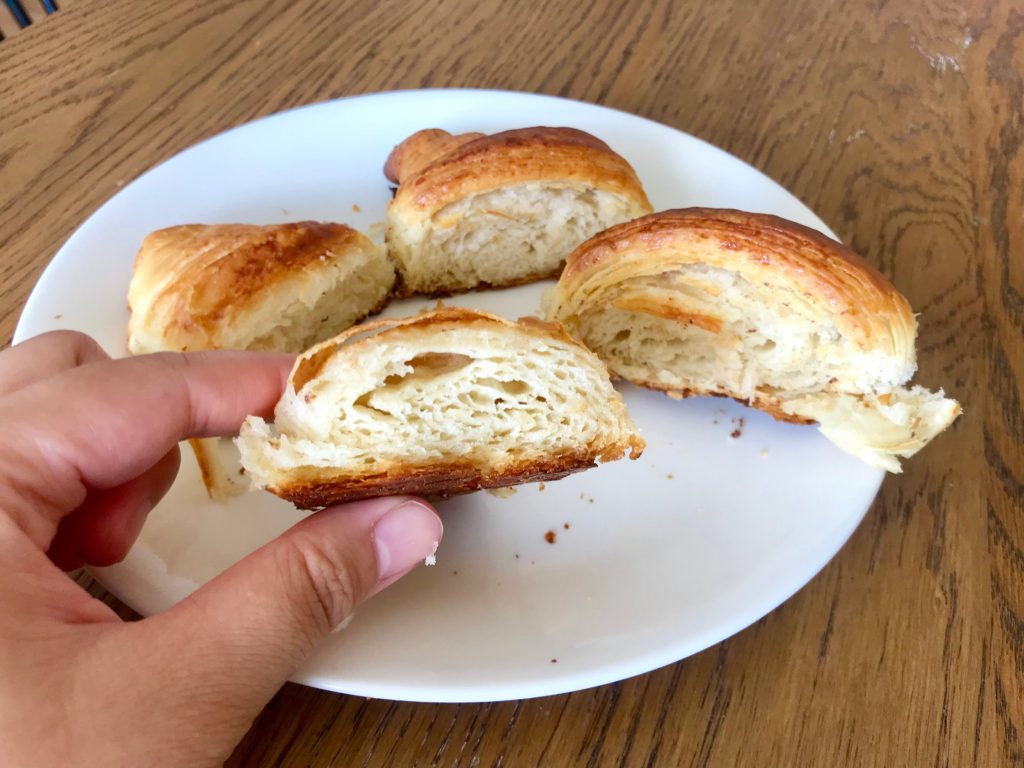
PROS: color is right, outer layer is also very crispy, lamination layers are showed

CONS: croissant is pretty oil because it SWAM IN BUTTER OCEAN… inside is not as airy, and beehive did not appear either, texture is more bread-like
plain 
with chocolate
NEXT EXPERIMENT DESIGN
- use European style butter
- halve the ingredients so even fail, less croissants to consume 😉
- after overnight resting, roll dough into a BIG-ENOUGH square faster; instead a more round “square”, roll a better clear-edge square
- cutting board should always be cold, room temperature will be best at 21-25C.
- final rise should be done in room temperature, at a cooler place if in summer
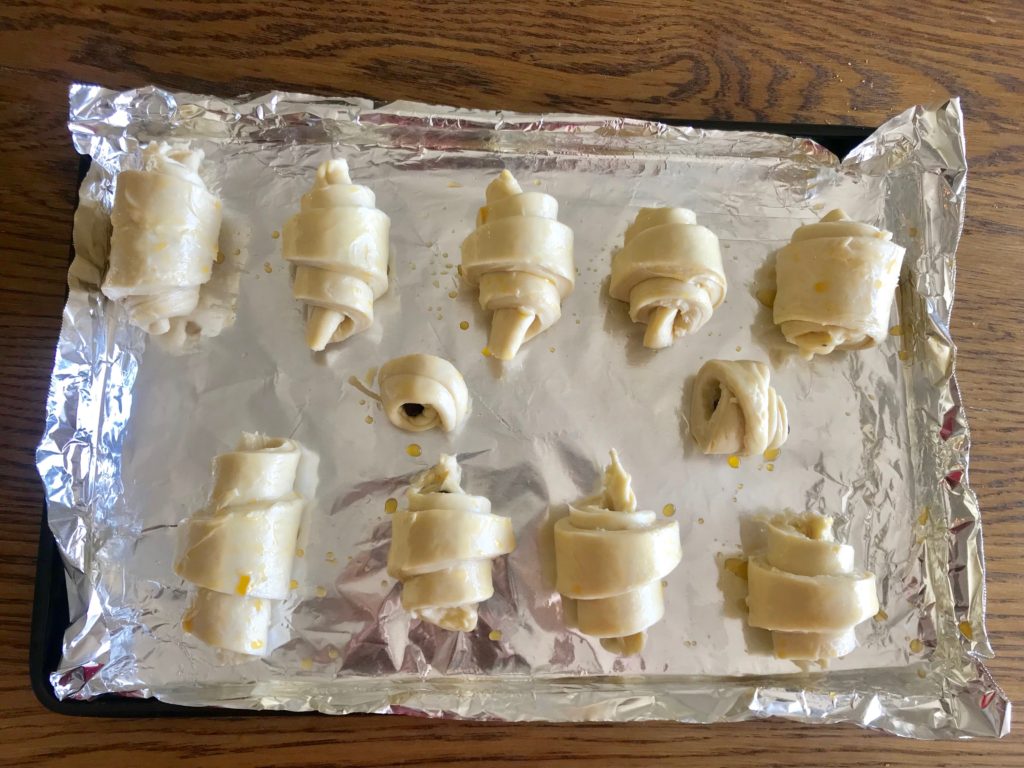
- when forming/rolling into croissant shape, cut a prettier triangle, so croissants have more layers, instead of a big round bun shape (lower row in photos)
- stretch triangle base further before rolling, so it actually has tips on BOTH sides
- roll in more chocolate; stretch base more
- bake in 190C/375F for 20mins
Resources
小高姐: Entry level croissant with 12 layers.
French Pastry Chef: important tips on croissant making
Tinrry: tips on butter and dough softness alignment!


One response to “Croissant 1st Try Report – 2020/05/16”
hoohoo yay it was yummyy nom nom